Online version - not for reprint
63MS 270, MS 280
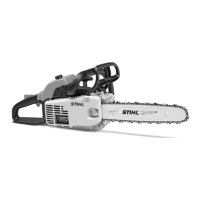
Installing
– Coat inside and outside of
annular buffer with STIHL
installing fluid – see 14.
Note the different shapes of
annular buffers (1) and (2). Make
VA
146RA222
3
2
3
1
sure they are not switched during
installation.
– Press home annular buffers in
crankcase and tank housing until
their grooves are properly seated
in the housings.
Press home the bushings (3), flat
end first, as far as stop.
Do not use pointed or sharp-edged
tools for this job.
Reassemble all other parts in the
reverse sequence.
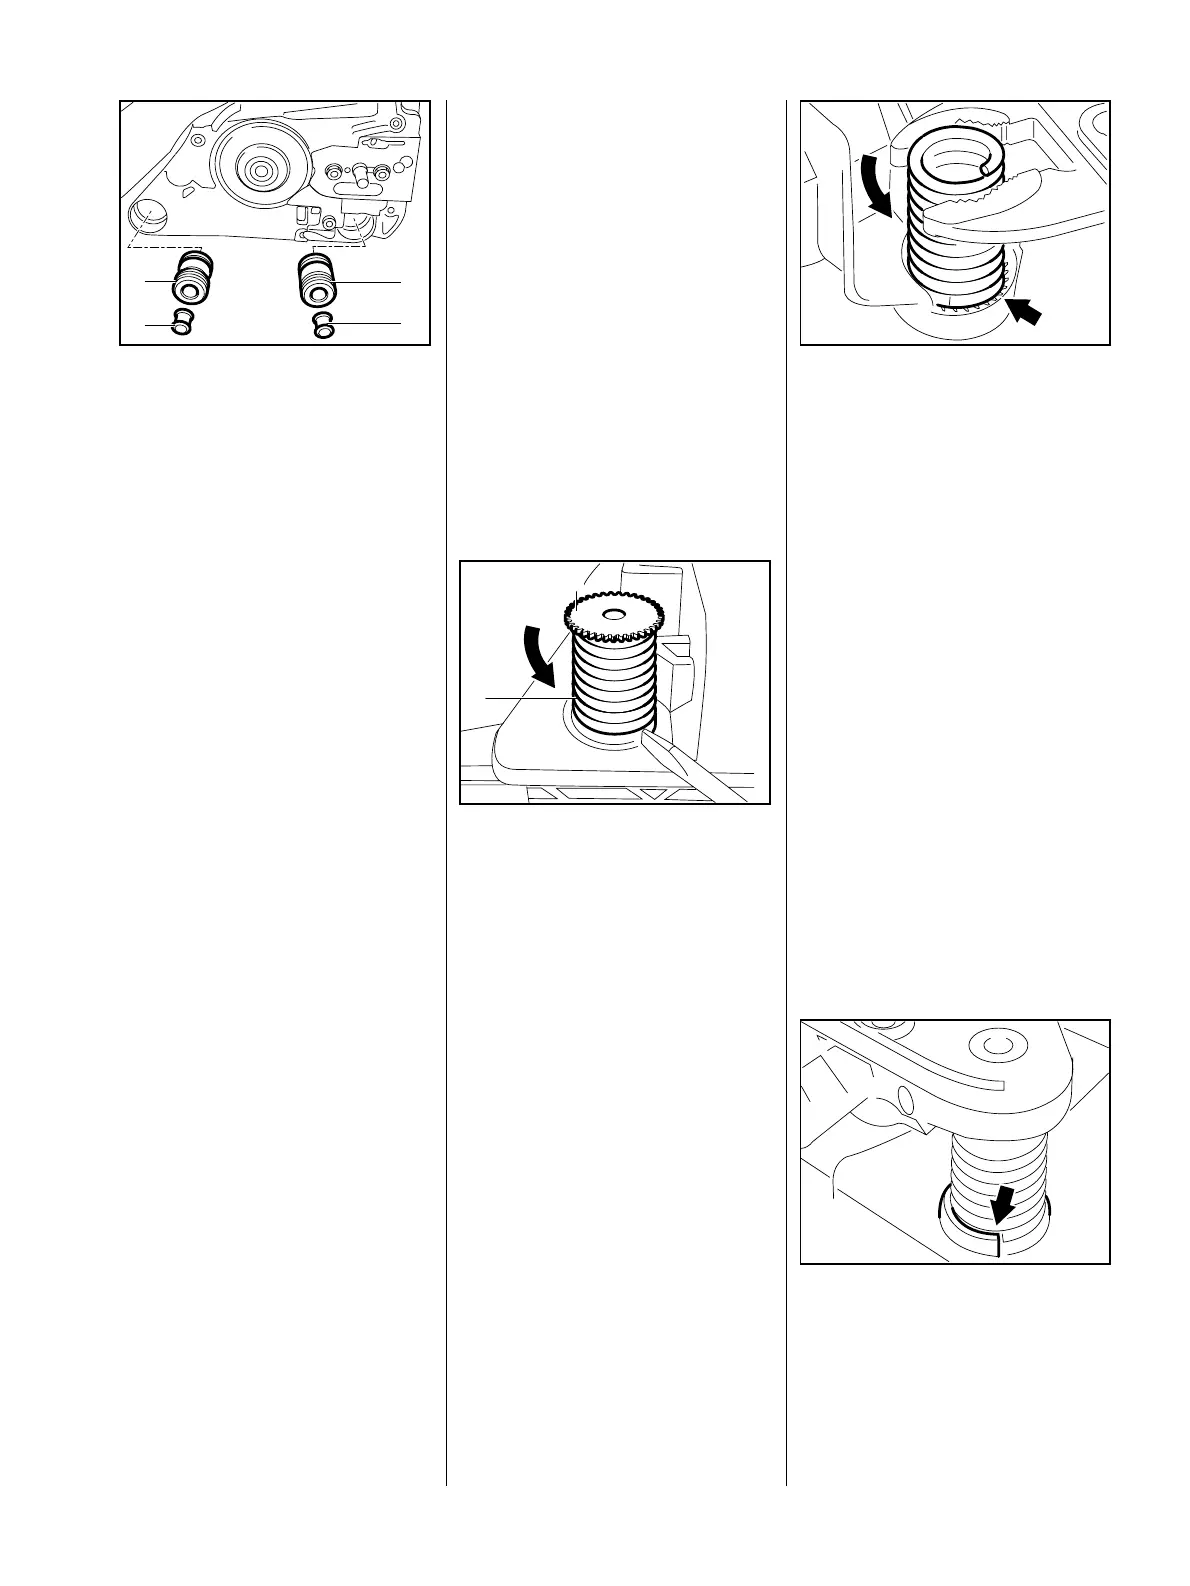
– Remove the fan housing
– see 11.5.
Apply a screwdriver to the coil
end and unscrew the spring (1)
together with the bearing
plug (2).
– To ensure that the teeth on the
bearing plug are not damaged
during disassembly, unscrew the
VA
146RA227
1
2
bearing plug from the spring by
hand.
If the spring is too tight on the
bearing plug, proceed as follows:
Engage bearing plug with spring
in the teeth (arrow) in the fan
housing.
Use pliers to unscrew the spring
from the bearing plug.
– Remove the bearing plug from
VA
146RA228
the fan housing.
– Inspect fan housing, bearing plug
and spring for damage and
replace if necessary.
Reassemble in the reverse
sequence.
When installing the spring, make
sure the end of the spring coil
butts against the stop (arrow) on
the tank housing.
VA
146RA115
9.3 Spring
 Loading...