cleaning disk. Then, change the disk used in testing with another disk
andreperformthe test. If the trouble is not solved, it is likely that the Disk Drive unit
or some other part of the hardware is broken.
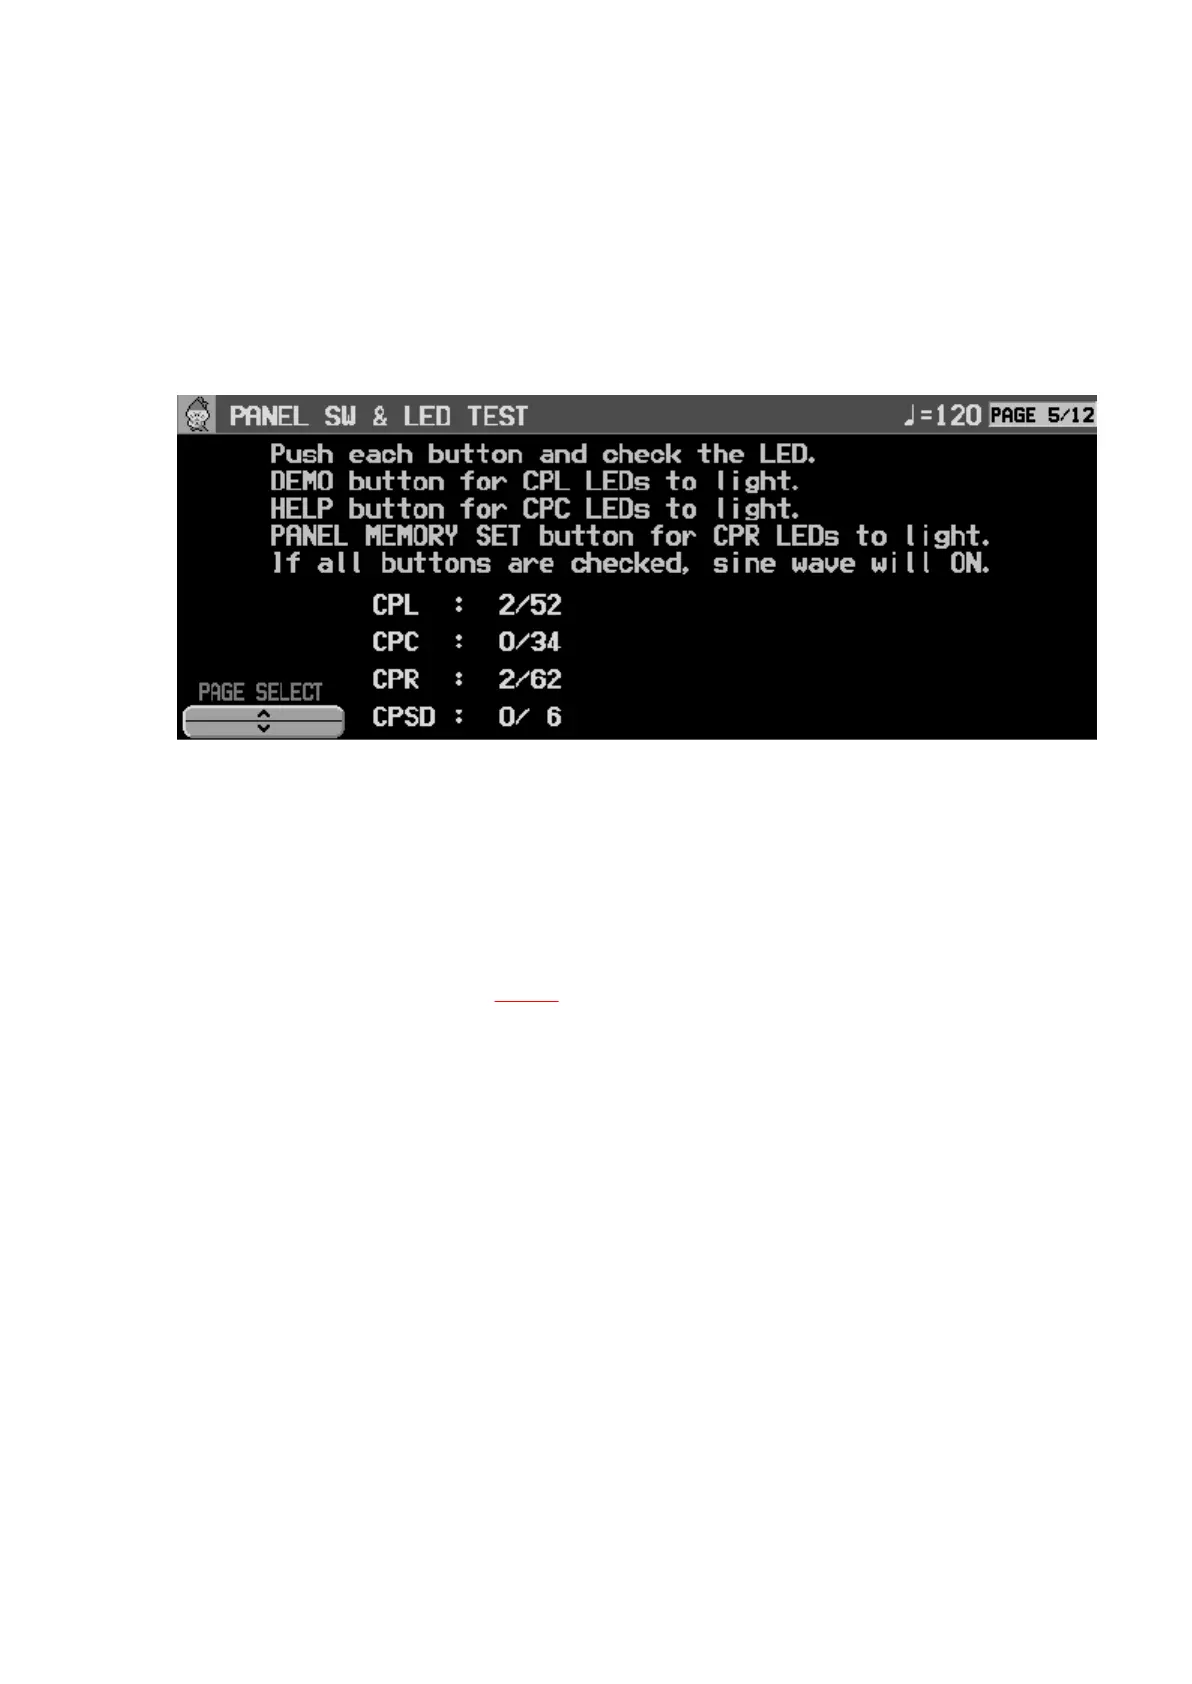
8.5. Panel SW & LED test
Fig.26
- Press all the buttons on the Control Panel and confirm that the corresponding LED
lights.
- If an LED fails to light, the cause may be a defective switch or a break in the
surrounding circuit, etc.
- After all the buttons have been pressed, all the PANEL MEMORY LEDs light. If all
switches are OK, “ALL DEVICE OK” is shown on the LCD. (If a switch is defective,
nothing is shown.) (refer to Fig.26 )
- To light all the LEDs, press and hold the DEMO button. If an LED fails to light, the
LED may be defective or there may be a break in the surrounding circuit.
8.6. LCD module test (LCD adjustment and confirmation)
Fig.27
31
 Loading...