15
Advanced Schedules and Functions
You can access the EVOLUTION
®
AG controller’s advanced functions by pressing the ADVANCED button and then pressing
SELECT button to conrm. In the Advanced Functions, you can activate additional schedules, check and set runtimes and start times to all
schedules in one screen, set schedule and valve details, assign sensors to the schedules, perform diagnostics test, check rmware version and
reset the controller to factory defaults.
Note: At any point, you can return to the previous menu by pressing the Left button or return to the main screen by
pressing the HOME button.
Valve Runtimes
e Valve Runtimes function is where you can set any of the valves to any of the three schedules (A, B and C). You can set any valve to a
schedule by entering a runtime to its corresponding schedule column.
Step 1 – While in the ADVANCED menu, use the Up or Down arrows to select the Valve RUNTIMES. Press SELECT
to access.
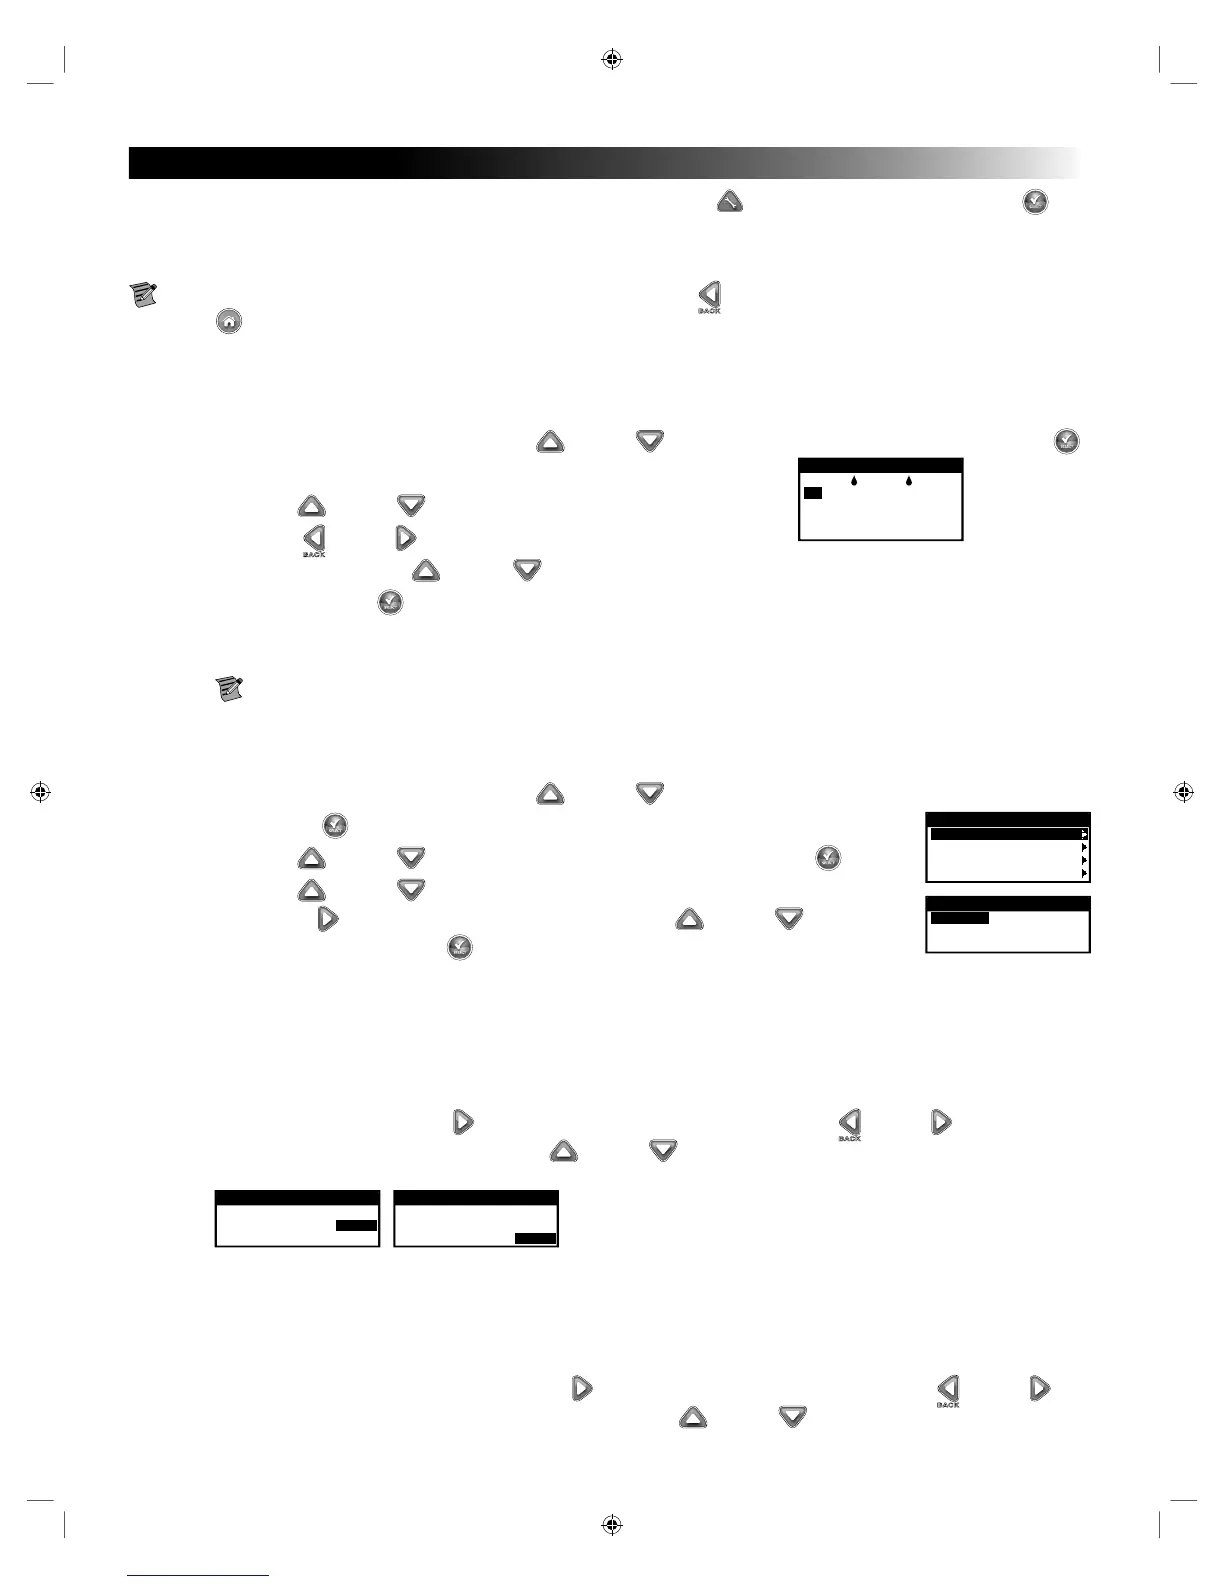
Step 2 – Use the Up or Down arrows to select the valve you want to edit.
VALVE RUNTIMES
A B CC
01 01:00 OFF OFF
02 04:00 02:00 OFF
03 FP1 FP1 FP1
04 FP2 FP2 FP2
Step 3 – Use the Left or Right arrows to navigate to the runtime you want to edit.
Enter runtime using the Up or Down arrows. Moving to another parameter will save the changes as well as
pressing the SELECT button. Repeat Step 3 as necessary to assign runtimes to other schedules.
Step 4 – Repeat Steps 2 and 3 for the remaining valves and schedules as necessary.
Step 5 – To remove a valve from a schedule, set the runtime to OFF.
Note: A schedule will also need a SCHEDULE START for the valve to be activated, and the schedule must be enabled
(See Schedule Details to enable/disable schedules).
Valve Details
Step 1 – While in the ADVANCED menu, use the Up or Down arrows to select the Valve DETAILS.
VALVE DETAILS
VALVE1
VALVE2
VALVE3 FP1
VALVE4 FP2
Press SELECT to access.
Step 2 – Use the Up or Down arrows to select the valve you want edit. Press SELECT .
Step 3 – Use the Up or Down arrows to select the Valve DETAILS you want to edit.
VALVE1
MV PUMP ON
PULSE RUNTIME OFF
PULSE DELAY OFF
Step 4 – Use the Right arrow to navigate to the parameter. Use the Up or Down arrows to
modify its values. Press SELECT to save and select the next valve detail.
MV/PUMP – Set to ON if a master valve is used in conjunction with this valve. Connect the master valve relay or Pump Relay
to MV PUMP terminals. If no master valve is used in conjunction with this valve, set to OFF (Default setting is ON).
PULSE RUNTIME and PULSE DELAY – is function is optional and is used to break the valve’s runtime into shorter
runtime segments, or “pulses” to allow the water to penetrate the soil and avoid runo or wasted water and fertilizer due to
deep percolation.
Step 5 – e PULSE RUNTIME is the length of time the valve will run before pausing for the PULSE DELAY. To set, select PULSE
RUNTIME, then press the Right arrow to navigate to the runtime eld. Use the Left or Right arrows to navigate
between the hours and minutes, and use the Up or Down arrows to set the desired pulse runtime. e PULSE
RUNTIME is the length of time the valve will run before pausing for the PULSE DELAY.
VALVE1
MV PUMP ON
PULSE RUNTIME 00:30
PULSE DELAY OFF
VALVE1
MV PUMP ON
PULSE RUNTIME 00:30
PULSE DELAY 01:00
Step 6 – e PULSE DELAY is set as a delay between pulses. It is commonly used to allow water to penetrate the soil into the root
system. Allowing a soak time prevents water waste from water runo during irrigation. (Water runo can occur when the
applied irrigation is higher than the absorption rate of the soil being irrigated. e excess water can accumulate on top of the
soil and form a runo stream carrying water away from where it should be applied.)
e PULSE RUNTIME and PULSE DELAY will repeat in sequential order until the total runtime for the valve is met.
To set, select PULSE DELAY, then press the Right arrow to navigate to the delay eld. Use the Left or Right
arrows to navigate between the hours and minutes, and use the Up or Down arrows to set the desired delay time.

 Loading...