25
Diagnostics
e EVOLUTION
®
AG controller provides a diagnostic function to check whether the system’s valves are properly functioning. When
activated, the controller will test each available valve. EVOLUTION
®
AG controller will display dashes (– –) for valves that have not been
tested. It will display the current level in amps. OVERCRNT will be displayed for valves drawing above the recommended range, SHORT
for valves that have a grounded circuitry, or OPEN if no current is measured.
Since all valve outputs will activate for about 3 seconds during diagnostics, it is recommended that all Fert Pumps (not relays) be
disconnected, or the fertilizer pathway temporarily blocked.
VALVE CURRENT TEST
MASTER VALVE 0.178
VALVE1 0.180
VALVE2 OPEN
VALVE3 OPEN
DIAGNOSTICS
VALVE TEST
Firmware Update
e EVOLUTION
®
AG controller can be updated by downloading the latest controller rmware from Toro’s
website, www.toro.com/evolution-ag. Load the rmware onto a USB drive, then insert it into the controller’s USB port.
Load New Firmware Version on USB Drive
e EVOLUTION
®
AG controller’s rmware can easily be updated by downloading the latest software from www.toro.com/evolution-ag.
A USB ash drive is needed for this procedure.
Note: Although many USB ash drives may function well with the EVOLUTION
®
AG controller, the following USB specications
are recommended:
• USB Version 2.0 Compliant
• 1–8 GB Memory Size (Smaller memory size will perform faster.)
• FAT32 File System with 1 Logical Partition
Step 1 – Create a folder inside your USB ash drive with the name Evolution (/Evolution/).
Step 2 – Create a folder inside the Evolution folder with the name Firmware (/Evolution/Firmware/).
Step 3 – Go to the EVOLUTION
®
AG website, www.toro.com/evolution-ag, and download the most current rmware version. Unzip
and save the rmware inside the Firmware folder in your USB ash drive.
Update Controller Firmware
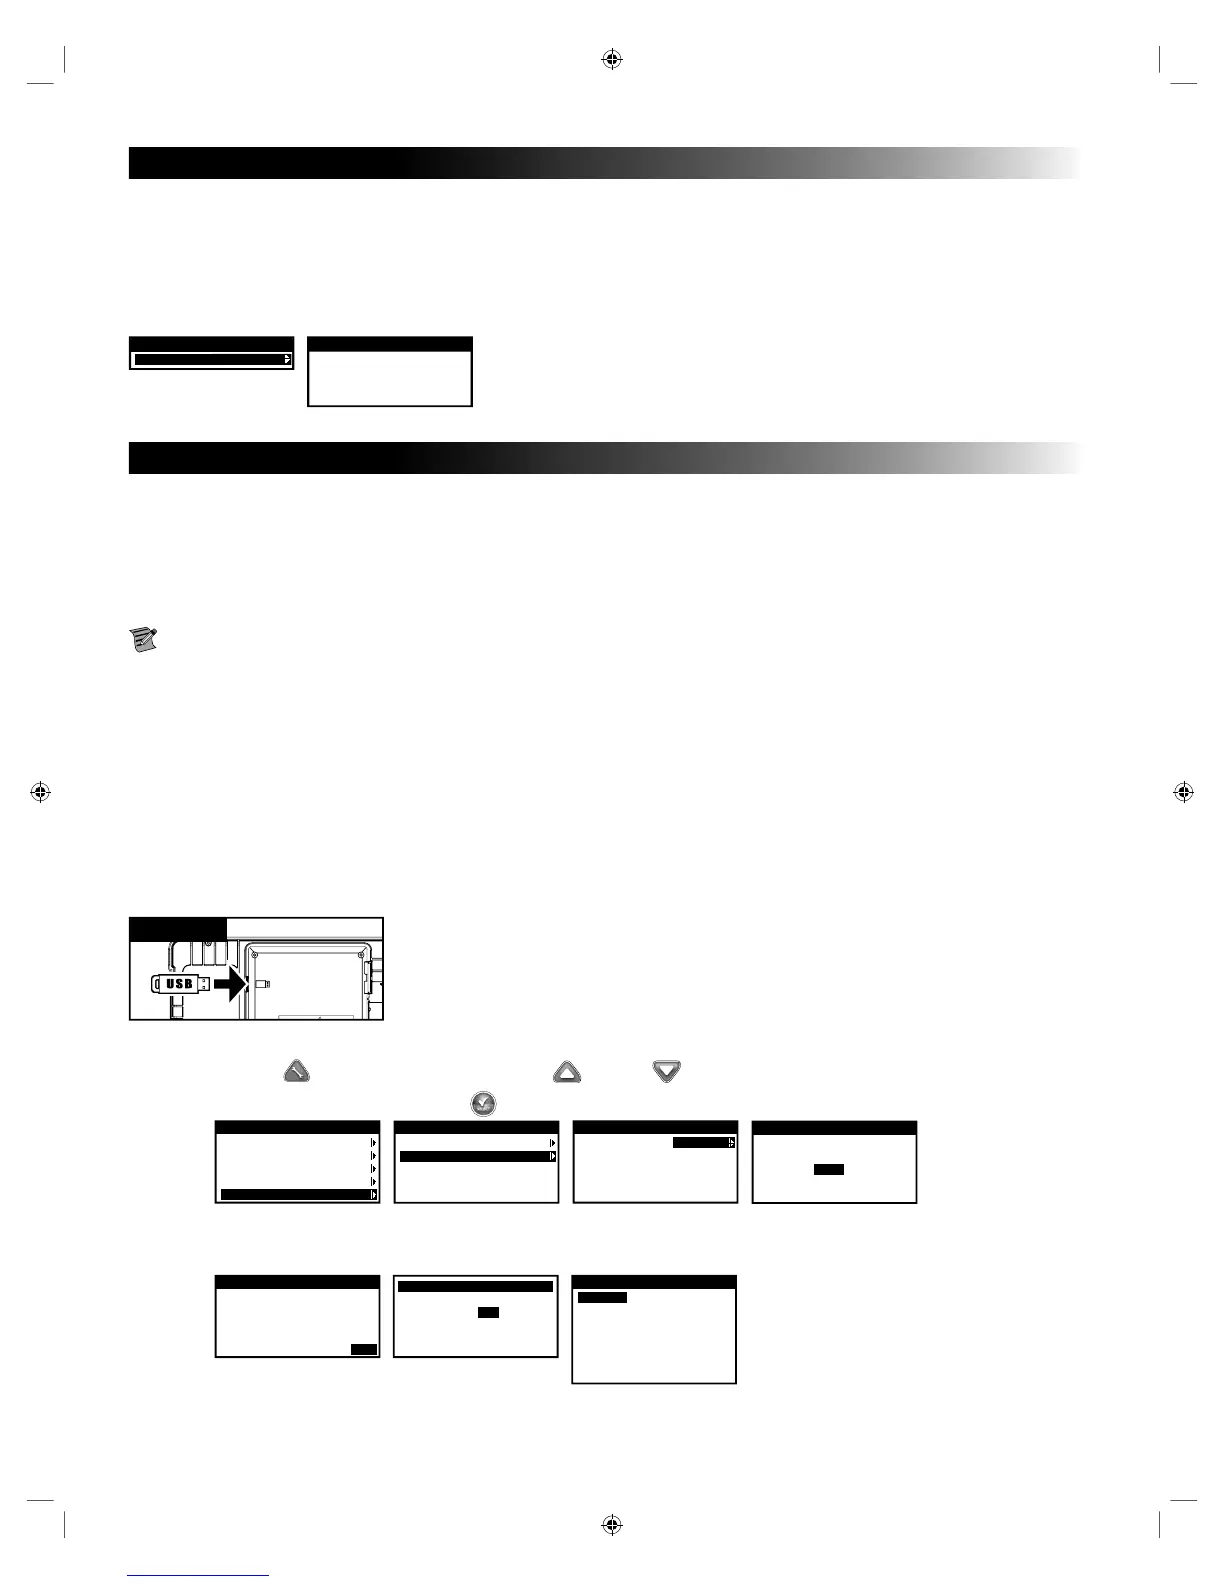
USB
Figure 14
Step 1 – Connect USB to the controller. See Figure 14.
Step 2 – Click the
ADVANCED button. Use the Up or Down arrows to select FIRMWARE.
Step 3 – Select UPDATE and Press SELECT . Select another UPDATE menu to start the process.
ADVANCED
SCHEDULE DETAILS
SENSORS
ADD/REMOVE DEVICE
DIAGNOSTICS
FIRMWARE
FIRMWARE
VERSION
UPDATE
FIRMWARE
CONTROLLER UPDATE
FIRMWARE
VERIFYING UPDATE
33%
Step 4 – Controller displays the rmware version in the controller (current) and the version on the USB drive (update). If the update
version is more up-to-date than the current version, press SELECT on YES. Firmware le is updated and a status bar will
indicate the progress. Once nished, the controller does a soft reboot and the update process is complete.
ADVANCED
UPDATE VERIFIED
CUR. VERSION 07.14
UPDATE VERSION 07.10
CONTINUE UPDATE YES
SETUP
REGION US/CAN
LANGUAGE ENGLISH
DATE FORMAT MM/DD/YY
CLOCK 12 HOUR
TIME 12:01AM
DATE 01/01/16
BEGIN WEEK SUNDAY
BOOT VERSION: 4.00
USB DRIVE ATTACHED
WRITE: 33%
Step 5 – Refer to “Check Firmware Version of Controller” section to verify the rmware version.

 Loading...