21
Sensors
Smart Connect Setup
e EVOLUTION
®
AG controller is capable of communicating with Toro approved wireless sensors and devices. In order to wirelessly
communicate with these devices, Smart Connect (A-EVO-SC) must be installed in your system. Once a Smart Connect is installed,
EVOLUTION
®
AG controller will automatically synchronize with the device.
Display the Smart Connect ID and Reset
Step 1 – While in the ADVANCED menu, use the Up or Down arrows to select SENSORS, then press SELECT .
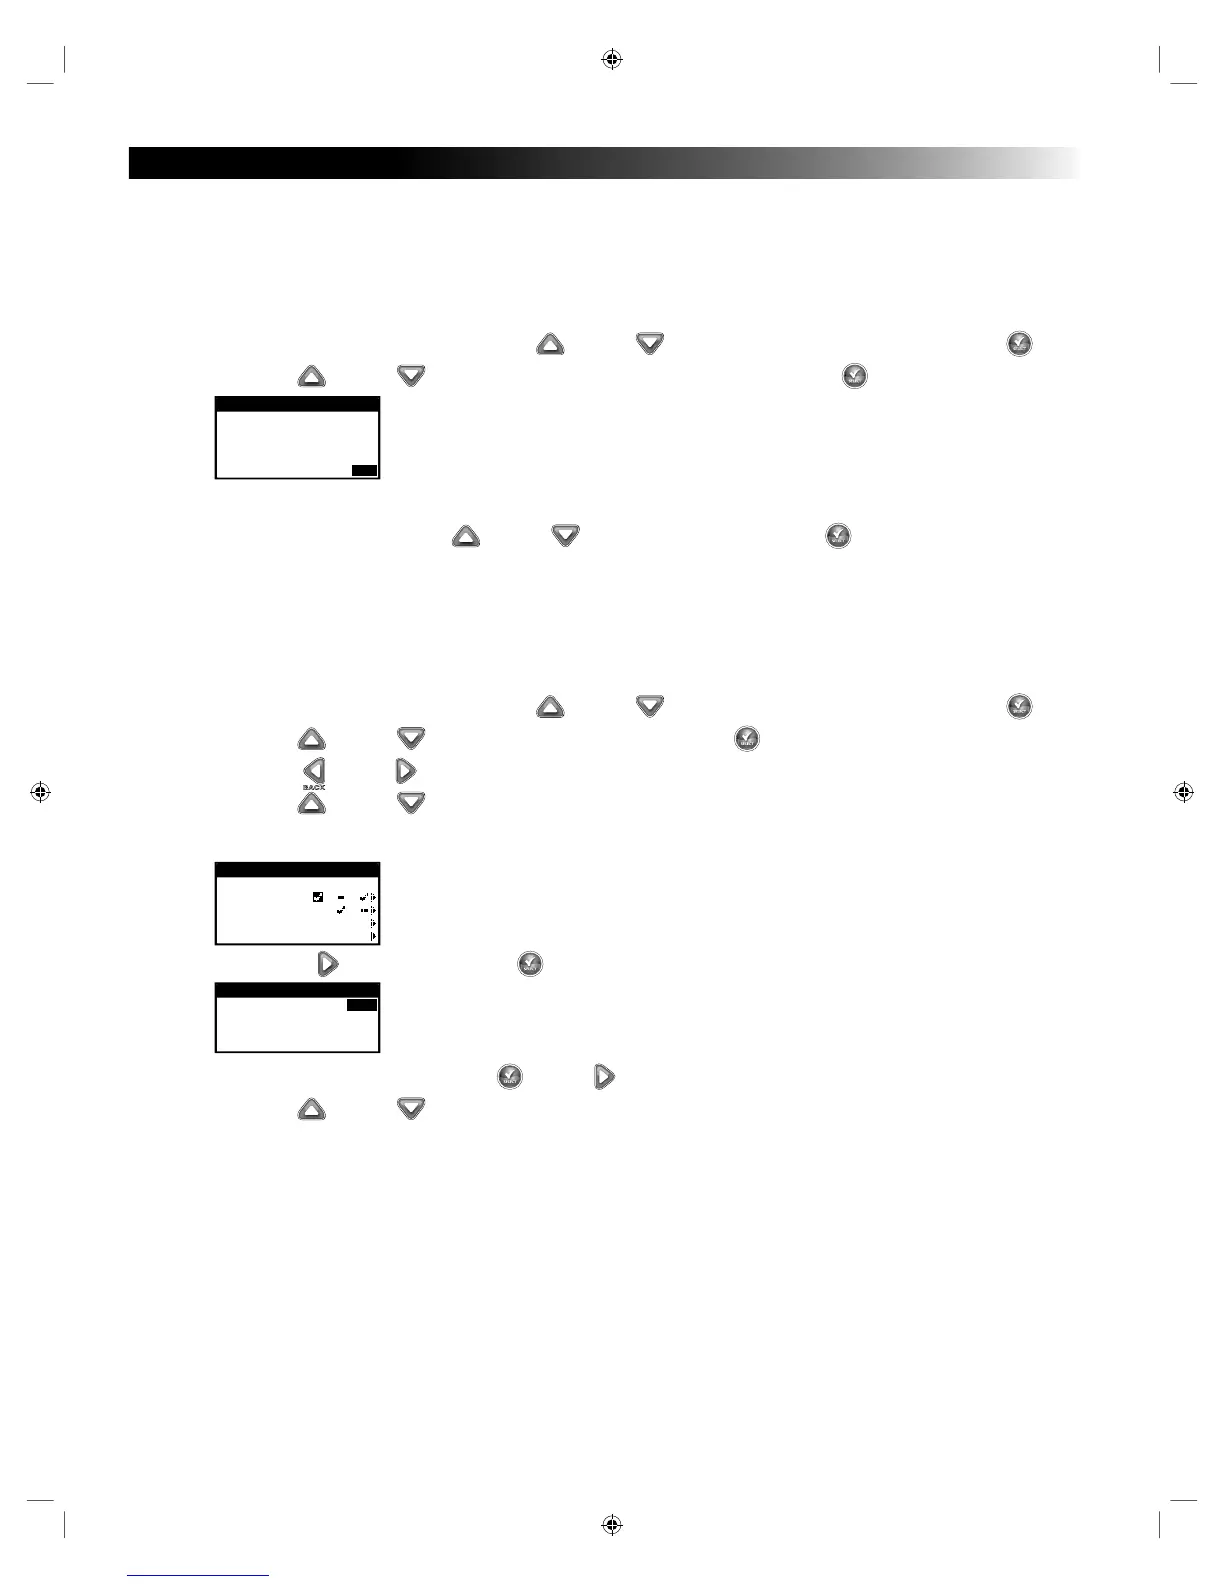
Step 2 – Use the Up or Down arrows to select SMART CONNECT, then press SELECT .
SMART CONNECT
ID 14033
RESET TO FACTORY
DEFAULTS? YES
e Smart Connect ID is displayed at the top of the screen.
Step 3 – To reset Smart Connect, press Up
or Down to select YES, then press SELECT .
e Sensors function allows you to assign a rain, weather, and soil sensors to each of the schedules. Schedules with a sensor assigned will not
water when the sensor is activated.
Rain Sensor Setup
e EVOLUTION
®
AG controller will stop all scheduled watering if the rain sensor is activated.
Step 1 – While in the ADVANCED menu, use the Up or Down arrows to select SENSORS, then press SELECT .
Step 2 – Use the Up or Down arrows to select RAIN, then press SELECT .
Step 3 – Use the Left or Right arrows to select the schedule.
Step 4 – Use the Up or Down arrows to place a check mark under the desired schedules to assign the rain sensor. When the
rain sensor is activated, EVOLUTION
®
AG will prevent schedules from operating. Replace the check mark with a dash to
disable the sensor for that schedule.
SENSORS
A B Ca
RAIN
WEATHER
SOIL 1
SOIL 2
Use the Right arrow or press SELECT to access the rain sensor setup screen.
RAIN SENSOR
DRYOUT DAYS OFF
CURRENT STATE IS DRY
Step 5 – Select DRYOUT DAYS. Press SELECT or Right arrows to navigate to the parameter.
Step 6 – Use the Up or Down arrows to set a dryout of 1-14 days or OFF. e dryout day is the waiting period after the rain
sensor is detected to be dry.

 Loading...