Service procedures - engine Group 21
34
Valves, adjusting
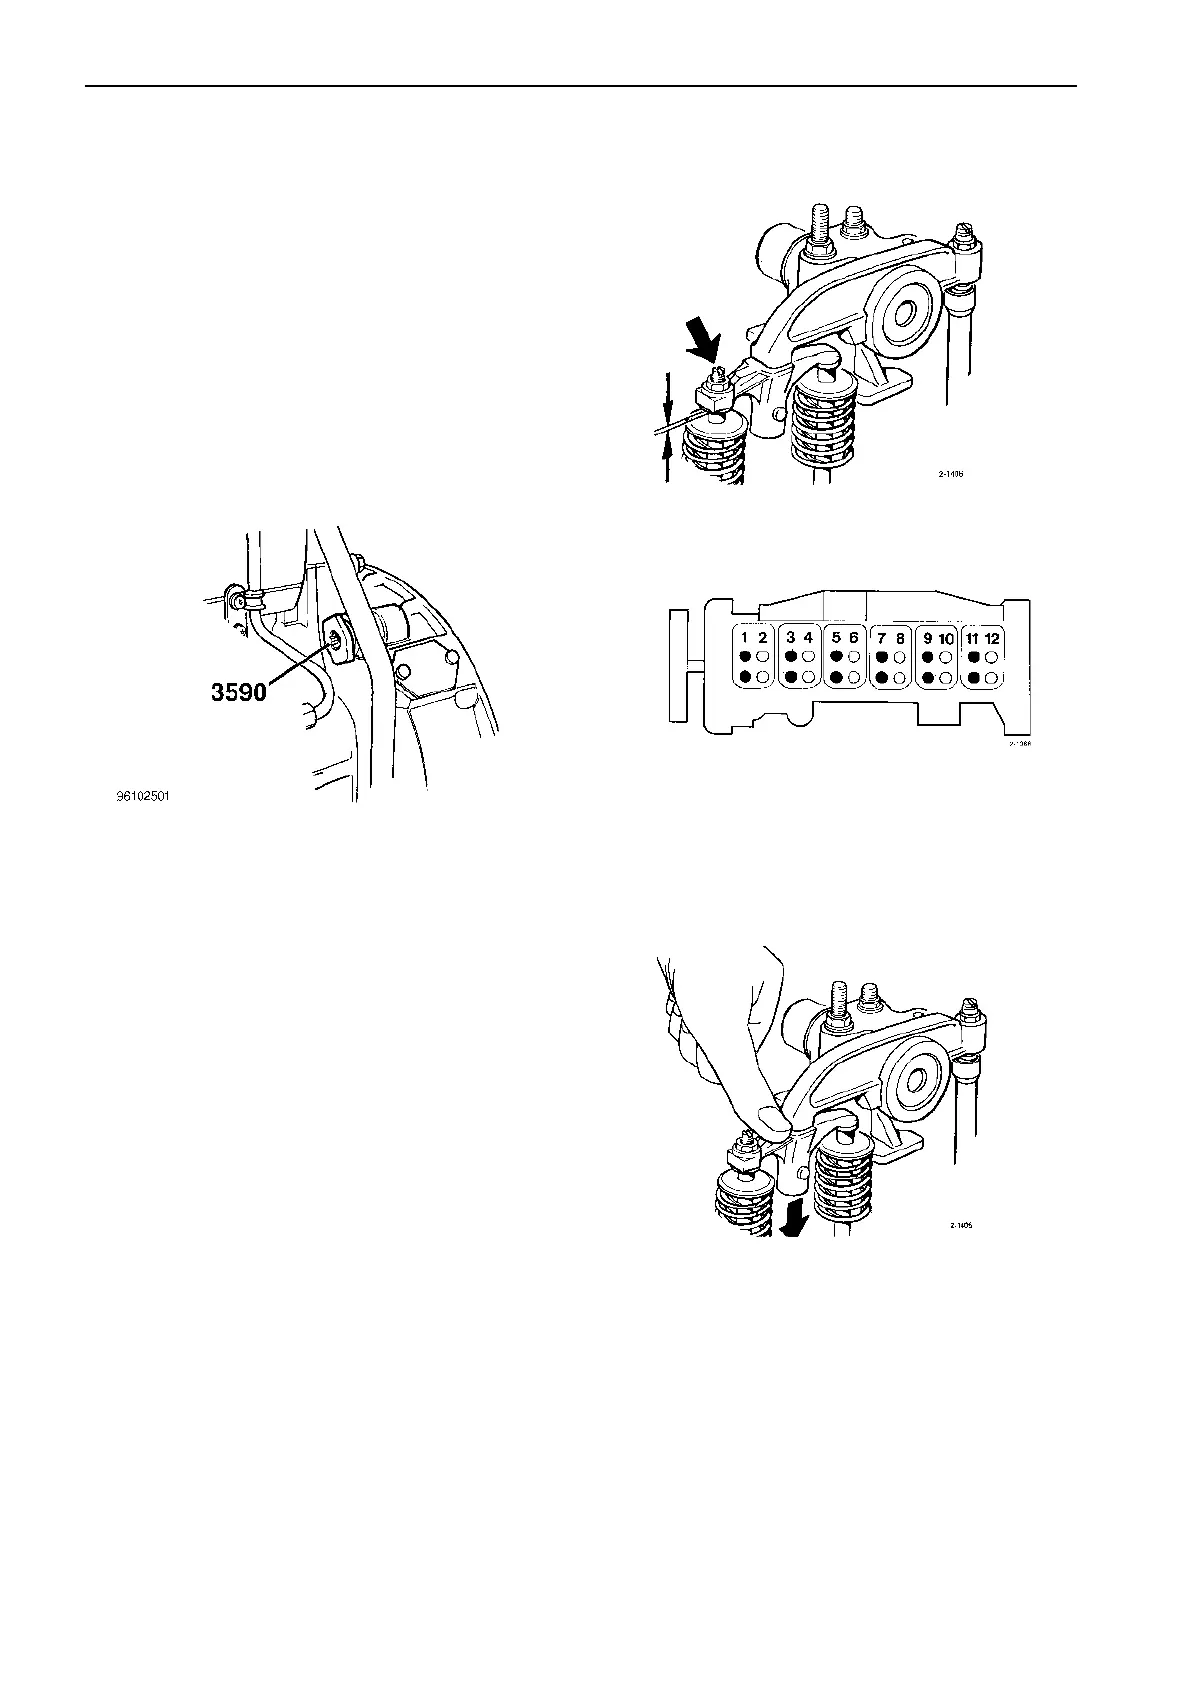
Special tools: 998,3590
Valves are adjusted with the engine cold. On no condition
should the engine be running since the valves can strike
against the piston and cause serious damage.
Make sure that the stop control is pulled out and the starting
key is turned off.
Valve adjustments are done in accordance with the two-po-
sition method, but also each pair of valves are adjusted in
two stages. The first stage is to adjust the valve caliper, the
second to adjust the rocker arm play.
1
Remove the plug in the flywheel casing and attach crank-
ing tool 998 3590.
2
Remove the delivery pipe and the fuel return pipe.
3
Remove all valve covers.
Note: After removing the valve cover, always check the
torque on the studbolt to the rocker arm bridge. Correct
torque 48 Nm (35.4 ft-lb).
4
Crank the flywheel in the engine’s direction of rotation until
1st piston is in the top dead center after the compression
stroke (0° on the flywheel, both pairs of valves on 6th cylin-
der rocking).
Adjusting the valve caliper
5
Slacken the lock nut and adjusting screw for the no. 1 pair
of valves on 1st cylinder until there is play between the
caliper and the valve stem.
6
Press the valve caliper down.
7
Turn the adjusting screw until it touches the valve stem.
 Loading...