Network Connectivity
Xerox
®
Phaser
®
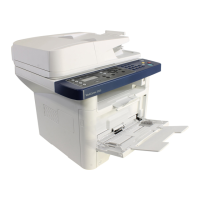
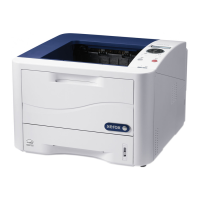
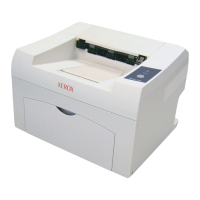
3330 Printer 21
System Administrator Guide
Configuring the Network Address Manually at the Control Panel
1. At the printer control panel, press the Menu button.
2. Navigate to Tools, then press OK.
Note: To access this feature at the control panel, log in as an administrator.
3. Navigate to Setup, then press OK.
4. Navigate to Network Settings, then press OK.
5. Navigate to TCP/IPv4, then press OK.
6. Navigate to Static, then press OK.
7. Navigate to IPv4 Address, then press OK.
8. Using the alphanumeric keypad, enter the IPv4 address, then press OK.
9. Using the alphanumeric keypad, enter the subnet mask, then press OK.
10. Using the alphanumeric keypad, enter the gateway address, then press OK.
11. To return to the Ready screen, press the Menu button.
Configuring IP Settings in Xerox
®
CentreWare
®
Internet Services
If your printer has a valid network address, you can configure TCP/IP settings in Xerox
®
CentreWare
®
Internet Services. For details, see Assigning a Network Address on page 13.
Configuring IPv4
You can use IPv4 or IPv6 in addition to or in place of the other.
1. In Xerox
®
CentreWare
®
Internet Services, click Properties > Connectivity > Protocols.
2. Click TCP/IP.
3. For Protocol, select Enabled.
4. For Host Name, type a unique name for your printer.
5. For IP Address Resolution, select an option. Fields that appear depend on the option that you select.
− STATIC: This option disables dynamic addressing and allows you to type a static IP address.
Type the Machine IP Address, Subnet Mask, and Gateway Address.
− BOOTP: This option allows the printer to obtain an IP address from a BOOTP server that does
not respond to DHCP requests.
− DHCP: This option allows your DHCP server to assign an IP address to the printer. Dynamic DNS
Registration is enabled.
6. For Domain Name, type the fully qualified domain name of your authentication server.
7. For DNS Configuration, type the IP address for up to three servers.
8. To send a release request to the DHCP and DNS servers, for Dynamic DNS Registration, select
Enabled. If the servers grant the request, when the printer is powered off, the current IP address
and dynamic DNS name are released.
 Loading...
