Network Connectivity
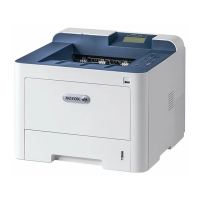
Xerox
®
Phaser
®
3330 Printer 25
System Administrator Guide
Configuring SNMP Advanced Settings
You can add, edit, or delete IP addresses for Network Management workstations that receive traps from
the device.
Configuring SNMP Advanced Settings
1. In Xerox
®
CentreWare
®
Internet Services, click Properties > Connectivity > Protocols.
2. Click SNMP.
3. Click Add IP Address.
4. For IP Trap Destination Address, type the IP address of the host running the SNMP manager that
receives traps.
5. Type the UDP Port Number.
6. To add the traps, perform the following steps.
− Under TRAP Community Name, type a name.
− Select the type of traps that the SNMP manager receives under Traps to be Received.
7. Click Apply.
 Loading...