35
DNR (Digital Noise Reduction)
The Digital Noise Reduction (DNR) system is de-
signed to reduce the level of ambient noise found
on the HF and 50 MHz bands. The (DNR) system
is especially effective during SSB operation. Any
of 15 different noise-reduction algorithms can be
selected; each of these algorithms was created to
deal with a dierent noise prole. You will want to
experiment with the DNR system to find the best
setting corresponding to the noise currently being
experienced.
The DNR function can be operated individually for
VFO-A band and VFO-B.
Press the [DNR] key to enable the DNR operation.
To disable DNR operation, press the [DNR] key
once more.
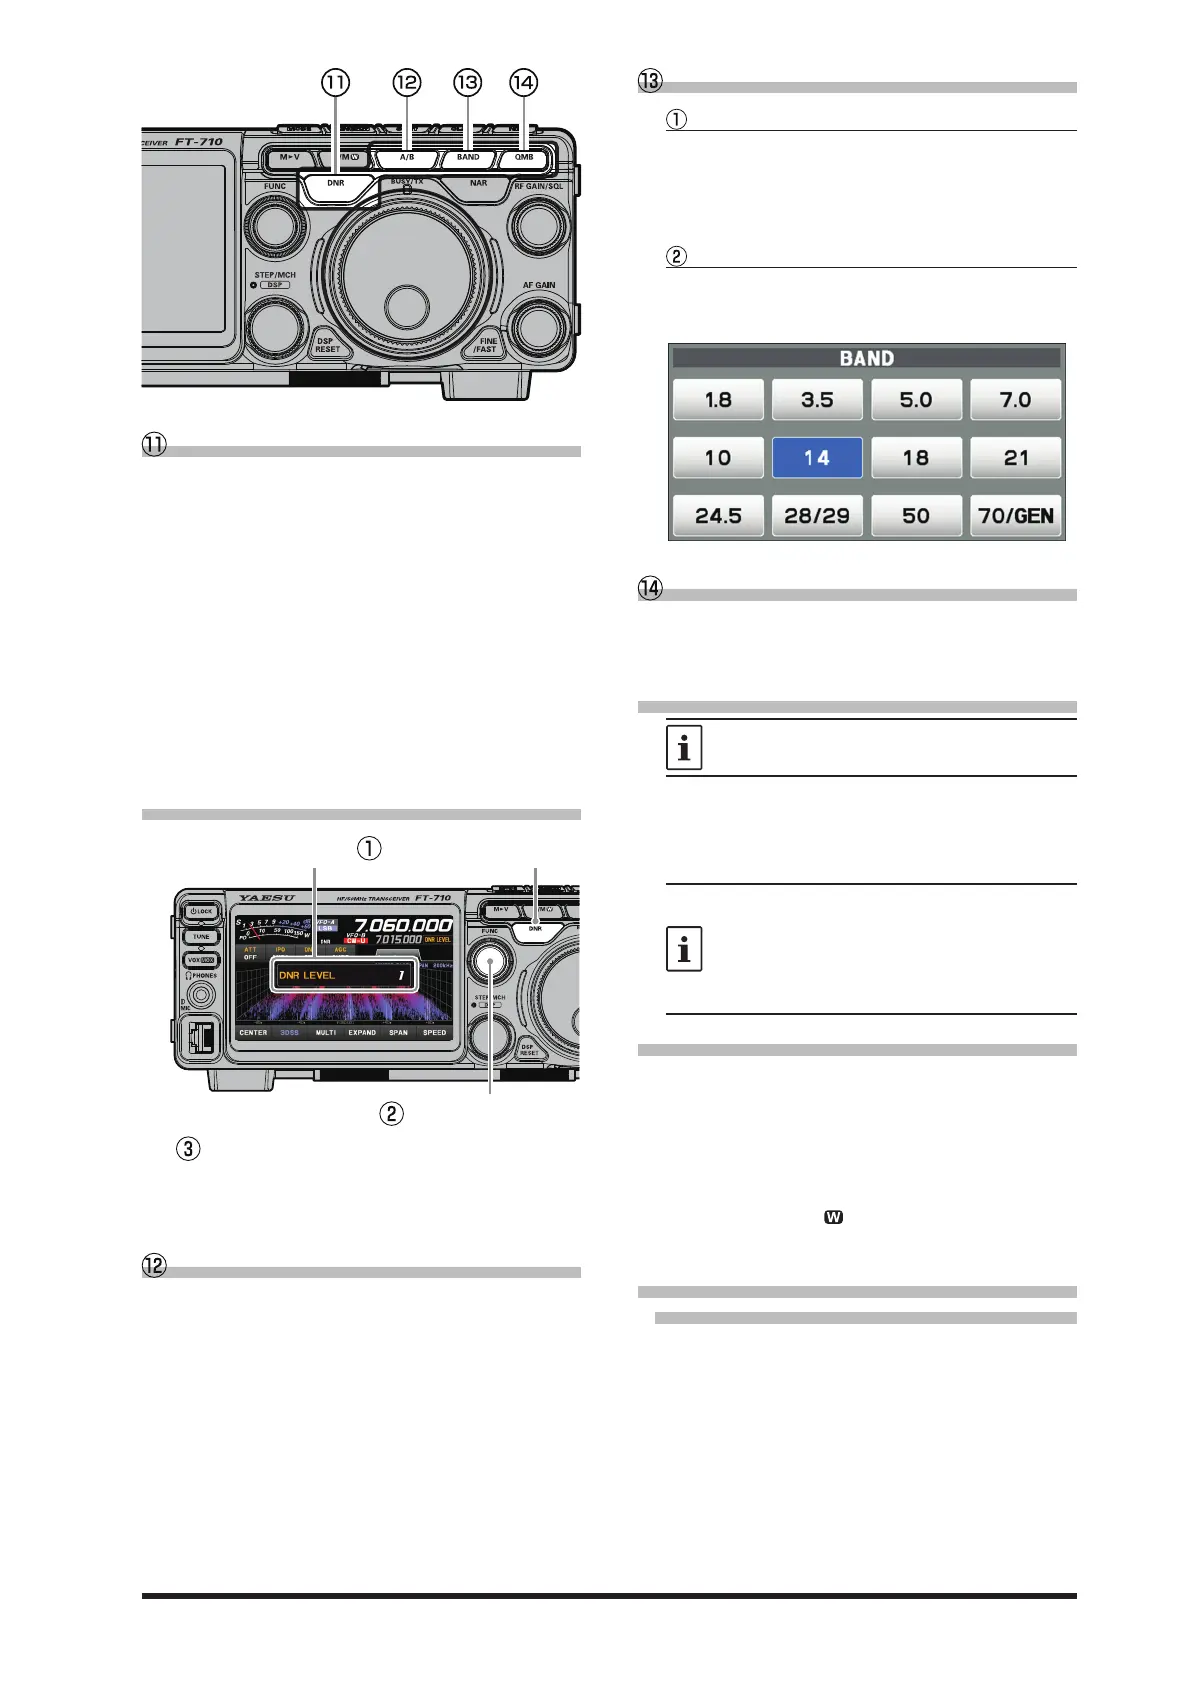
• Adjusting the DNR Level
After adjusting to a DNR level, the DNR level display
disappears after about 3 seconds.
DNR Level
Press and hold the [DNR] key
to display the DNR level.
Turn the [FUNC] knob to
adjust the DNR level.
After adjusting the DNR level, the operation of the
[FUNC] knob returns to the operation that was used
before adjusting the DNR level.
A/B
Pressing this key momentarily, exchanges the
VFO-A and VFO-B frequency data. Press and hold
this key, and the frequency displayed in gray in the
lower row becomes the same as the frequency dis-
played in white in the upper row. The operation will
be the same mode as the upper row.
BAND (
Operating Band Selection
)
Touch the display to select
Press the [BAND] key, the operation band selection
screen appears on the display, so touch the desired
band. When you touch it, the band will be conrmed
for about 1 second and then return to the operating
screen.
Rotate the [FUNC] knob to select
Press the [BAND] key, the operation band selection
screen appears on the display. Rotate the [FUNC]
knob to select the desired band.
QMB (Quick Memory Bank)
The current operation status can be stored in a
dedicated memory channel (QMB: Quick Memory
Bank) with one touch.
• QMB Channel Storage
The initial number is 5 QMB memories, but
this can be increased to 10 channels.
1. Tune to the desired frequency on the VFO mode.
2. Press and hold the [QMB] key. The “beep” will
conrm that the VFO contents have been written
to the currently available QMB memory.
• Repeated pressing and holding of the
[QMB] key will write the VFO contents to
successive QMB memories.
• Once all five (or ten) QMB memories
have data on them, previous data will be
over-written on a rst-in, rst-out basis.
• QMB Channel Recall
1. Press the [QMB] key.
The current QMB channel data will be shown on
the frequency display area.
The “VFO” or “Memory Channel number” will be
replaced by “QMB”.
2. Repeatedly pressing the [QMB] key will step
through the QMB channels:
3. Press the [V/M
] key to return to the VFO
mode.
• Changing the number of
QMB channels
The QMB channels can be selected from “5 chan-
nels” or “10 channels”.
1. Press the [FUNC] knob.
2. Select [
OPERATION SETTING
] → [
GENERAL
]
→ [QMB CH].
3. Select “5ch” or “10ch”.
4. Press the [FUNC] knob, or wait for about 3 sec-
onds to save the setting.
5. Touch [BACK] several times to return to normal
operation.
 Loading...