PSR-A3000 Owner’s Manual 69
Songs – Playing, Practicing and Recording Songs –
3
5 Press the SONG [F/ K] (PLAY/PAUSE) button to play back the
recorded performance.
6 Save the recorded performance as a Song.
6-1 Press the SONG [SELECT] button to call up the Song Selection display.
6-2 Save the recorded data as a file by following the instructions on page 28.
You can create a Song consisting of 16 channels by recording your performance to each channel one by one. In recording
a piano piece, for example, you can record the right-hand part to channel 1 then record the left-hand part to channel 2,
allowing you to create a complete piece which may be difficult to play live with both hands together. To record a
performance with Style playback, for example, record the Style playback to channels 9 – 16, then record melodies to
channel 1 while listening to the already recorded Style playback.
Before recording, make the necessary settings such as Voice/Style selection.
1 Press the SONG [REC] button and the [J] (STOP) button
simultaneously.
A blank Song for recording is automatically set, and the Song name on the Main
display (page 24) is set to “NewSong.”
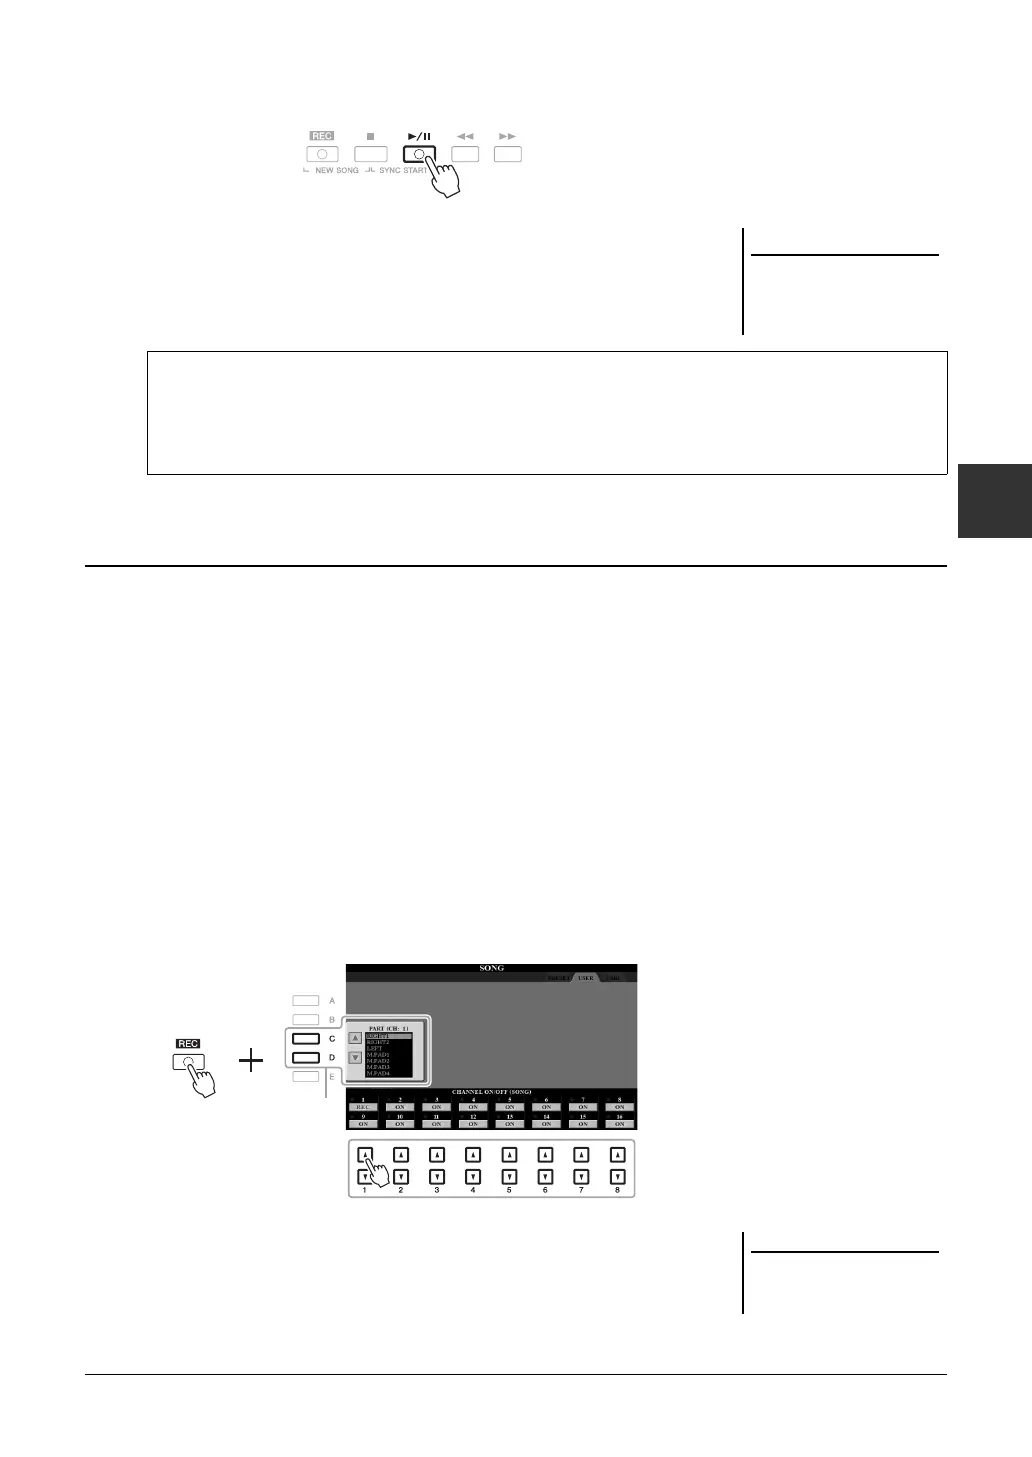
2 While holding down the SONG [REC] button, press the
appropriate [1
] – [8 ] buttons to set the desired
channels to “REC.”
To cancel the REC status of the channel, press the desired channel button.
3 Use the [C]/[D] buttons to change the part assignment for the
channel to be recorded.
The recorded Song will be lost if
you change to another Song or
you turn the power off without
carrying out the Save operation.
Recording a specific part
In place of step 2, pressing the SONG [TR1] (or [TR2]) button while holding the [REC] button enables you to
record only the right-hand (or left-hand) part.
Pressing the [EXTRA TR] button while holding the [REC] button enables recording of only Style and Multi Pad
playback.
Recording Each Channel Individually (Multi Track Recording)
To cancel the recording, press the [J]
(STOP) button before going on to step
4.

 Loading...