68 PSR-A3000 Owner’s Manual
You can record your performance and save it as a MIDI file (SMF format 0) to the
USER drive or USB flash drive. Since the recorded data is MIDI, you can easily edit
your Songs.
Two recording methods are available:
• Quick Recording.....................see section below
You can record all parts of your performance at once or a specific part (right-
hand, left-hand or Style playback).
• Multi Track Recording...........page 69
You can record data to each channel one by one, to create a single, multi-part
Song. The channel/part assignments can be freely changed.
Before recording, make the necessary settings such as Voice/Style selection. With this recording, each part will be
recorded to the following channels.
• Keyboard parts: channels 1 – 3
• Multi Pad parts: channels 5 – 8
• Style parts: channels 9 – 16
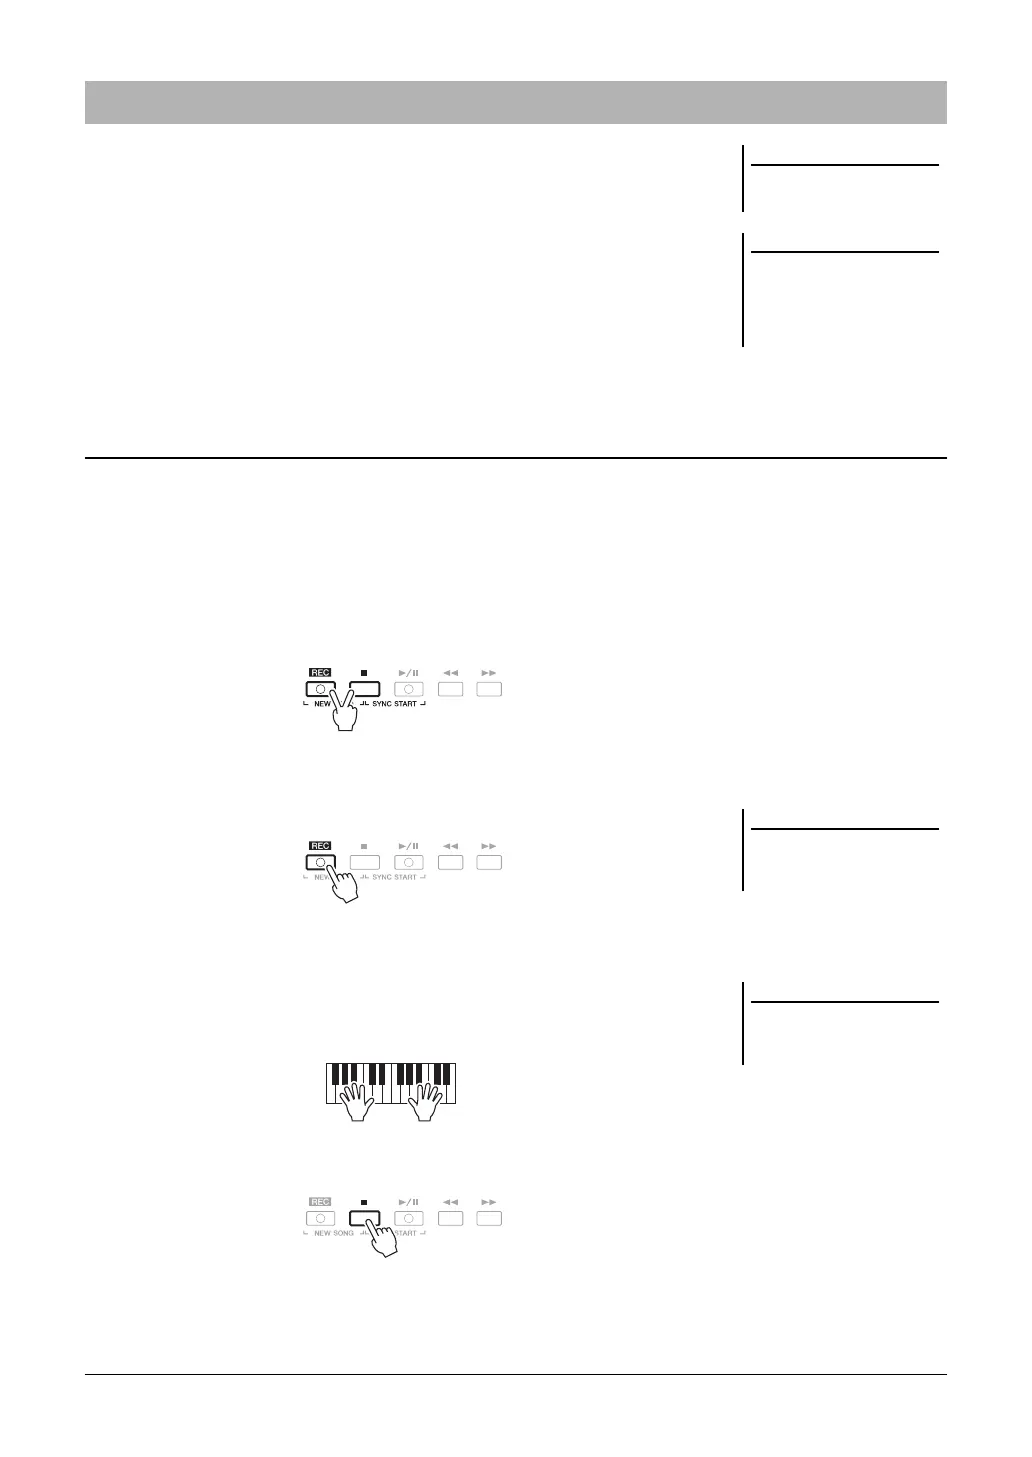
1 Press the SONG [REC] button and the [J] (STOP) button
simultaneously.
A blank Song for recording is automatically set, and the Song name on the Main
display (page 24) is set to “NewSong.”
2 Press the SONG [REC] button.
The [REC] and [F/ K] (PLAY/PAUSE) buttons flashes, indicating the standby
status.
3 Start recording.
You can start recording by playing the keyboard, starting a Style, playing a
Multi Pad or pressing the SONG [F/ K] (PLAY/PAUSE) button.
4 After you finish your performance, press the SONG [J] (STOP)
button to stop recording.
A message may appear prompting you to save the recorded data. Press the
[EXIT] button to close the message.
Recording Your Performance
For instructions on the recording of
audio songs (files), see page 74.
Audio data such as the rhythm chan-
nels created via the audio data of
Audio Link Multi Pad (page 78) and
audio files (page 71) cannot be
recorded to the MIDI Songs.
Quick Recording
To cancel the recording, press the [J]
(STOP) button before going on to step
3.
You can use the metronome (page 38)
while recording; however, the metro-
nome sound will not be recorded.

 Loading...