Page – 124/139 AFFZP0BB – ACE3 – User Manual
12 APPENDICES
The goal of this chapter is to give the operator a general overview about the use of
Zapi PC CAN Console and Zapi Smart Console.
The description focuses on the basic information about connection and settings.
For additional functionalities available for both tools, it is suggested to contact Zapi
technicians in order to receive more detailed information or dedicated
documentation.
12.1 Appendix A: PC CAN Console user guide
Windows Pc CAN Console uses standard Zapi communication protocol to display
inverter information. It provides all standard Zapi Console functions with the easier
handling of Windows environment. Besides, Pc CAN Console offers the possibility to
save parameter configurations into a file and to restore them onto the control
afterwards.
Before running Pc CAN Console, the user must install it launching "setup.exe".
12.1.1 PC CAN Console configuration
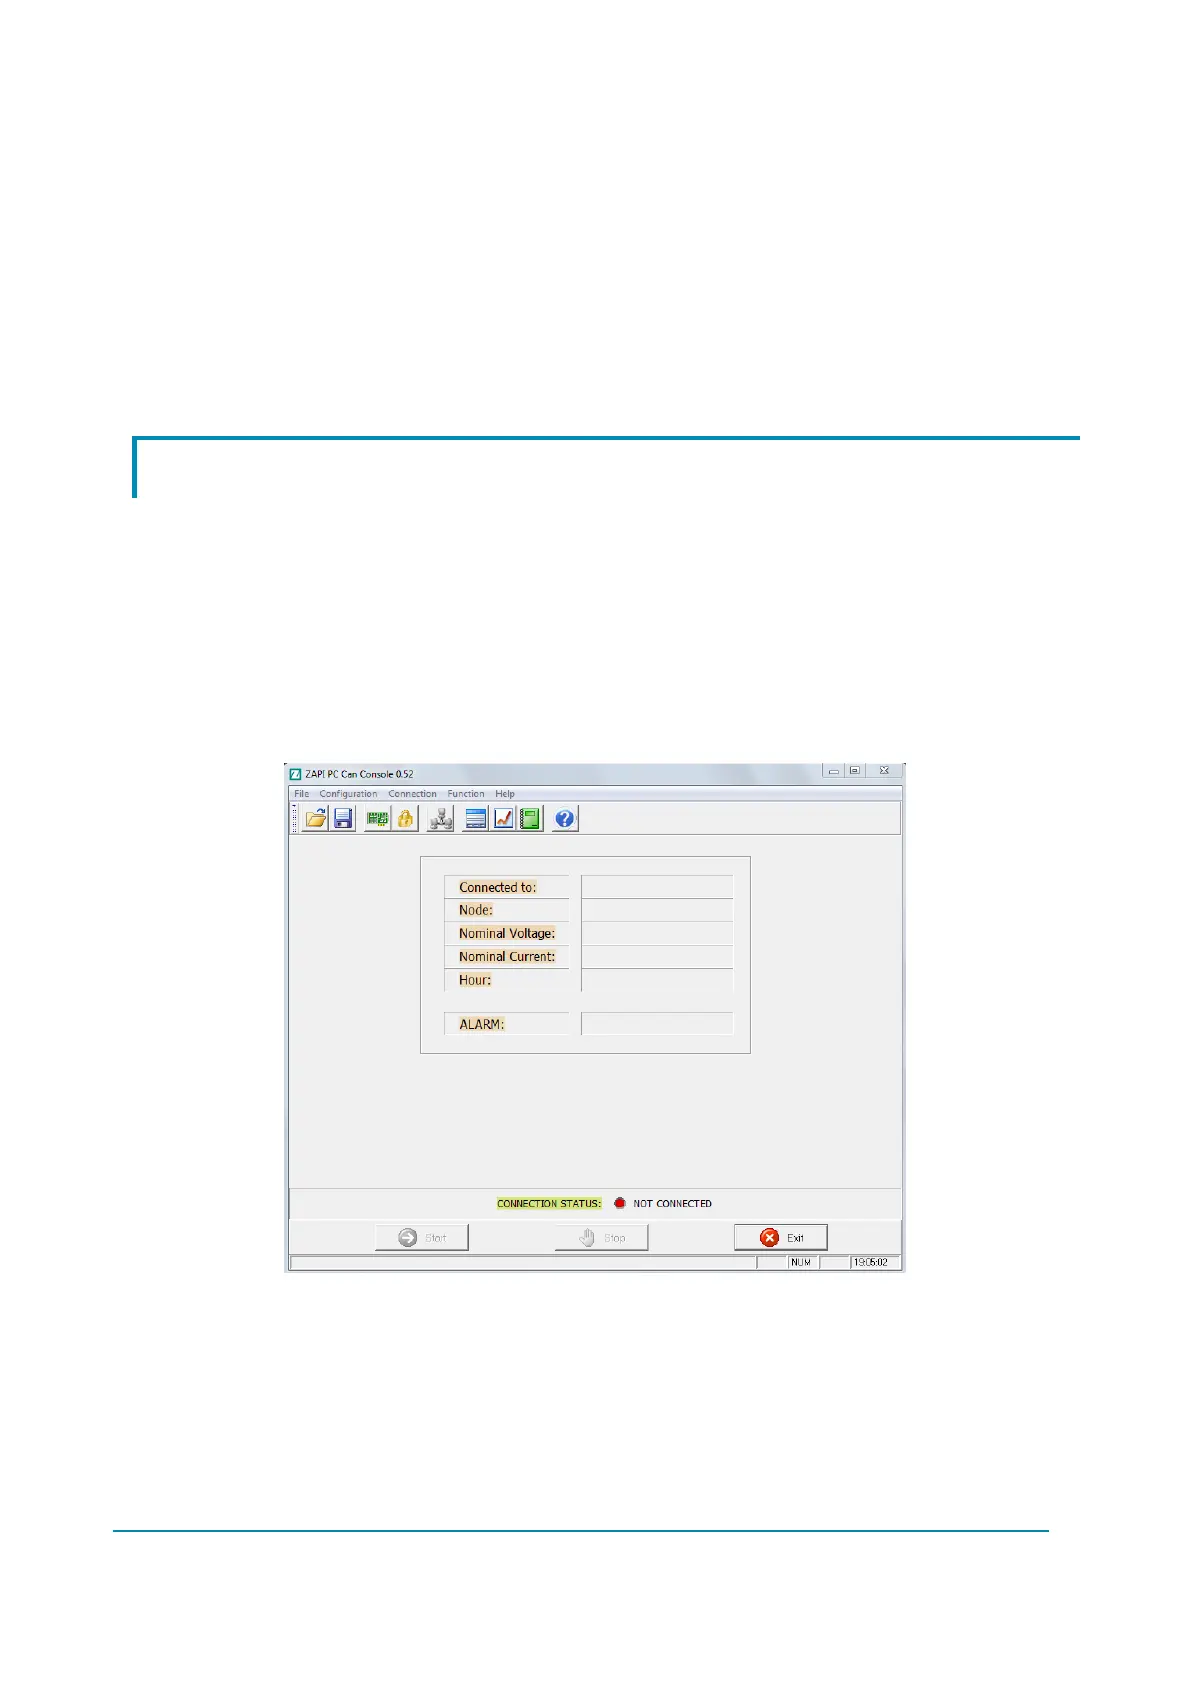
Running the PC Can Console software, the following window appears:
The first step to accomplish is to define the CAN device attached to the PC, so
select the “Configuration” (Alt-C) Can Device (Ctrl-C) menu or click on Can
Device icon.
 Loading...