Extended diagnostic functions
70 - EN FEX300, FEX500 CI/FEX300/FEX500-EN
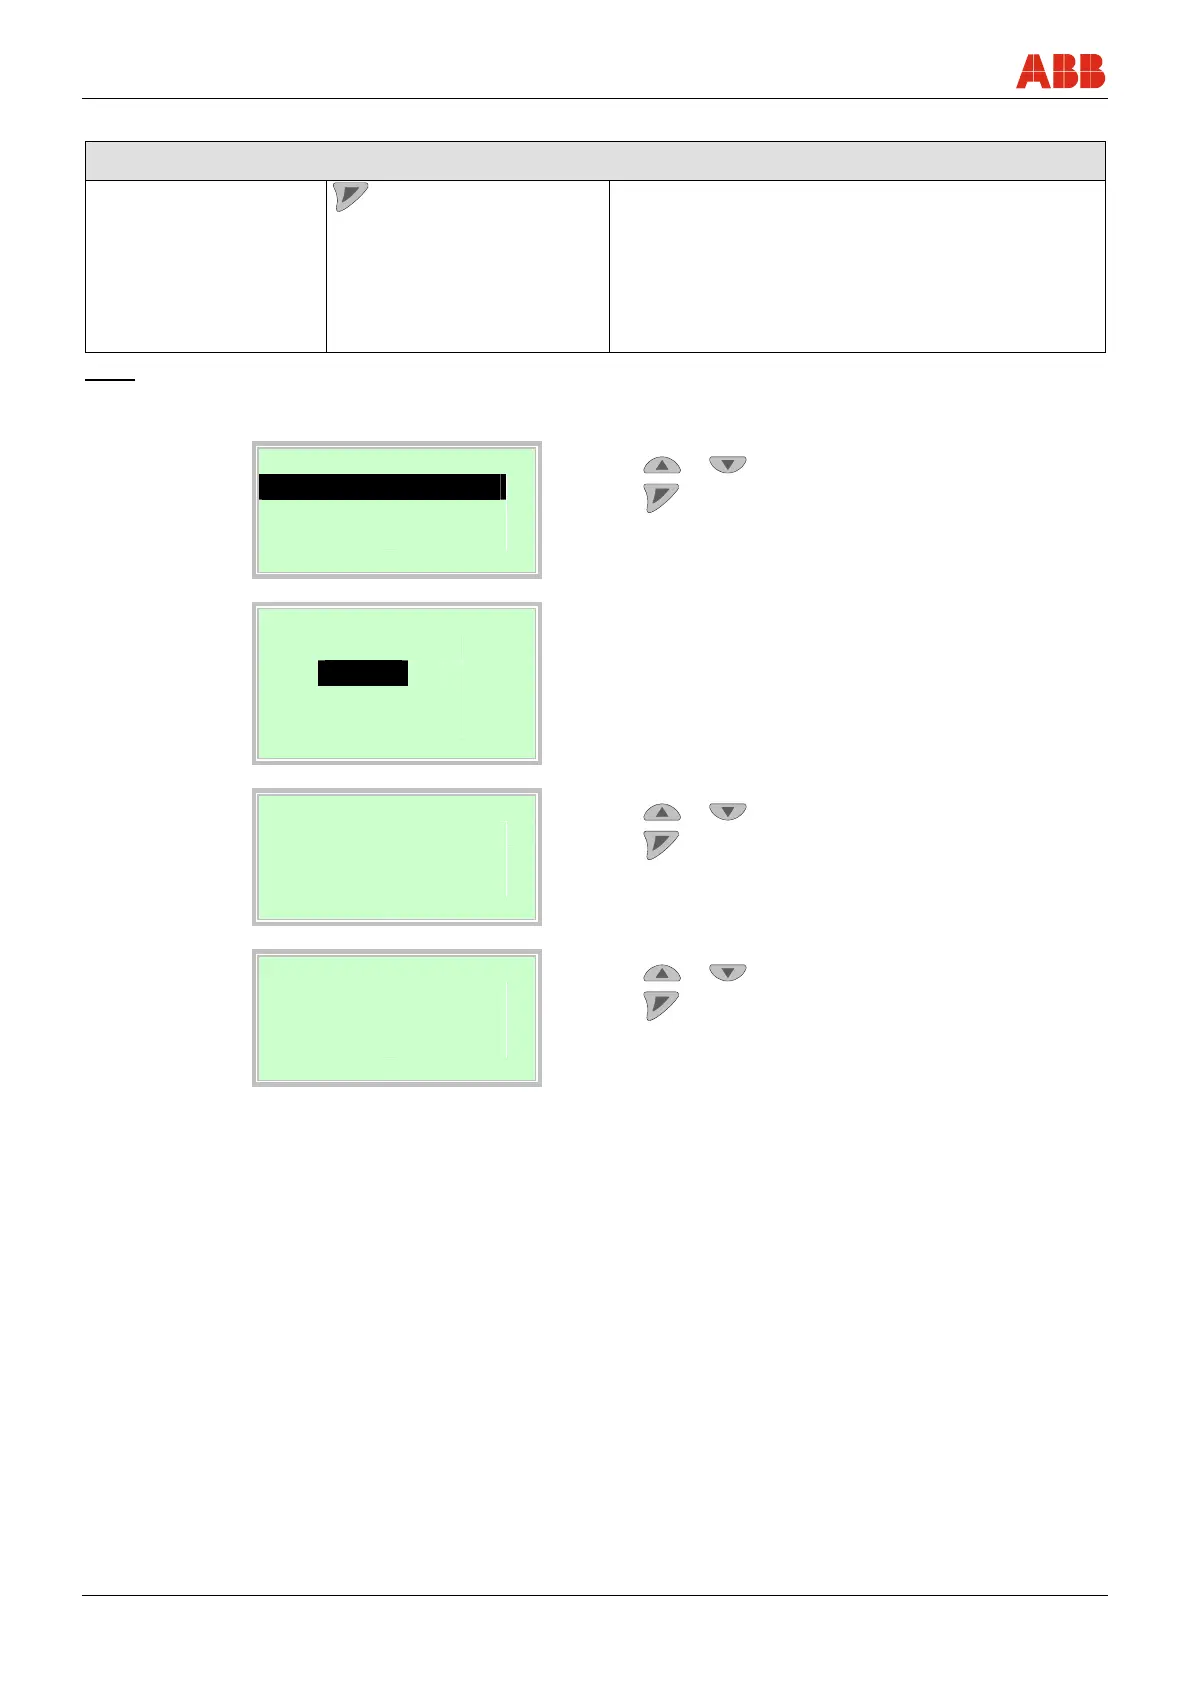
8.2 Performing the grounding check
... / Diagnostics / Diagnosis Control / Grounding Check
1)
Grounding Check
Start the "Grounding Check" function.
Power Spectrum Display only Current power spectrum.
Amplitude 1 Value Display only
Amplitude 2 Value Display only
Amplitude 3 Value Display only
Amplitude 4 Value Display only
Display the four highest amplitudes in the power
spectrum.
italics = Parameter can only be viewed at the "Advanced" password level.
1) Parameter / menu only available for FEP500 / FEH500.
Grounding Check
Grounding Check
Power Spectrum
Amplitude 1
Back OK
48.Use
or to select "Grounding Check".
49.Use
to start the "Grounding Check" function.
Grounding Check
Grounding Check 46.75
48.65
50.08
52.00
Back OK
Once the grounding check has been started, the frequency
range up to 250 Hz is measured. The four most intensive
frequencies of the spectrum are shown at the right of the
display.
The corresponding amplitudes and the power spectrum
over the frequency range can be called up for display using
the following parameters.
Grounding Check
Power Spectrum
335
Back OK
50.Use
or to select "Power Spectrum".
51.Use
to call up the parameter for display.
Grounding Check
Amplitude 1 (n)
2.7
Back OK
52.Use
or to select "Amplitude 1 (n)".
53.Use
to call up the parameter for display.
The measured values indicate possible disturbances of the device's grounding line at the time
of the test.
No or minor disturbance:
• When the power spectrum is below 1000.
• When the four measured amplitude values are above 10.
Check the device grounding (!):
• When the power spectrum is above 1000.
• When the four measured amplitude values are above 10.

 Loading...