CAUTION: To reduce the risk of electric shock or damage to your equipment, do not disable
the power cord grounding plug. The grounding plug is an important safety feature. Plug the
power cord into a grounded (earthed) outlet that is easily accessible at all times. Disconnect the
power from the unit by unplugging the power cord from either the power source or the unit.
NOTE: If the building has 3-phase AC power, ensure that the computer and monitor are on the same
phase to avoid potential phase-related video and/or keyboard problems.
NOTE: The maximum supported cable length from switch to server is 30 meters.
Adhere to the following guidelines when connecting the switch:
• Do not disable the power grounding plug. The grounding plug is an important safety
feature.
• Connect the power cord into a grounded (earthed) outlet that is easily accessible at all
times.
• Disconnect the power from the product by unplugging the power cord from either the
power source or the product.
• This product has no user-serviceable parts inside the product enclosure. Do not open or
remove the product cover.
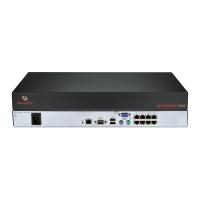
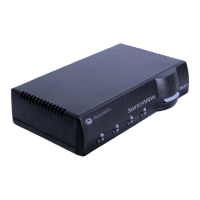
To connect and turn on your switch:
1. Connect your VGA monitor and USB keyboard and mouse cables to the appropriately labeled
ports.
2. Connect one end of a UTP cable (4-pair, up to 98 ft/30 m) to an available numbered port.
Connect the other end to an RJ45 connector of an IQ module.
3. Connect an IQ module to the appropriate port on the back of a device. Repeat steps 2 and 3 for
all devices you want to connect.
NOTE: When connecting to a Sun Microsystems™ server, you must use a multi-sync monitor in the
local port to accommodate Sun computers that support both VGA and sync-on-green or composite
sync.
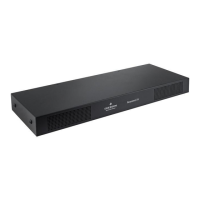
4. Connect a user-supplied UTP cable from the Ethernet network to the LAN port on the back of
the switch. Network users access the switch through this port.
5. Turn on each device, then locate the power cord that came with the switch. Connect one end
to the power socket on the rear of the switch. Connect the other end into an appropriate power
source.
6. (Optional) Connect the virtual media or smart card readers to any of the USB ports on the
switch.
NOTE: For all virtual media sessions, you must use a USB2 or VMC IQ module.
2.4 Tiering Your Switch Using an IQ Module
The following figure illustrates a typical IQ module connection between the switch and a device.
To connect an IQ module to each device:
NOTE: When tiering devices, the switch closest to the actual user is the primary switch.
1. Locate the IQ modules for your switch.
Vertiv | Avocent® AutoView™ 2108/2216/3108/3216 Switch Installer/User Guide | 7
 Loading...