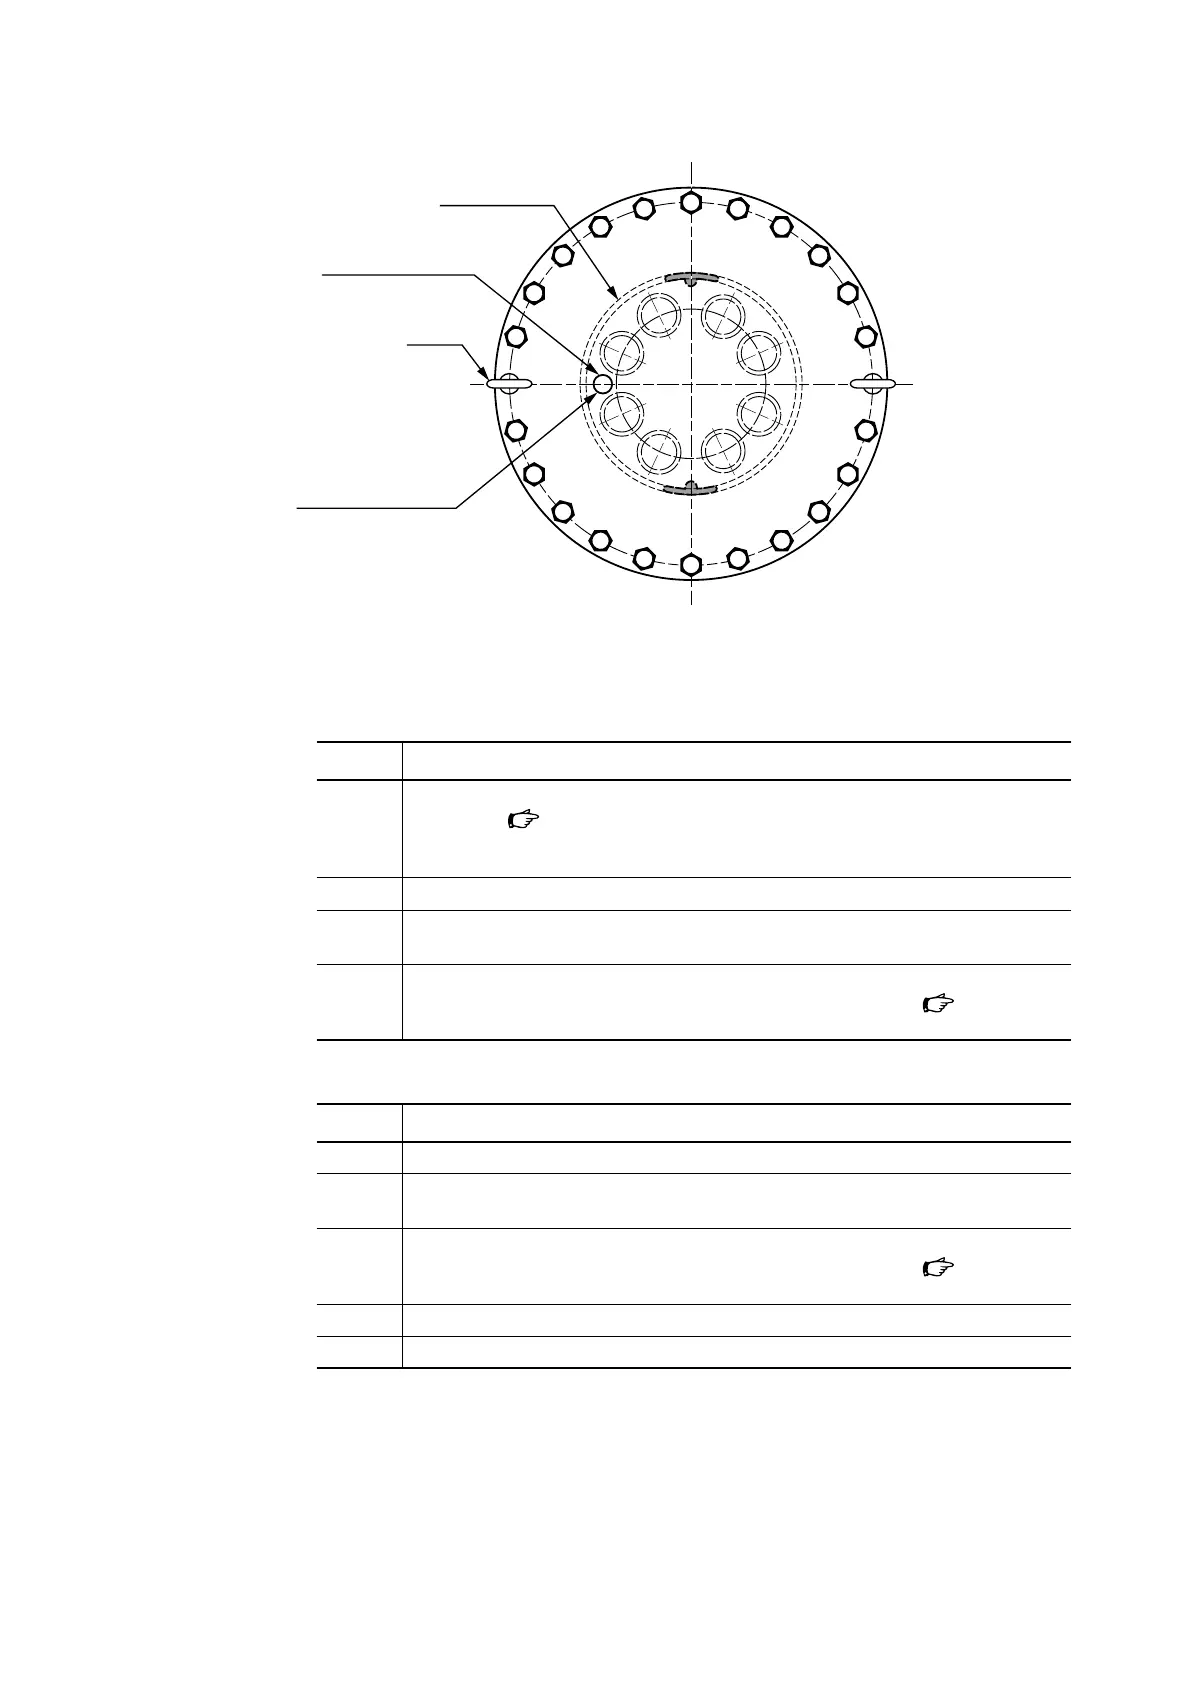
Diaphragm plate
Air vent hole
(upper diaphragm case)
Eyebolt
Air pipe connection port
(lower diaphragm case)
Figure 6-14. Reverse action (PSA4R)
(4) Mounting the diaphragm unit and springs
• For direct-action actuators
Step Procedure
1 Place the spring plate so that springs can be set in the diaphragm case in the manner
illustrated in
Figure 6-7 to Figure 6-10, and then attach the springs to the spring
plate. For model PSA2D, first attach springs to the spring plates and then mount them
on the case.
2 Check that the threads of the rod are covered with plastic tape or the like.
3 Insert the rod of the diaphragm unit into the yoke, taking care not to damage the wrap
bushing and dust seal.
4 Rotate the diaphragm unit so that the diaphragm plate stopper and the air pipe con-
nection port of the diaphragm case are in the positions illustrated in
Figure 6-7 to
Figure 6-10.
• For reverse-action actuators
Step Procedure
1 Check that the threads of the rod are covered with plastic tape or the like.
2 Insert the rod of the diaphragm unit into the yoke, taking care not to damage the wrap
bushing, dust seal, and rod packing.
3 Rotate the diaphragm unit so that the diaphragm plate stopper and the air pipe con-
nection port of the diaphragm case are in the positions illustrated in
Figure 6-11 to
Figure 6-14.
4 Mount springs on the diaphragm plate.
5 Mount the spring plate on top of the springs.
6-10

 Loading...
