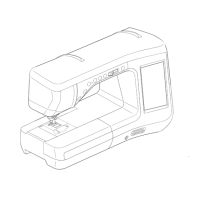
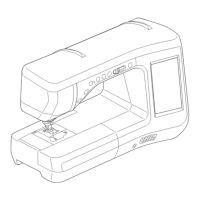
Chapter 1
B Basic operations
Getting Ready
TURNING THE MACHINE ON/OFF........................17
Setting Your Machine for the First Time ...................................18
LCD SCREEN............................................................20
■ Home Page Screen ................................................................... 20
■ Key Functions........................................................................... 21
Using the Machine Setting Mode Key ......................................22
■ Selecting the “Eco Mode” or “Shutoff Support Mode”............. 25
■ Changing the Pointer Shape When a USB Mouse Is Used ........ 25
■ Selecting the Initial Screen Display.......................................... 25
■ Choosing the Display Language................................................ 26
■
Changing the Background Colors of the Embroidery Patterns
....... 26
■ Specifying the Size of Pattern Thumbnails ............................... 27
■ Saving a Settings Screen Image to USB Media.......................... 28
Using the Machine Help Key ...................................................29
LOWER THREADING ..............................................31
Winding the Bobbin..................................................................31
■ Using the Supplemental Spool Pin............................................ 31
■ Using the Spool Pin.................................................................. 34
■ Untangling Thread from Beneath the Bobbin Winder Seat ...... 35
Setting the Bobbin ....................................................................36
UPPER THREADING................................................38
Upper Threading.......................................................................38
Using Threads that Unwind Quickly .........................................41
■ Using the Spool Net................................................................. 41
CHANGING THE EMBROIDERY FOOT...................42
Removing the Embroidery Foot.................................................42
Attaching the Embroidery Foot .................................................42
■ Checking the Needle Drop Point With the Embroidery
Foot “W+” with LED Pointer (For Embroidery foot “W+”
with LED pointer user only) ..................................................... 43
■ Adjusting the LED Pointer (For Embroidery foot “W+”
with LED pointer user only) ..................................................... 44
■ Adjusting the Brightness of the LED Pointer
(For Embroidery foot “W+” with LED pointer user only)......... 44
CHANGING THE NEEDLE .......................................45
About the Needle......................................................................46
BEFORE EMBROIDERING........................................46
Embroidery Step by Step ..........................................................46
About the Embroidery Unit.......................................................47
■ Removing the Embroidery Unit ............................................... 47
■ Attaching the Embroidery Unit ................................................ 47
USING FUNCTIONS BY CONNECTING THE
ACCESSORY TO THE MACHINE .............................49
Using USB Media or Embroidery Card Reader/USB Card Writer
Module*....................................................................................49
Connecting the Machine to the Computer ................................49
Using a USB Mouse ..................................................................50
■ Clicking a Key .......................................................................... 50
■ Changing Pages ........................................................................ 50

 Loading...