OTHER BASIC PROCEDURES —————————————————————————————————————————————————
86
4
After making the adjustments, try
embroidering with all needle bars to check
the thread tension.
Memo
● In the built-in embroidery patterns, one
pattern is used for checking the thread
tension. By sewing this pattern, the thread
tension can easily be checked. For details,
refer to page 160.
Adjusting the tension of the
upper thread
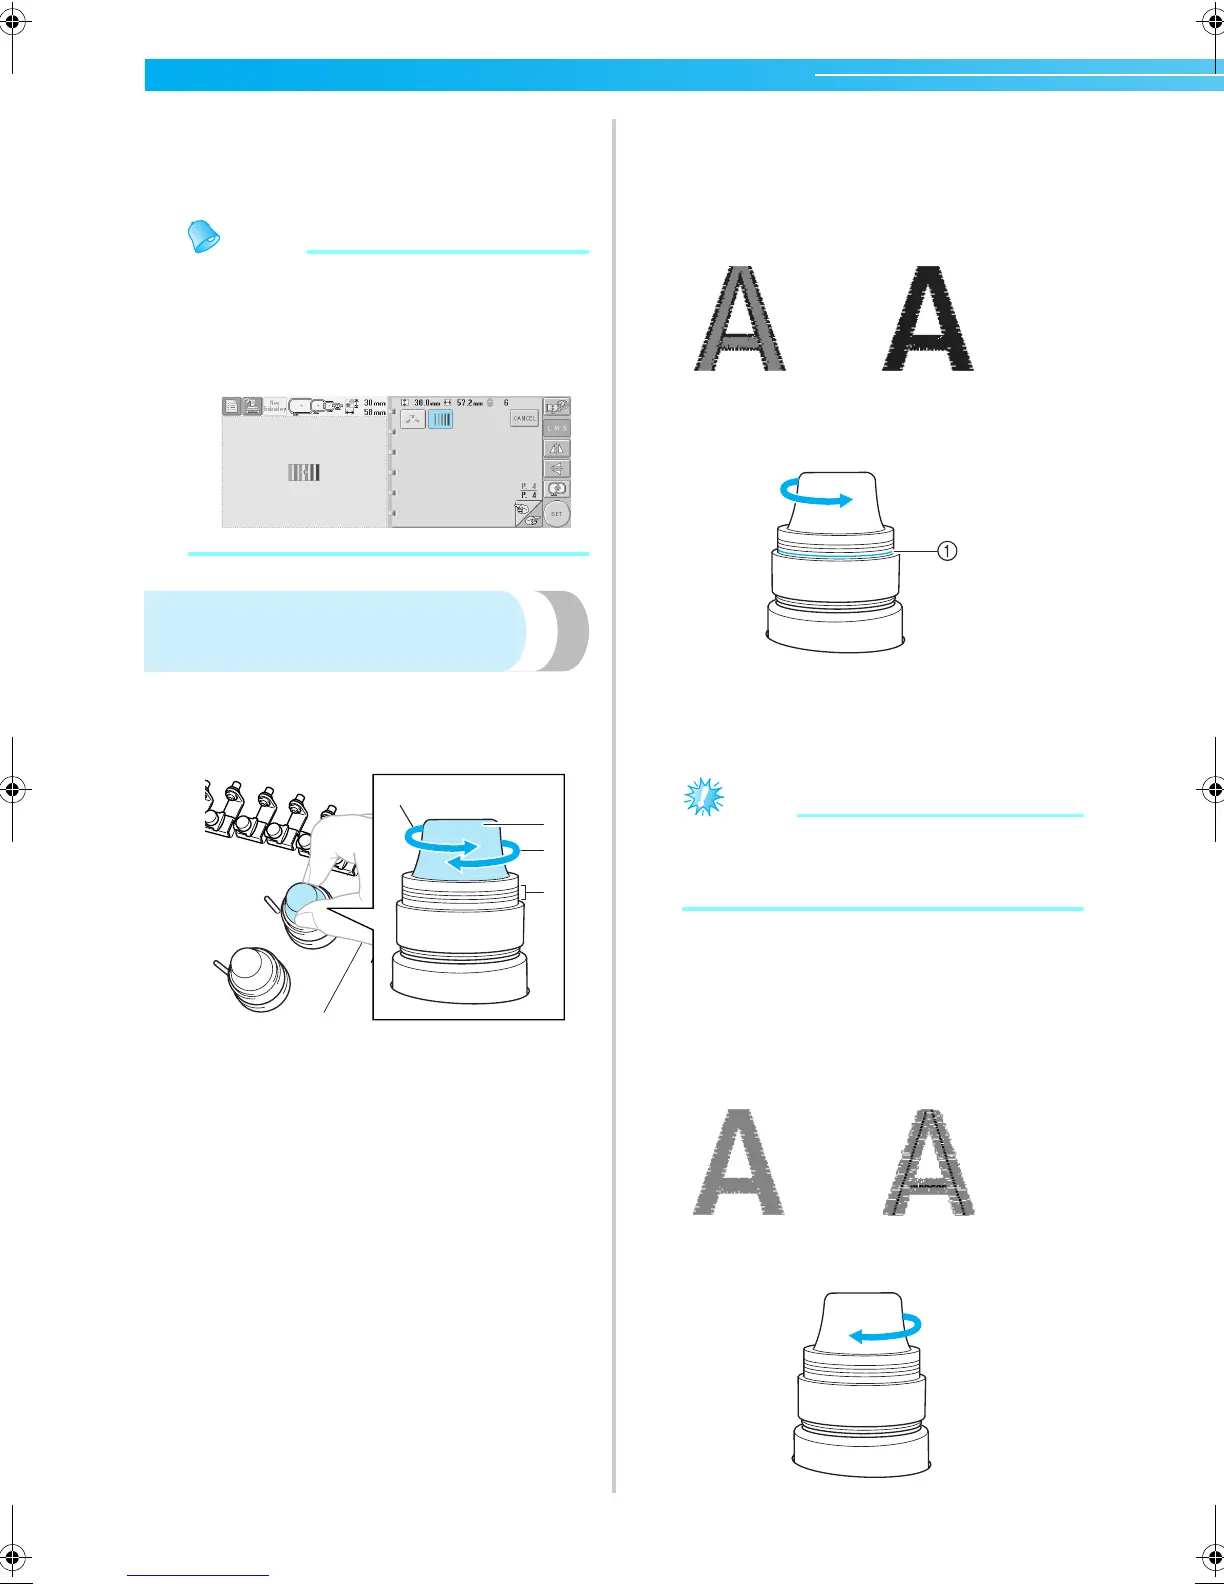
1
Turn the thread tension knobs.
1 Thread tension knobs
2 Tighter
3 Looser
4 Mark
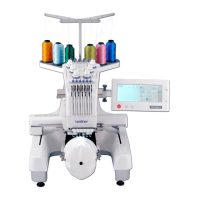
■ Upper thread is too tight
The tension of the upper thread is too tight,
resulting in the bobbin thread being visible from
the right side of the fabric.
Turn the knob in the direction of the arrow to
decrease the tension of the upper thread.
1 If the red line is visible, the thread tension cannot
be decreased any further. Increase the tension of
the bobbin thread. For details, refer to page 85.
Note
● If you decrease the thread tension further
than the red line, the tension knob may be
dis-assembled.
■ Upper thread is too loose
The tension of the upper thread is too loose,
resulting in a loose upper thread, loose thread
locks or loops appearing on the right side of the
fabric.
Turn the knob in the direction of the arrow to
increase the tension of the bobbin thread.
3
2
4
1
(Right side)
(Wrong side)
(Right side)
(Wrong side)
Sapphire_brother.book Page 86 Thursday, November 17, 2005 2:48 PM