669224-R5
26
ERVICE
S
5.2-3 Multi-Purpose/Rigid and Drum Arm
Contact Surface Replacement
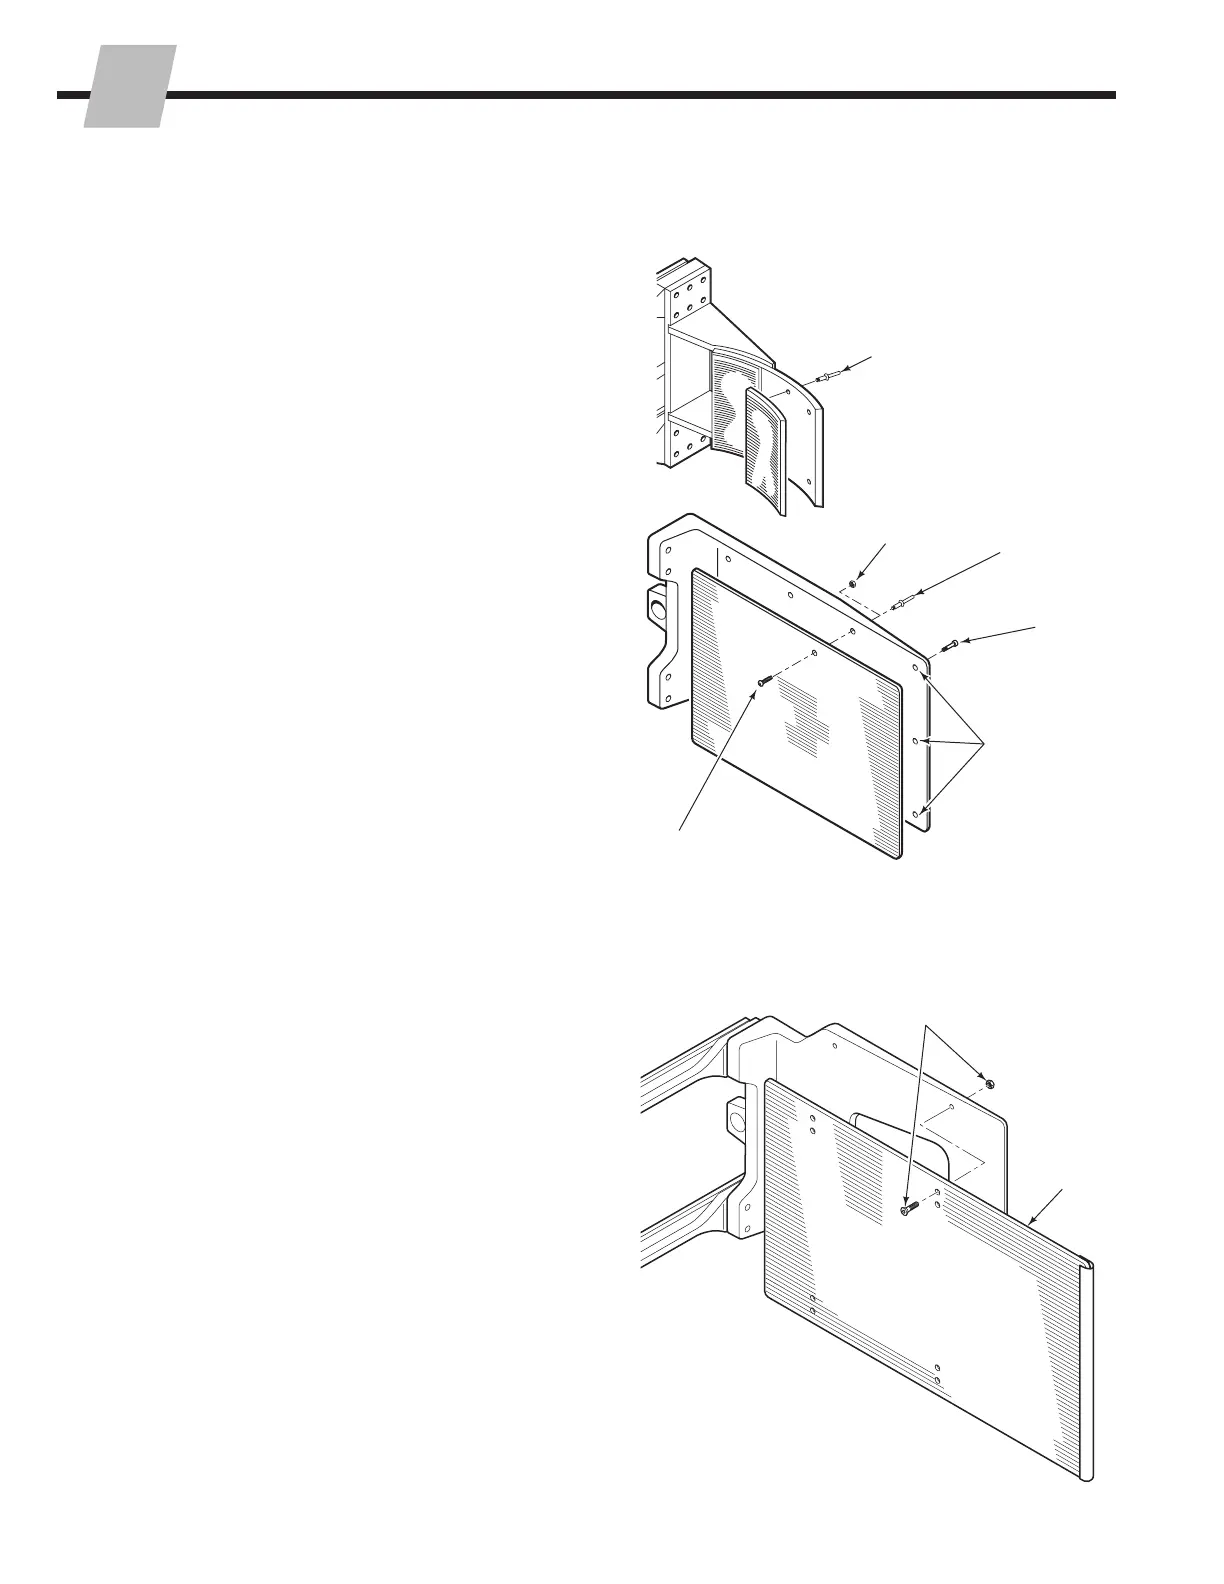
5.2-4 Rigid Arm Contact Pad
Rotation and Replacement
The following procedures can be performed with the
attachment mounted on the truck.
NOTE: The contact pads do not have a replaceable
surface. If a pad is completely worn, it must be replaced.
If only the lower section of the pads are worn, the pads can
be swapped side for side and reinstalled.
1 Remove the capscrews and nuts fastening the contact
pad to the stabilizer.
2 Remove the contact pad and swap side for side
or install new pads. Tighten the capscrews to
60–65 ft.-lbs. (80-88 Nm).
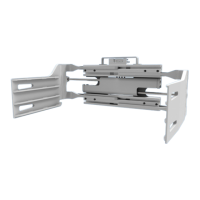
1 Drill out the rivets using .187 in. (4.8 mm) drill bit. Drill
from the front side of the arm.
2 Multi-Purpose/Rigid Arm Contact Pad Service Kits
include rivets and optional capscrews to be used
instead of rivets, if required. Drum Arm Service Kits
include rivets only.
Rivet Installation – Align the new contact surface to
the arm. Drill through using .187 in. (4.8 mm) drill bit.
Rivet the contact surface to the arm.
Optional Capscrew Installation – Align the new
contact surface to the arm. Drill the holes along the
front edge of the arm, through the contact pad with
a No. 7 tap drill. Drill the rest of the contact pad
with a .25 in. (6 mm) drill bit. Install the self-tapping
capscrews in the front edge holes. Install the button
head capscrews through the contact pad. Install the
nuts and tighten. The capscrew heads should be well
below the contact pad surface.
1
Contact
Pad
CL1528.eps
Rivet
Nut
Front Edge
Holes
Self
Tapping
Capscrew
Button Head
Capscrew
Rivet
CL1474.eps
 Loading...