EN-31
Recording/Playing Back Performances
■ Recorded MIDI Data
Recording with the MIDI recorder also records the operations
and settings below in Digital Piano memory.
• Keyboard play and pedal operations
•Tone
•Tempo*
• Beat*
• Layer setting (Left-hand part track only)
• Split setting (Left-hand part track only)
• Duet (Left-hand part track only)
• Sound Mode (Hall Simulator/Reverb type, Hall Simulator/
Reverb depth applied to the Digital Piano sound source,
and Surround type), Chorus, Brilliance*
• Acoustic simulator setting*
•Scale*
• Stretch tuning*
* Common for both tracks. Settings configured for the left-
hand part track are also applied to the right-hand part track.
■ Preparing to Use the MIDI Recorder
Your Digital Piano has two recorders: a MIDI recorder and an
audio recorder. Depending on the type of data you want to
record or play back, you first need to select the MIDI Mode or
Audio Mode.
• The MIDI recorder can be used while the Digital piano is in
the MIDI Mode. If the Digital Piano is in the Audio Mode,
perform the procedure below to switch to the MIDI Mode.
• Note that the Digital Piano is in the MIDI Mode under initial
default settings, so the operation below is not necessary if
you have not changed the setting.
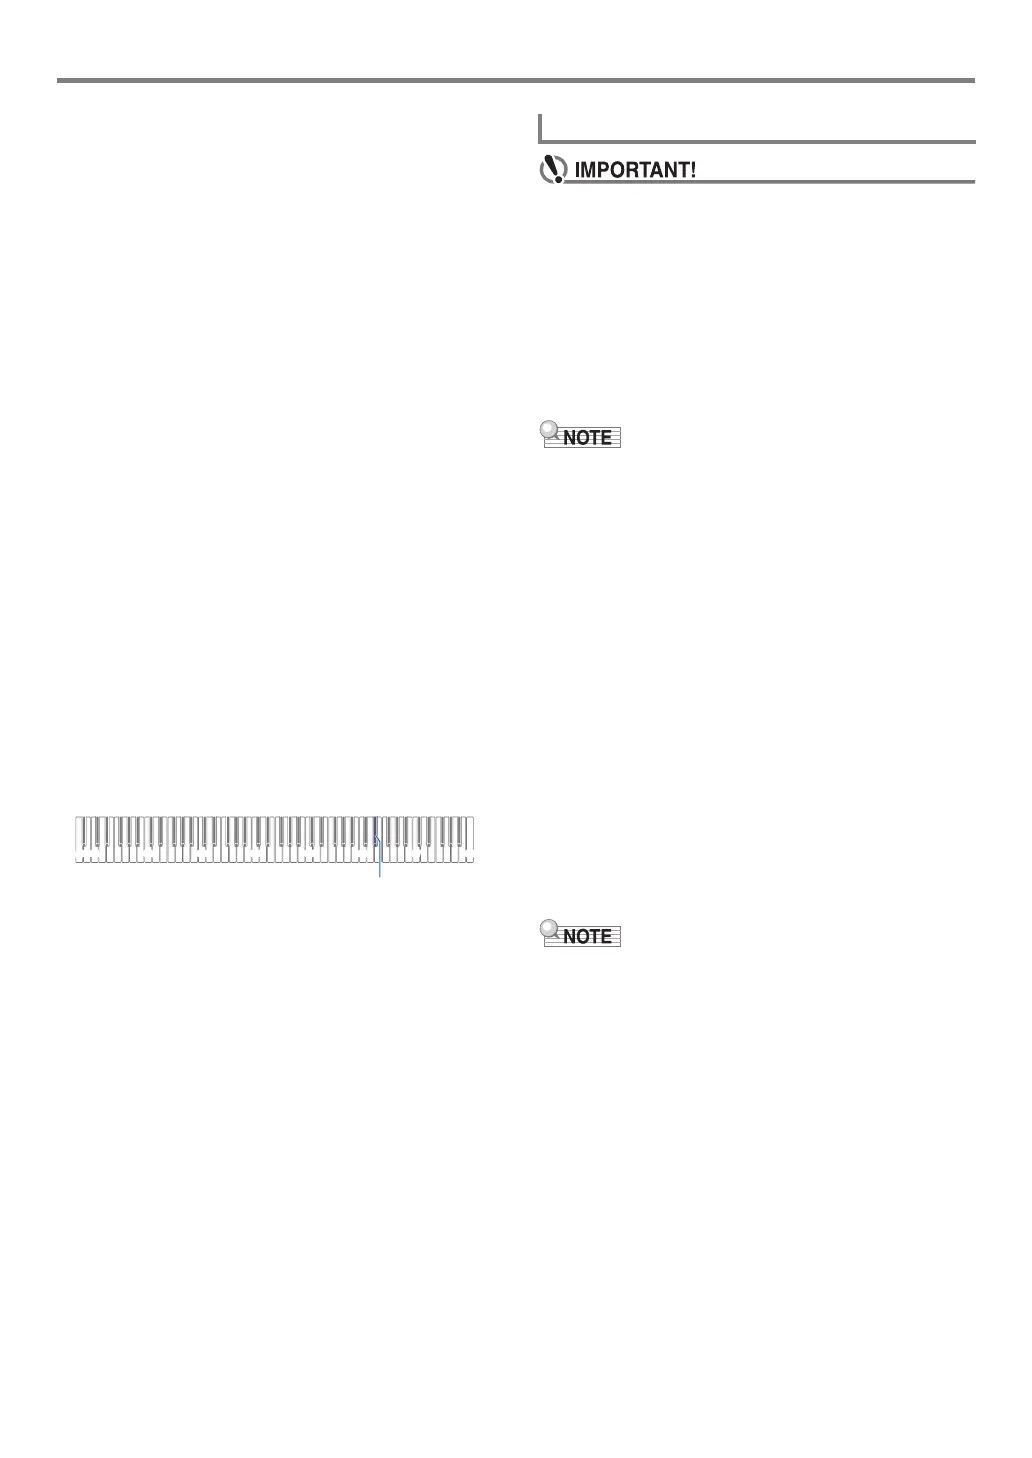
1.
While holding down 3 FUNCTION, press the
E}6 keyboard key.
2.
Release 3 FUNCTION.
• If, during a recording operation, the number of
remaining recordable notes is 100 or fewer, the
indicator of the track being recorded (L or R) will start
to flash more quickly. Recording stops automatically
when the number of remaining recordable notes
becomes 0.
• Should power fail during recording, all of the data in
the track you are recording will be deleted.
• You cannot use keyboard operations to configure
settings while in record standby or while recording is
in progress.
• Read “Preparing to Use the MIDI Recorder” (page EN-31)
before performing the operation below.
■ Quick Guide: Simplest performance recording
operation
1.
While the 70 (REC) button is lit white, touch
70 (REC).
This enters record standby, which is indicated by flashing
70 (REC) (red) and 6 a (white) lights.
2.
To start recording, play something on the
keyboard.
This causes the 70 (REC) (red) light to change from
flashing to lit, which indicates that recording is in
progress.
3.
When you are finished recording, touch 70
(REC) or 6 a.
This makes 70 (REC) light white again.
4.
To replay the recording, touch 6 a.
• The above operation records what is played on the
keyboard to the left-hand part track. For further operation
details, see “To record the left-hand part track” (page
EN-32).
Creating a Recording
 Loading...