EN-39
USB Flash Drive
■ To load data from a USB flash drive to Digital
Piano memory
1.
Copy song data you want to import to Digital
Piano memory into one of the sub-folders in
the “MUSICDAT” folder of the USB flash drive.
• Only one song in each sub-folder can be imported. If
there are multiple files in a sub-folder, the first file in
the list of file names is imported.
2.
Insert the USB flash drive into the Digital
Piano’s bl USB Type A port.
3.
Perform the steps below to enter the Digital
Piano MIDI Mode.
•See “Preparing to Use the MIDI Player” (page EN-28).
4.
Select the user song (song numbers 61-70) or
MIDI recorder song (song number 71) that
corresponds to the data to be read.
• For information about how to input song numbers and
the keyboard keys you should use for input, see
“Inputting Song Numbers Using the Song Selection
Keyboard Keys (10-key)” (page EN-10).
5.
Hold down 3 FUNCTION.
• Do not release 3 FUNCTION until step 8, below.
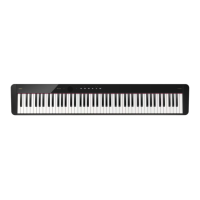
6.
Press the A1 keyboard key.
This causes the 4 SOUND MODE LED (right) to flash,
indicating import standby.
7.
Press the C1 keyboard key.
This starts the import operation. The LEDs above
4 SOUND MODE and 6 a will light sequentially
from left to right during the import operation.
8.
Release 3 FUNCTION when importing starts.
The LEDs stop lighting sequentially when the import
operation is complete.
■ To delete USB flash drive data
Use the procedure below to delete the following data from a
USB flash drive.
• Songs stored in the following sub-folders, which are located
in the MUSICDAT folder: 61 through 70, RECORDER
• Audio data TAKE**.WAV (** = 01-99) or TAKE**.MP3
(** = 01-99) stored in the MUSICDAT folder
1.
Insert the USB flash drive into the Digital
Piano’s bl USB Type A port.
2.
Select the data you want to delete.
Y To delete user songs or MIDI recorder songs
(1) Enter the Digital Piano MIDI Mode.
•See “Preparing to Use the MIDI Player” (page
EN-28).
(2) Select the user song or MIDI recorder song that
corresponds to the data to be deleted.
• For information about how to input song numbers
and the keyboard keys you should use for input,
see “Inputting Song Numbers Using the Song
Selection Keyboard Keys (10-key)” (page EN-10).
Y To delete audio data
(1) Enter the Digital Piano’s Audio Mode.
•See “Prepare to use the Audio Recorder” (page
EN-33).
(2) Select the audio data that corresponds to the data to
be deleted.
• For information about how to input data numbers
and the keyboard keys you should use for input,
see “Inputting Song Numbers Using the Song
Selection Keyboard Keys (10-key)” (page EN-10).
3.
Hold down 3 FUNCTION.
• Do not release 3 FUNCTION until step 6, below.
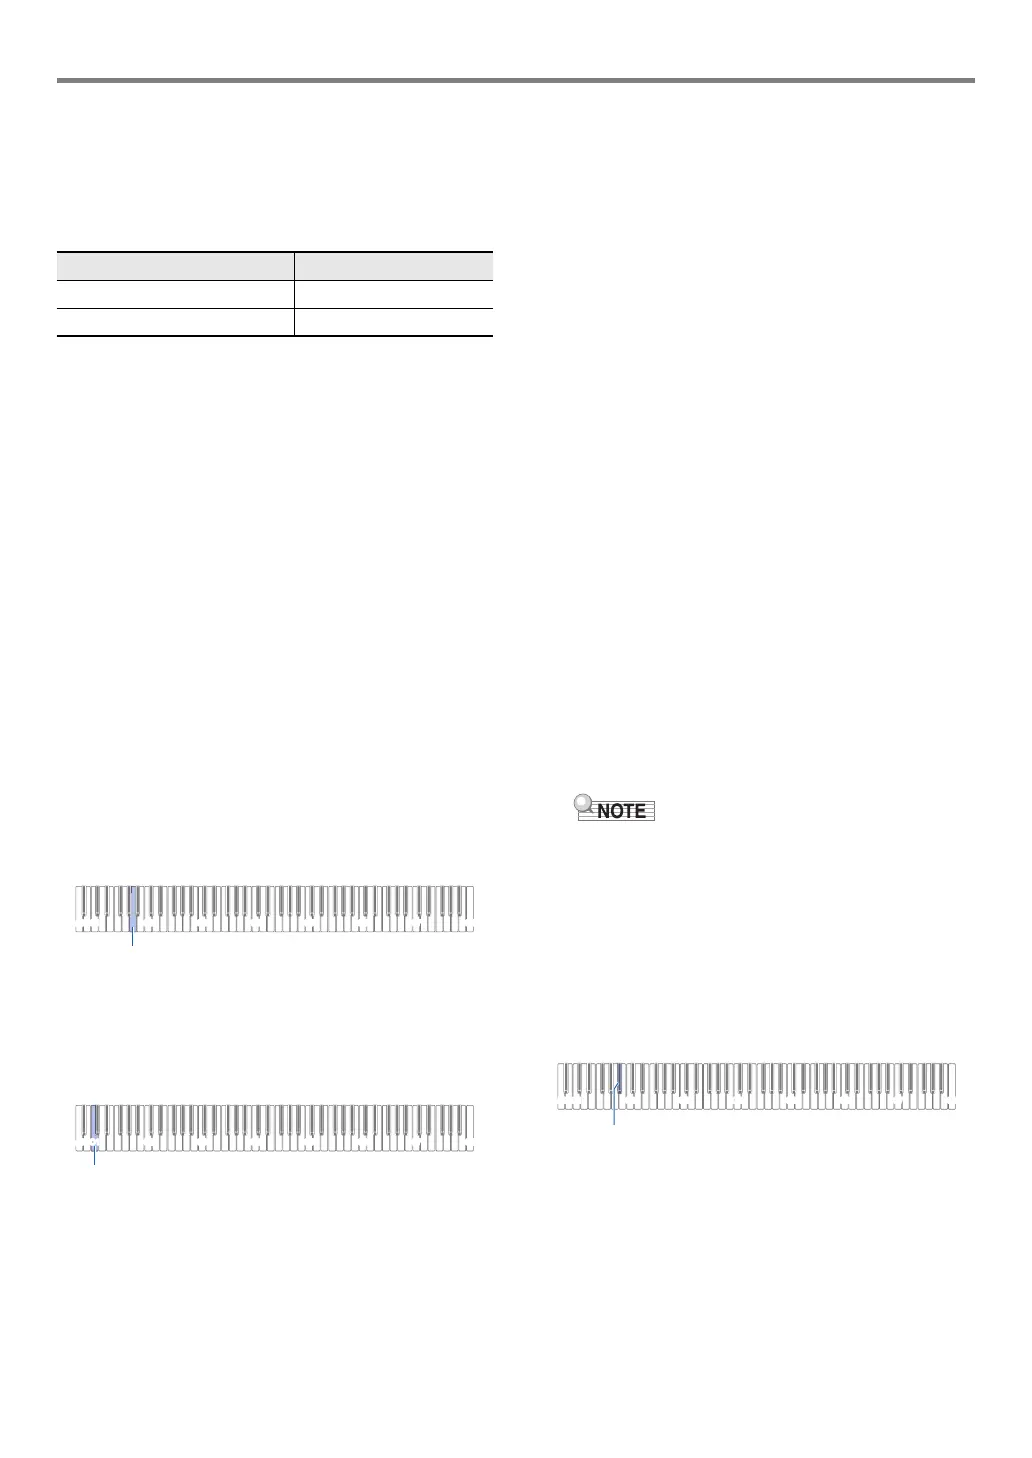
4.
Press the B}1 keyboard key.
This causes the 6 a LED (left) to light, indicating
delete standby.
Data Type Sub-folder
User songs (CMF, MID) 61 to 70
MIDI recorder song (MRF) RECORDER
C1A0 C2 C3 C4 C5 C6 C7 C8
C1
• If there are WAV and MP3 files with the same name,
performing Delete File will delete both WAV and MP3
files.
C1A0 C2 C3 C4 C5 C6 C7 C8
B}1
 Loading...