2-29
Catalyst 3750 Switch Hardware Installation Guide
OL-6336-10
Chapter 2 Switch Installation
Installing the Switch
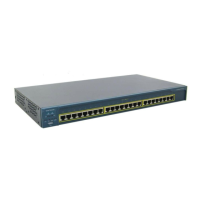
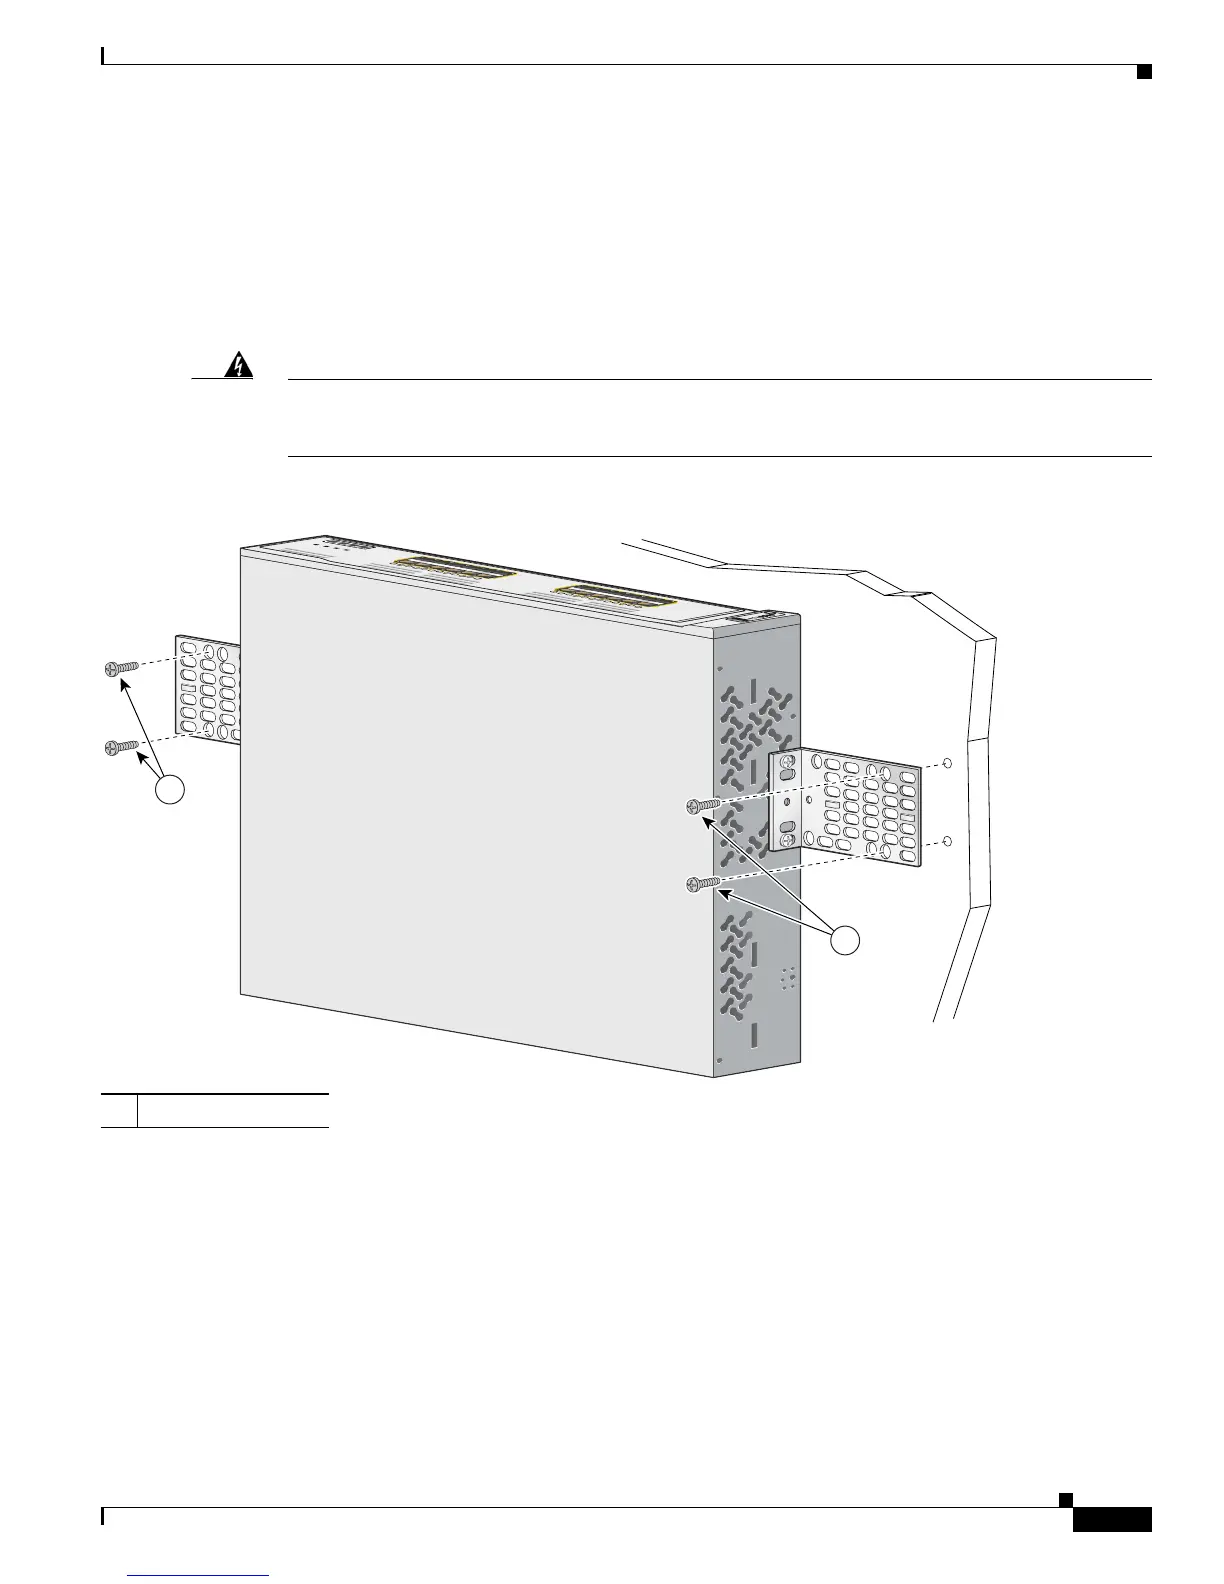
Mounting the Switch on a Wall
For the best support of the switch and cables, make sure the switch is attached securely to wall studs or
to a firmly attached plywood-mounting backboard. Mount the switch with the front panel facing up, as
shown in Figure 2-43.
See the “Wall-Mounting” section on page 2-27 for the switches that can also mount with the front panel
facing down.
Warning
Read the wall-mounting instructions carefully before beginning installation. Failure to use the
correct hardware or to follow the correct procedures could result in a hazardous situation to people
and damage to the system.
Statement 378
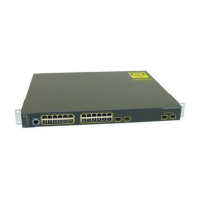
Figure 2-43 Mounting the Switch on a Wall
After the switch is mounted on the wall, you might need to perform these tasks to complete the
installation, run the setup program, and access the switch:
• (Optional) Connect the switches in the stacks. See the “Connecting StackWise Cable to StackWise
Ports” section on page 2-30.
• Power on the switch. See the “Verifying Switch Operation” section on page 2-7. If the switches are
stacked, see the “Planning Considerations” section on page 2-8 for information on powering
considerations.
• Connect to a 10/100 or 10/100/1000 port and run Express Setup. See the Catalyst 3750 Switch
Getting Started Guide for instructions.
1 User-supplied screws
Catalyst 3750
SERIES
SYST
RPS
MASTR
STAT
DUPLX
SPEED
STACK
M
O
D
E
13X
14X
23X
24X
1
3
1
4
1
5
1
6
1
7
1
8
1
9
2
0
2
1
2
2
2
3
2
4
1X
2X
11X
12X
1
2
3
4
5
6
7
8
9
1
0
1
1
1
2
1
1
86570
 Loading...