You will also need a Phillips-head screwdriver.
Procedure
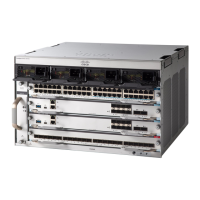
Step 1 Ready the replacement fan tray.
When you remove and replace the fan tray in a system that is powered on, there is a time constraint.
The system can safely run without a fan tray only for 2 minutes. So it is important to complete this
first step and its sub-steps before you remove the fan tray from the front of the chassis.
Important
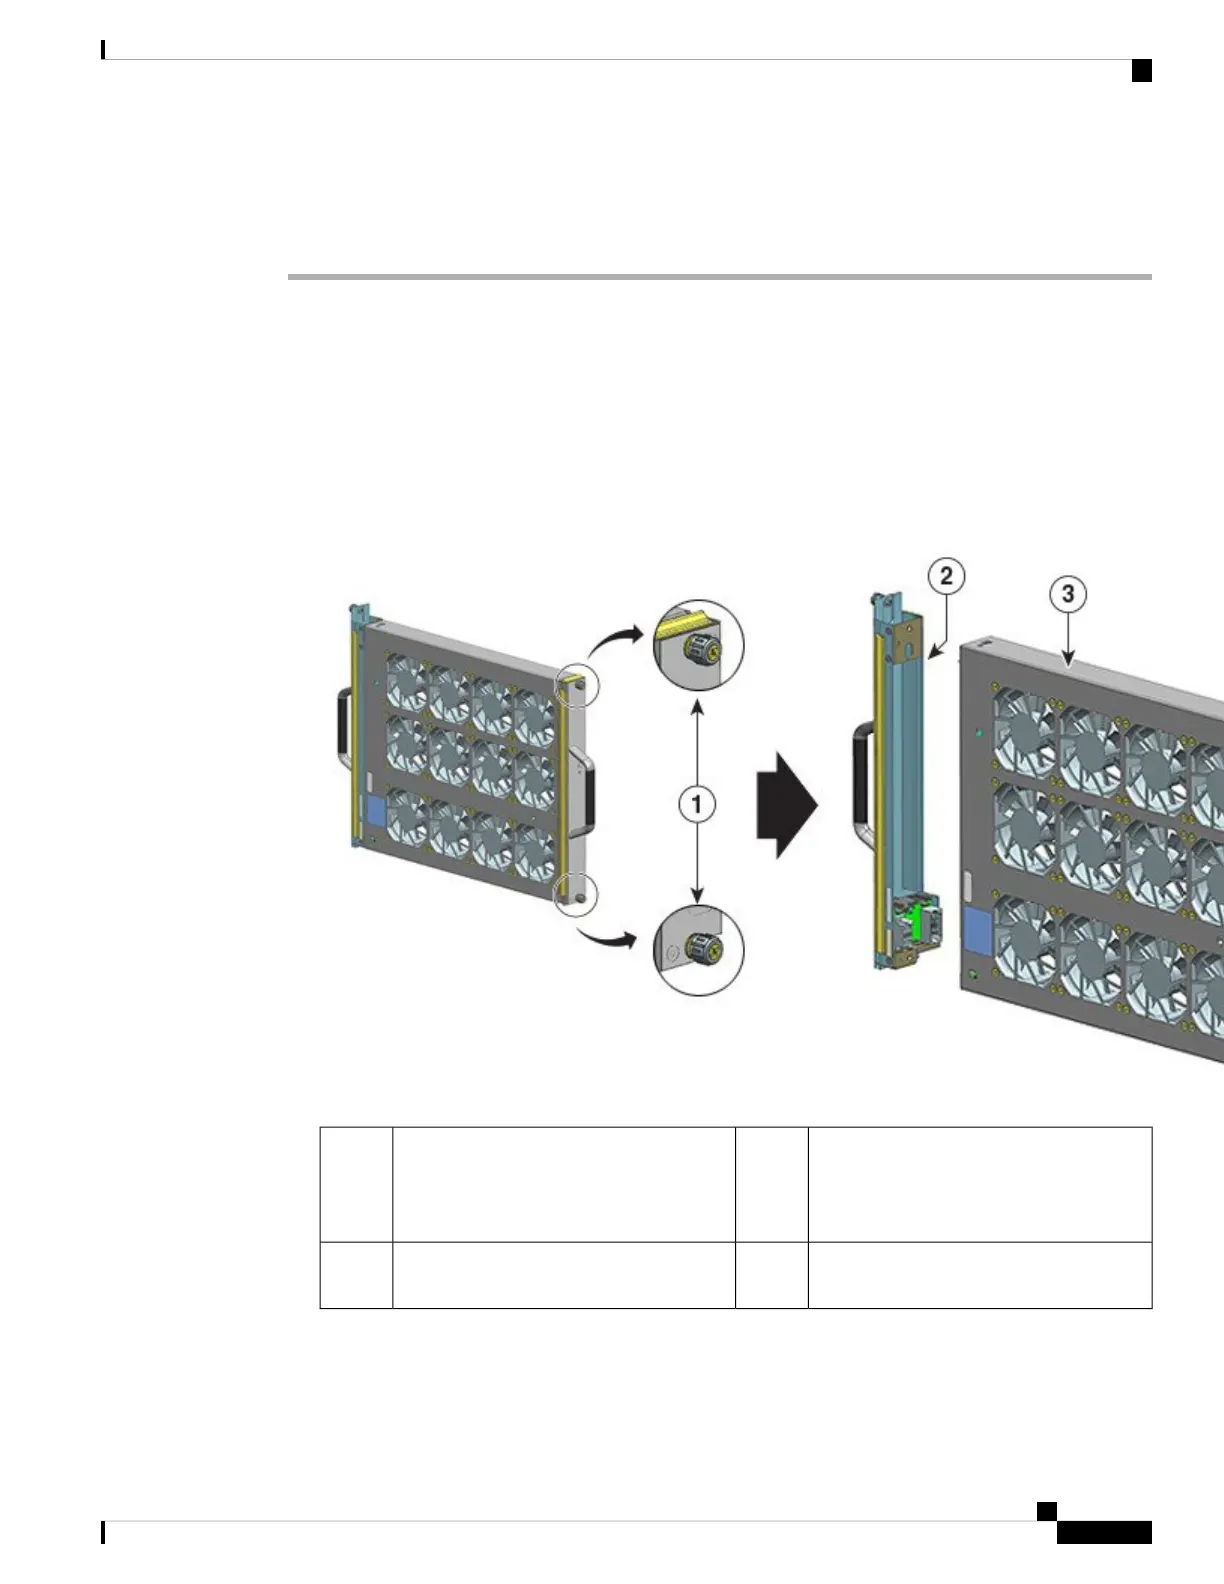
a) Remove the replacement fan tray from the shipping packaging.
b) Use the Phillips-head screwdriver and loosen the two captive installation screws on the front panel of the
replacement fan tray (the side with the fan STATUS LED), to detach it from the adapter module.
Fan tray ready for installation from the
front
3Captive installation screws on the front of
the fan tray assembly that have to be
loosened (the side with the fan STATUS
LED)
1
--The adapter in the rear, separated from the
fan tray
2
The adapter module is not used or replaced when installed from the front. The adapter module can be
scrapped or stored for future use.
c) Keep the replacement fan tray on an anti-static mat and within arm's reach.
Cisco Catalyst 9400 Series Switches Hardware Installation Guide
81
Removing and Replacing FRUs
Removing the Fan Tray from the Front
 Loading...