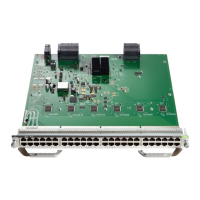
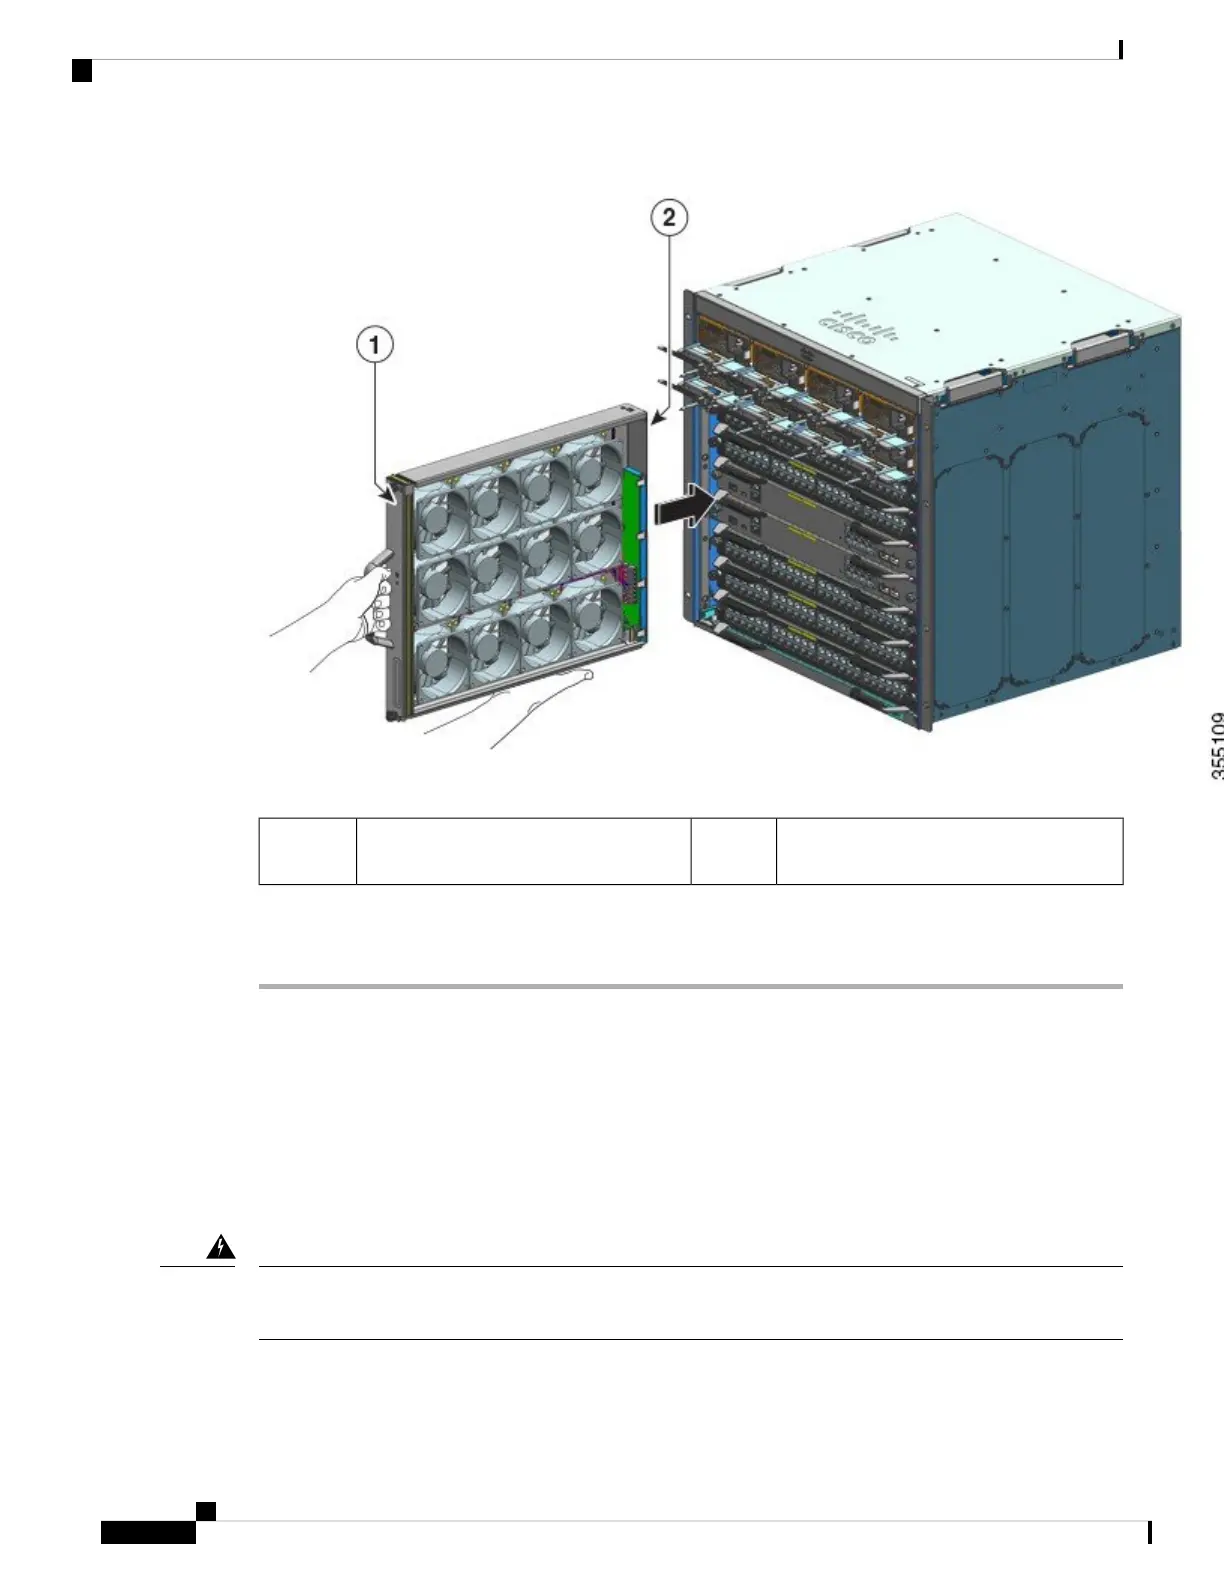
Fan tray without the adapter being installed
from the front
2Front side of the fan tray1
Step 3 Slide the fan tray into the chassis until the two captive installation screws make contact with the chassis.
Step 4 Tighten the two captive installation screws on the front, to secure the fan tray assembly in the chassis.
What to do next
Verify that you have installed the fan tray correctly. See Verifying Fan Tray Installation, on page 88
Removing the Fan Tray from the Rear
When you remove the fan tray from the rear, the fan tray assembly is removed. This includes the fan tray and
the adapter.
When removing the fan tray, keep your hands and fingers away from the spinning fan blades. Let the fan
blades completely stop before you remove the fan tray. Statement 258
Warning
Cisco Catalyst 9400 Series Switches Hardware Installation Guide
84
Removing and Replacing FRUs
Removing the Fan Tray from the Rear
 Loading...