CONTENTS
Guarantee .................................... 2
General Safety Instructions for Power Tools ......... 2
Additional Safety Instructions for Radial Saws ....... 3
Electrical Connections .......................... 5
Assembly and Alignment ........................ 8
Unpacking and Preassembty ..................... 8
Alignment Procedure ......................... 12
Location and Functions of Controls ............... 20
Basic Saw Operations .......................... 23
Adjustments to Compensate for Wear .............. 28
Trouble--Shooting ............................ 31
Maintenance and Lubrication .................... 34
Recommended Accessories ...................... 34
Repair Parts ................................. 35
assembly and alignment
7!16-inch wrench
1/2-inch wrench
9/1 6-inch wrench
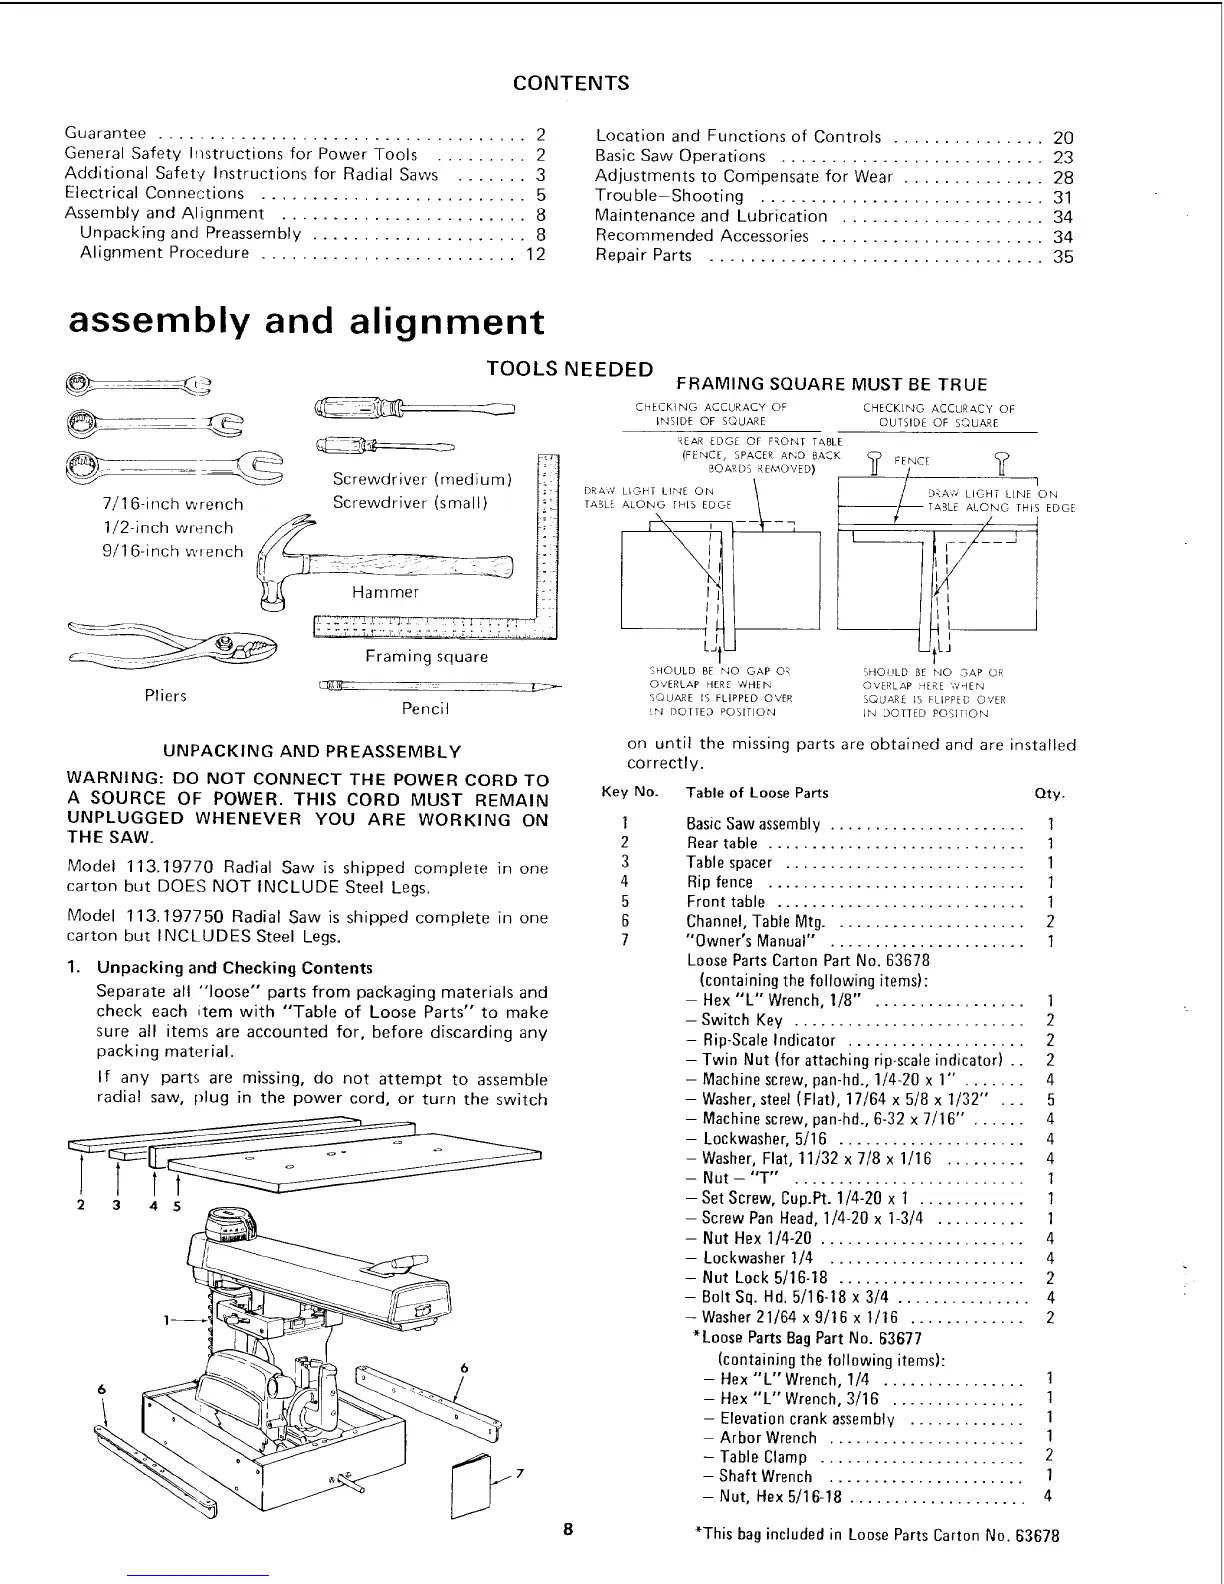
TOOLS NEEDED
FRAMING SQUARE MUST BE TRUE
j
Screwdriver (medium)
Screwdriver (small)
ammer
Framing square
Pliers
Pencil
DR A,7¢
TABLE
CHECKING ACCURACY OF
INSIDE OF SQUARE
REAR EDGE OF FRONE TABLE
(FENCE, SPACER AND BACK
BOARDS REMOVED)
LPGHT LINE ON \
B
ALONG THIS EDGE
i "
SHOULD BE NO GAP O_
OVERLAP HERE WHEN
SQUARE IS FLIPPED OVER
!N DOTTED POSITION
CHECKING ACCURACY OF
OUTSIDE OF SQUARE
FENCE ?
l
__/__ '
DR&¢_ LIGHT LINE ON
TABLE ALONG THIS EDGE
/
SHOULD BE NO ._AP OR
OVERLAP 4ERE WqEN
SQUARE IS FLIPPED OVER
iN DOTTED POSIHON
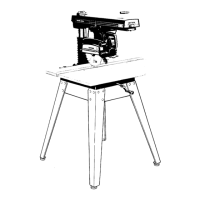
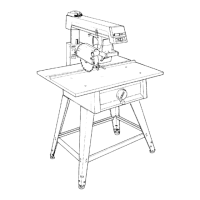
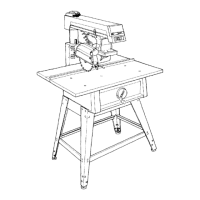
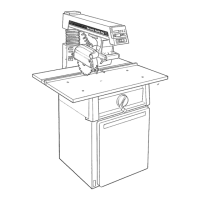
UNPACKING AND PREASSEMBLY
WARNING: DO NOT CONNECT THE POWER CORD TO
A SOURCE OF POWER. THIS CORD MUST REMAIN
UNPLUGGED WHENEVER YOU ARE WORKING ON
THE SAW.
Model 113.19770 Radial Saw is shipped complete in one
carton but DOES NOT INCLUDE Steel Legs.
Model 113.197750 Radial Saw is shipped complete in one
carton but INCLUDES Steel Legs.
1. Unpacking and Checking Contents
Separate all "loose" parts from packaging materials and
check each item with "Table of Loose Parts'" to make
sure all items are accounted for, before discarding any
packing material.
If any parts are missing, do not attempt to assemble
radial saw, plug in the power cord, or turn the switch
2 3 4 5
on until the missing parts are obtained and are installed
correctly.
Key No. Table of Loose Parts Qty.
1
2
3
4
5
6
7
Basic Saw assembly ...................... 1
Rear table ............................. 1
Table spacer ........................... 1
Rip fence ............................. 1
Front table ............................ 1
Channel, Table Mtg ...................... 2
"Owner's Manual" . ..................... 1
Loose Parts Carton Part No. 63678
(containing the following items):
- Hex "L" Wrench, 1/8" . ................ ]
- Switch Key .......................... 2
- Rip-Scale Indicator .................... 2
- Twin Nut (for attaching rip-scale indicator) .. 2
- Machine screw, pan-hd., 1/4-20 x 1" . ...... 4
- Washer, steel (Flat), 17/64 x 5/8 x 1/32" ... 5
- Machine screw, pan-hd., 6-32 x 7/16" . ..... 4
- Lockwasher, 5/16 ..................... 4
- Washer, Flat, 11/32 x 7/8 x 1/16 ......... 4
- Nut-"T" . ......................... 1
-Set Screw, Cup.Pt. 1/4-20 x 1 ............ 1
- Screw Pan Head, 1/4-20 x 1-3/4 .......... 1
- Nut Hex 1/4-20 ....................... 4
- Lockwasher 1/4 ...................... 4
- Nut Lock 5/16-18 ..................... 2
- Bolt Sq. Hd. 5/16-18 x 3/4 ............... 4
- Washer 21164 x 9/16 x l/16 ............. 2
*Loose Parts Bag Part No. B3677
(containing the following items):
- Hex "'L" Wrench, 1/4 ................ 1
- Hex "'L'" Wrench, 3/16 ............... 1
- Elevation crank assembly ............. 1
- Arbor Wrench ...................... 1
- Table Clamp ....................... 2
- Shaft Wrench ...................... 1
-Nut, Hex 5/16-18 .................... 4
*This bag included in Loose Parts Carton No. 63678

 Loading...