3. I
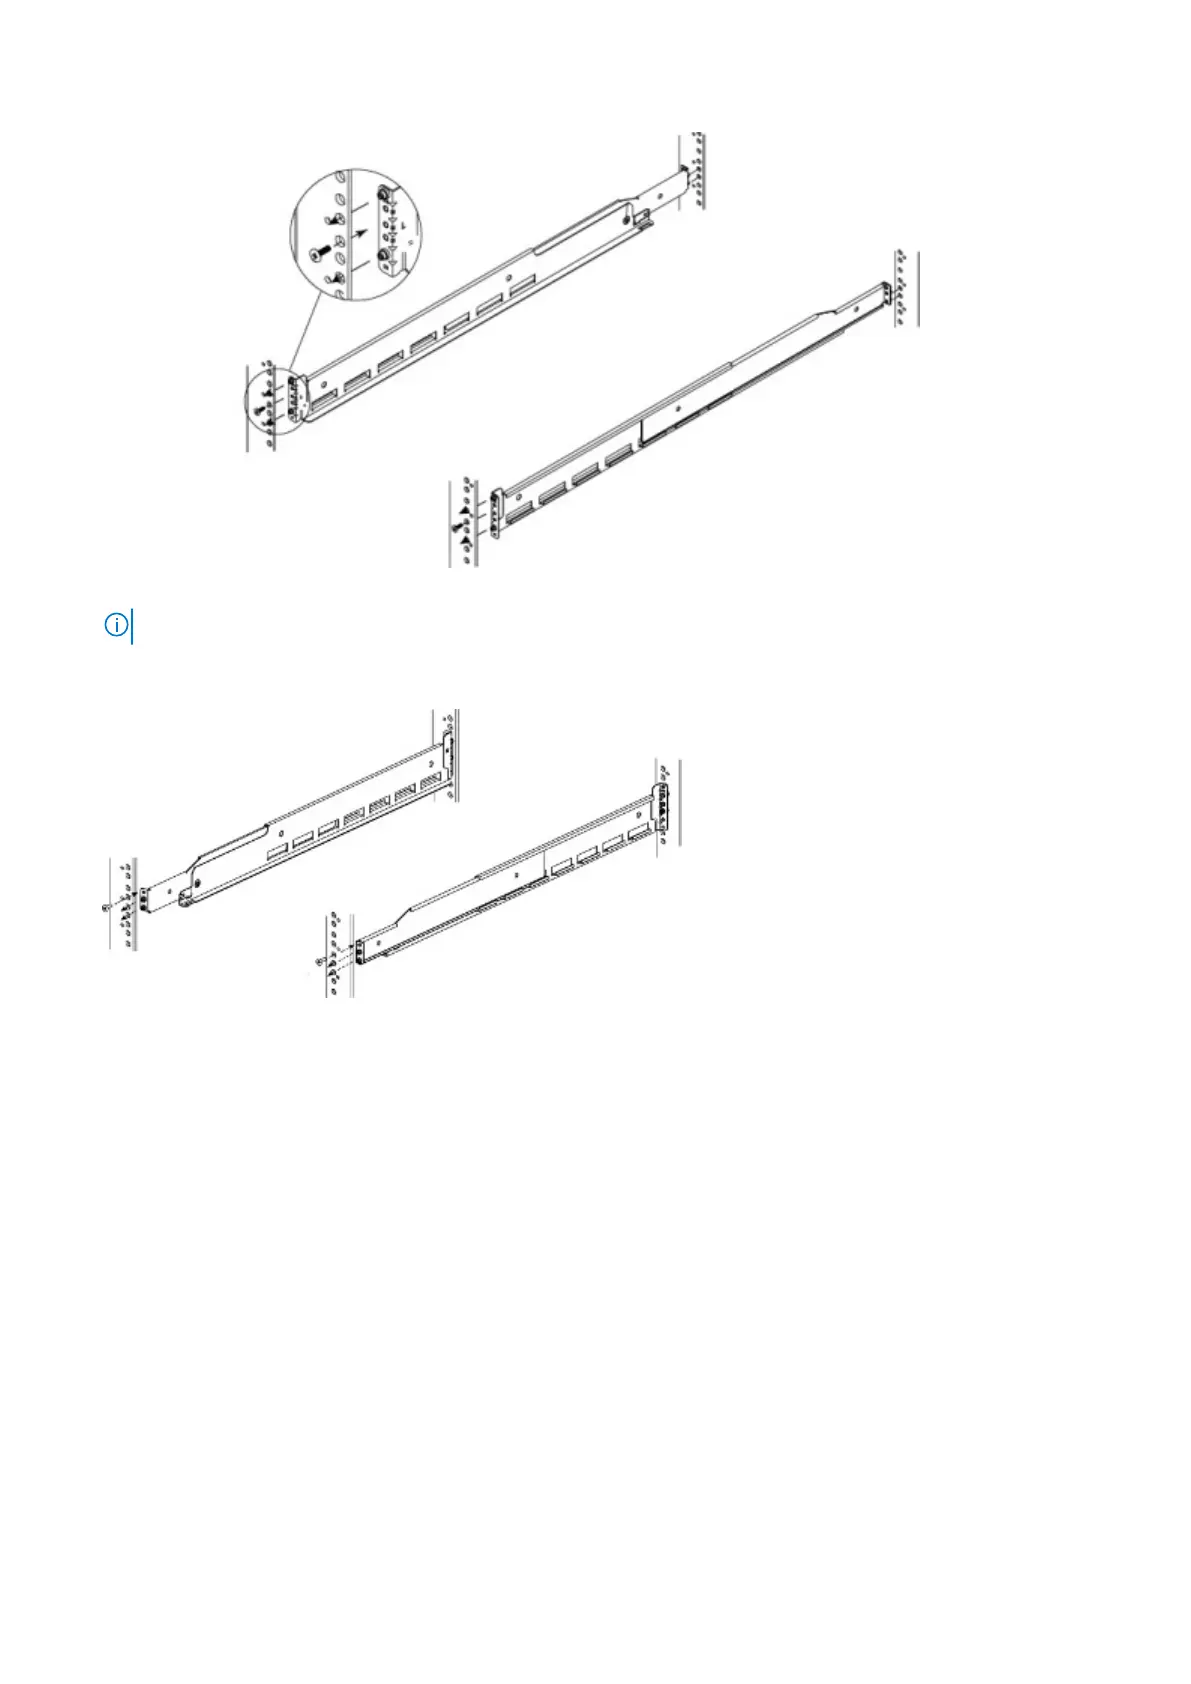
nsert one screw into the lower hole to hold the front of the rails in place. Do not fully tighten the screw at this time.
NOTE:
An 18-inch screwdriver (minimum) is required to install the screw into the rear of the rails.
4. A
t the rear of the cabinet, align and insert the two adaptors on the rear of the rail with the mounting holes in the NEMA
channel. Make sure the rail is level.
5. Use an 18-inch screwdriver (minimum) to secure the rear of the rail to the NEMA channel using one screw.
6. Tighten the front screw.
7. Repeat for the other rail.
Install onto the rails
This procedure describes how to install the instrument onto the rails.
Steps
1. Slide the unit onto the rails and push it fully into the cabinet until the mounting holes on the unit are flush with the NEMA
channel.
Installation and Removal of the Rail Kit 61

 Loading...