80 Processor Heatsink
NOTICE: When you remove the processor heatsink, lay it upside down or on its
side to avoid damaging the heatsink thermal interface.
5
Lift the processor heatsink out of the computer, and set it aside.
Installing the Processor Heatsink
1
Follow the procedures in "Before You Begin" on page 9.
2
Remove the computer cover (see "Removing the Computer Cover" on
page 13).
NOTICE: Incorrect alignment of the processor heatsink can cause damage to the
system board and processor.
3
Align the four captive screws on the processor heatsink with the holes on
the system board.
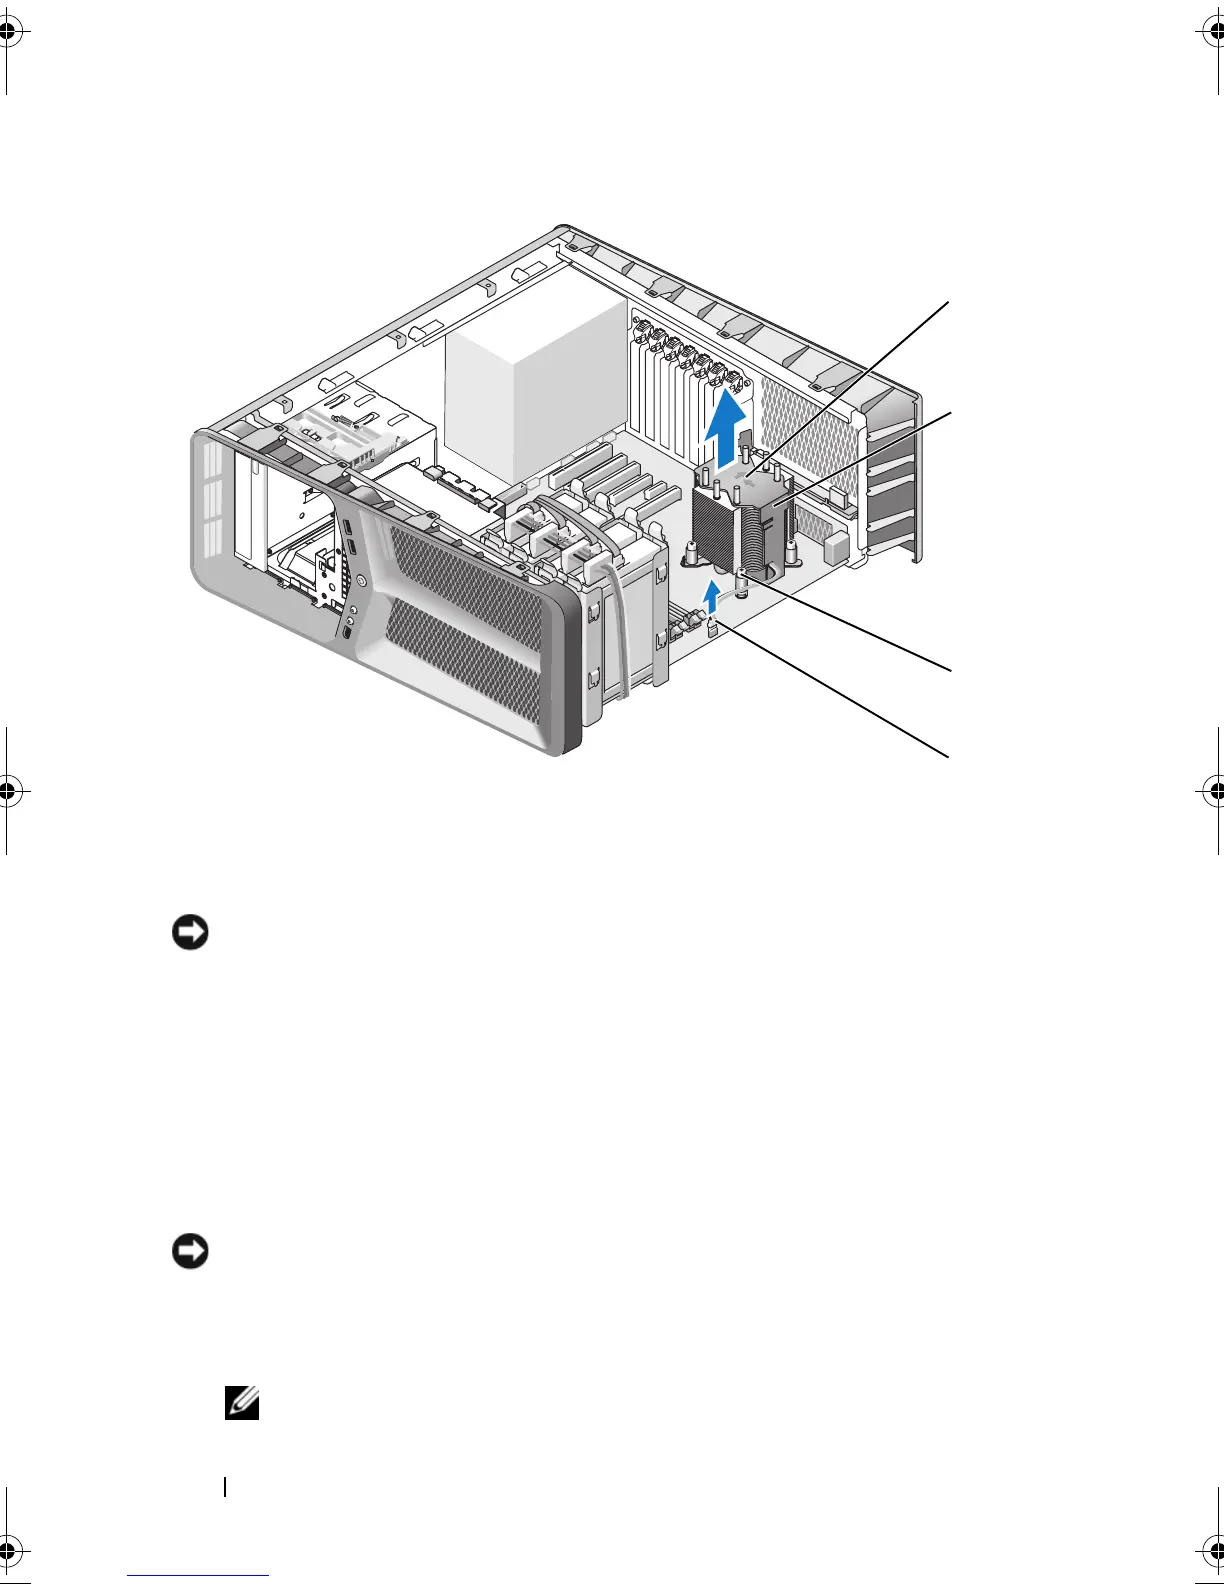
NOTE: Airflow direction and orientation are shown on top of the heatsink.
1 airflow direction and orientation
arrows
2 processor heatsink
3 captive screws (4) 4
FAN_CPU cable
2
1
3
book.book Page 80 Monday, January 7, 2008 2:53 PM
 Loading...