ENGLISH
Auto
Setup
To
make manual adjustments to the settings, see pages 29 -
31.
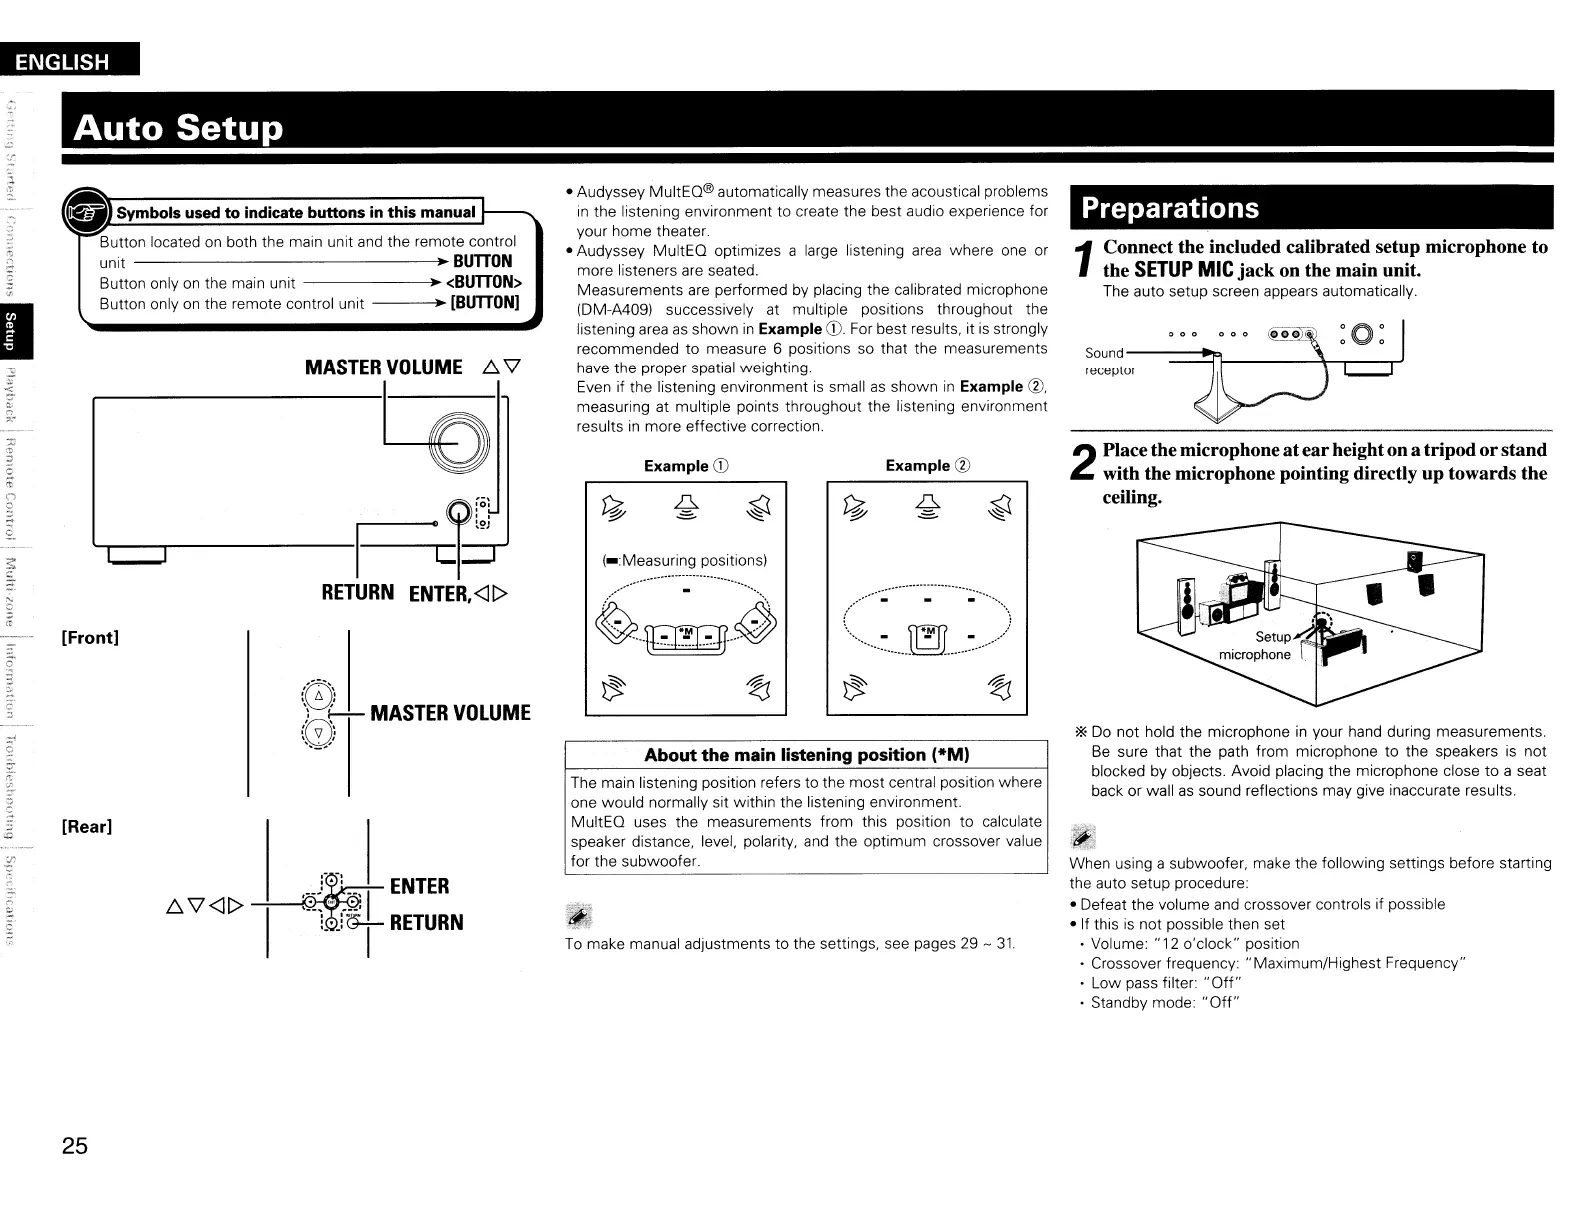
Sound
---=:::!~----~---.--..J
receptor
*Do not hold the microphone
in
your hand during measurements.
Be
sure that the path from microphone to the speakers
is
not
blocked by objects. Avoid placing the microphone close to a seat
back or wall
as
sound reflections may give inaccurate results.
Preparations
1
Connect the included calibrated setup microphone to
the
SETUP
MIC
jack
on the main unit.
The auto setup screen appears automatically.
2
Place the microphoneatear heightona tripod orstand
with the microphone pointing directly up towards the
ceiling.
1'"-,£;
~
When using a subwoofer, make the following settings before starting
the auto setup procedure:
• Defeat the volume and crossover controls if possible
• If this
is
not possible then set
• Volume: "12 o'clock" position
• Crossover frequency: "Maximum/Highest Frequency"
· Low pass filter:
"Off"
· Standby mode:
"Off"
...... .
,:
.
/....
-'.
\
~
rr;rr
= )
Example
(1)
Example
CD
l-:Measuring
positions)
The main listening position refers to the most central position where
one would normally sit within the listening environment.
MultEO uses the measurements from this position to calculate
speaker distance, level. polarity, and the optimum crossover value
for the subwoofer.
About the main listening position
(*M)
• Audyssey MultEO® automatically measures the acoustical problems
in
the listening environment to create the best audio experience for
your home theater.
• Audyssey MultEO optimizes a large listening area where one or
more listeners
are
seated.
Measurements are performed by placing the calibrated microphone
IDM-A409) successively at multiple positions throughout the
listening area
as
shown
in
Example
CD.
For best results, it
is
strongly
recommended to measure 6 positions so that the measurements
have the proper spatial weighting.
Even if the listening environment
is
small
as
shown
in
Example
(1),
measuring at multiple points throughout the listening environment
results
in
more effective correction.
~
.J·-:
__
'I
ENTER
D.
'1
<J
l>
I
,:-.
,
..
,:_,
L·jTRETURN
:0GJ;'I;:~:
MASTER
VOLUME
~
'iJ
:
'
..
~
...
'
MASTER
VOLUME
D.
'1
to
"'"-r-------r--Fei=[::
RETURN
ENTER.<Jl>
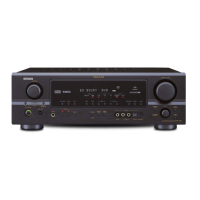
&Symbols used to indicate buttons in this manual
Button located on both the main unit
and
the remote control
unit •
BUTTON
Button only on the main unit •
<BUTTON>
Button only on the remote control unit •
[BUTTON]
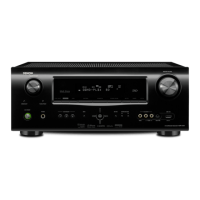
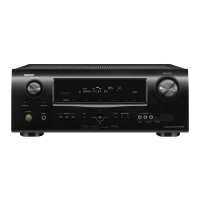
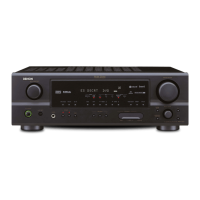
[Rear]
[Front]
I
25
 Loading...