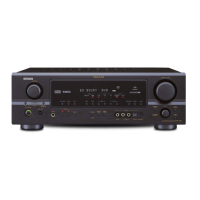
ENGLISH
c-
o
:::l
:::l
"
~
<3
:::l
'"
I
)
IJ'Next~
Ret
r y
~
Auto
Setup
Audyssey
Mu
It
EQ
Ste
1
:Speaker
Detection
~
Fro
n t Sp.
y"
~
§
~
Center
Sp.
Subwoofer
Sur
r 0 und S
p.
y"
S.
Back
SP.
Front
Sp.
~
A •
IJ'Amp
Assign
S
tar
t
~
Cancel
~
• Menu screen •
CD
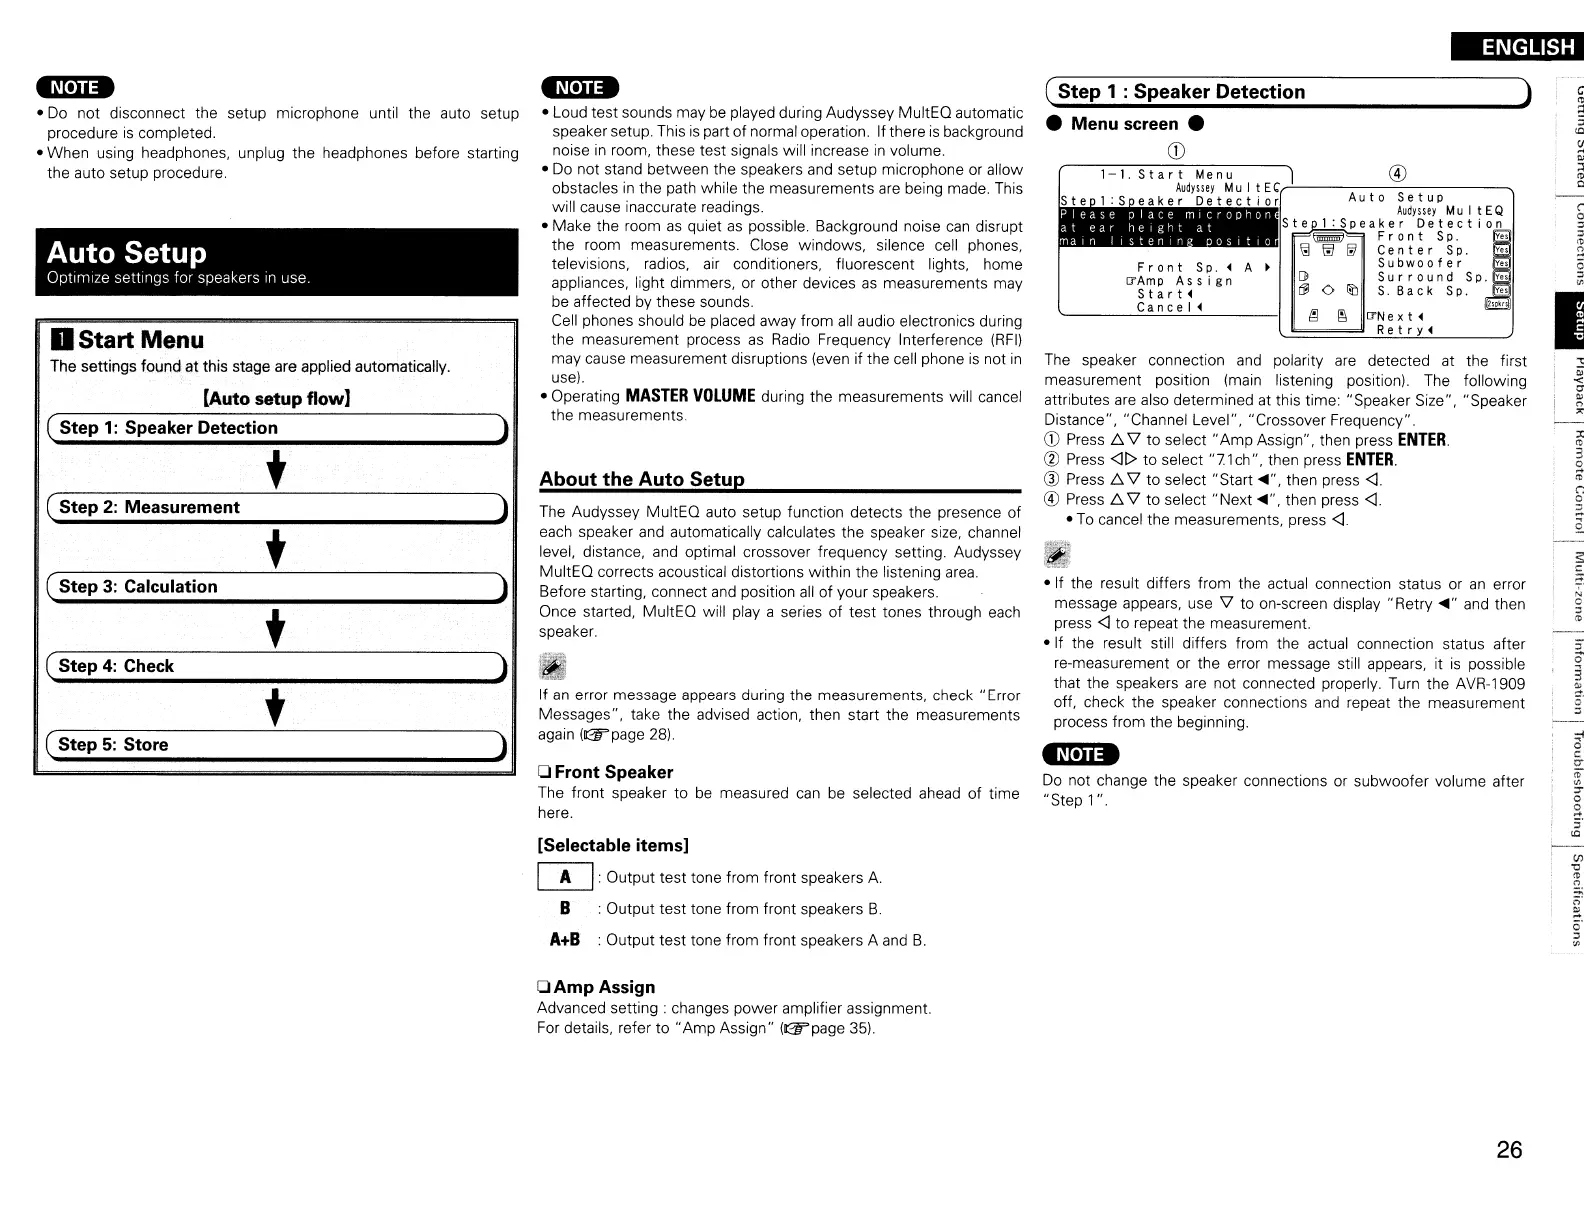
( Step 1 : Speaker Detection
• If the result differs from the actual connection status or
an
error
message appears,
use
\l
to on-screen display "Retry
....
"
and
then
press
<1
to repeat the measurement.
• If the result still differs from the actual connection status after
re-measurement or the error message still appears, it
is
possible
that the speakers
are
not connected properly. Turn the AVR-1909
off, check the speaker connections
and
repeat the measurement
process from the beginning.
-n,"-
Do
not change the speaker connections or subwoofer volume after
"Step 1
".
The
speaker connection
and
polarity
are
detected at the first
measurement position (main listening position). The following
attributes
are
also determined at this time: "Speaker Size", "Speaker
Distance", "Channel Level", "Crossover Frequency".
CD
Press
.6.
\l
to select
"Amp
Assign", then press
ENTER,
(1)
Press
<1[>
to select "71ch", then press
ENTER.
® Press
.6.
\l
to select "Start ", then press
<1.
® Press
.6.
\l
to select "Next
",
then press
<1.
•
To
cancel the measurements, press
<1.
The
Audyssey MultEO auto setup function detects the presence of
each
speaker
and
automatically calculates the speaker
size,
channel
level, distance, and optimal crossover frequency setting. Audyssey
MultEO corrects acoustical distortions within the listening
area.
Before starting, connect
and
position
all
of your speakers.
Once started, MultEO will
playa
series
of
test tones through
each
speaker.
About the Auto Setup
-n'''-
• Loud test sounds may
be
played during Audyssey MultEO automatic
speaker setup. This
is
part of normal operation. If there
is
background
noise
in
room, these test signals will increase
in
volume.
•
Do
not stand between the speakers
and
setup microphone or allow
obstacles
in
the
path
while the measurements
are
being made. This
will cause inaccurate readings.
• Make the room
as
quiet
as
possible. Background noise
can
disrupt
the room measurements. Close windows, silence cell phones,
televisions, radios,
air
conditioners, fluorescent lights, home
appliances, light dimmers, or other devices
as
measurements may
be affected by these sounds.
Cell
phones should
be
placed away from
all
audio electronics during
the measurement process
as
Radio
Frequency Interference
(RFI)
may cause measurement disruptions (even if the cell phone
is
not
in
use).
• Operating
MASTER
VOLUME
during the measurements will cancel
the measurements.
If
an
error message appears during the measurements,
check"
Error
Messages", take the advised action, then start the measurements
again
(o:::F
page
28).
o Front Speaker
The front speaker to
be
measured
can
be
selected ahead of time
here.
[Selectable items]
CD
:Output test tone from front speakers
A.
B :Output test tone from front speakers
B.
A+B
: Output test tone from front speakers A
and
B.
)
)
)
t
t
t
•
Start
Menu
The settings found at this stage are applied automatically.
[Auto
setup
flow)
Auto Setup
Optimize settings for speakers
In
use
t
( Step
2:
Measurement
( Step
1:
Speaker Detection
( Step
5:
Store
(
Step
3:
Calculation )
,-
.
.....;..-------------'
(
Step
4:
Check )
,-
.
...;...---------~
-n'''-
• Do not disconnect the setup microphone until the auto setup
procedure
is
completed.
• When using headphones. unplug the headphones before starting
the auto setup procedure.
DAmp
Assign
Advanced setting: changes power amplifier assignment.
For
details, refer to "Amp Assign"
(r:rpage
35).
26
 Loading...