97
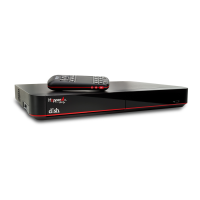
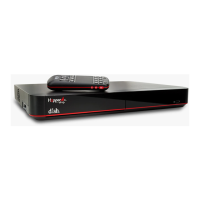
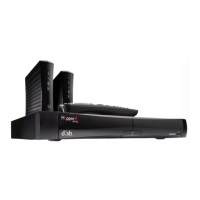
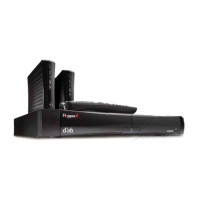
Connecting the Joey Receiver(s)
CONNECTING THE JOEY RECEIVER(S)
This section describes how to connect the receiver’s HOME VIDEO NETWORK connection to
one or more cable-ready remote TV(s) located in other room(s) away from the Hopper.
You can use these instructions to connect TVs in your home to see live and recorded
programming from the Hopper. This installation uses your in-home coaxial cable system. If
your home does not have built-in cabling, it will be necessary to run these cables from the
Hopper HD DVR to each Joey Receiver conected to a remote TV. Due to the potential
complexity of this installation, you should have this professionally installed. Call the DISH
Customer Service Center at 1-800-333-DISH (3474) for more information.
If you need another remote control, be sure to order the replacement remote control kit for
Hopper and Joey that uses UHF-2G signals. Call your DISH retailer, or visit
www.mydish.com
online, select Upgrades, then Products, and click on Remote &
Accessories.
1 Connect the HOME VIDEO NETWORK output on the back of the Hopper HD DVR to an
existing wall cable outlet using a coaxial cable.
2 Connect the Joey Receiver(s) in other room(s) to existing wall cable outlet(s) using
coaxial cable(s).
3 Connect the Joey Receiver(s) to an audio/video input of the remote TV in each room.
• If it is a high-definition TV or monitor and an HDMI connection is available on the
remote TV, use a single HDMI cable from the output on the back of the Joey Receiver
to provide high-quality audio and HD/SD video. See page 94.
• If it is a standard-definition TV or an HDMI connection is not available on the remote
TV, use composite (yellow) video and stereo audio cables from the outputs on the
back of the Joey Receiver. See page 95.
4 Turn on every Joey Receiver and remote TV connected to the in-home cabling system. If
you have not already done so, you may need to pair a remote control to each Joey.
5 Follow the on-screen prompts or included instructions for linking each Joey Receiver to
your Hopper HD DVR. (The Hopper is the host for DISH Whole-Home DVR services.)
6 Confirm that you see a picture from your Joey Receiver(s) on your remote TV(s).
• If your picture looks good, then you are finished with this procedure.
• If your TVs do not display a picture or if the picture is not as clear as you would like it
to be, repeat the steps to confirm all the connections. Coaxial connections should be
hand-tightened.
 Loading...