Maintenance
Copyright © 2019 Eaton Corporation. All Rights Reserved.
IPN March 2019
127
Replacing or Adding a Rectifier
Rectifiers can be replaced without switching off the dc power system and disconnecting the
equipment it powers.
To reduce the risk of electric shock and maintain optimum system cooling, always cover
empty rectifier slots with blanking panels.
• To avoid electric shock do not place hands inside the rectifier shelf.
• Do not attempt to disassemble faulty rectifiers. Return them (in their original packaging)
with a completed Equipment Incident Report on page 159.
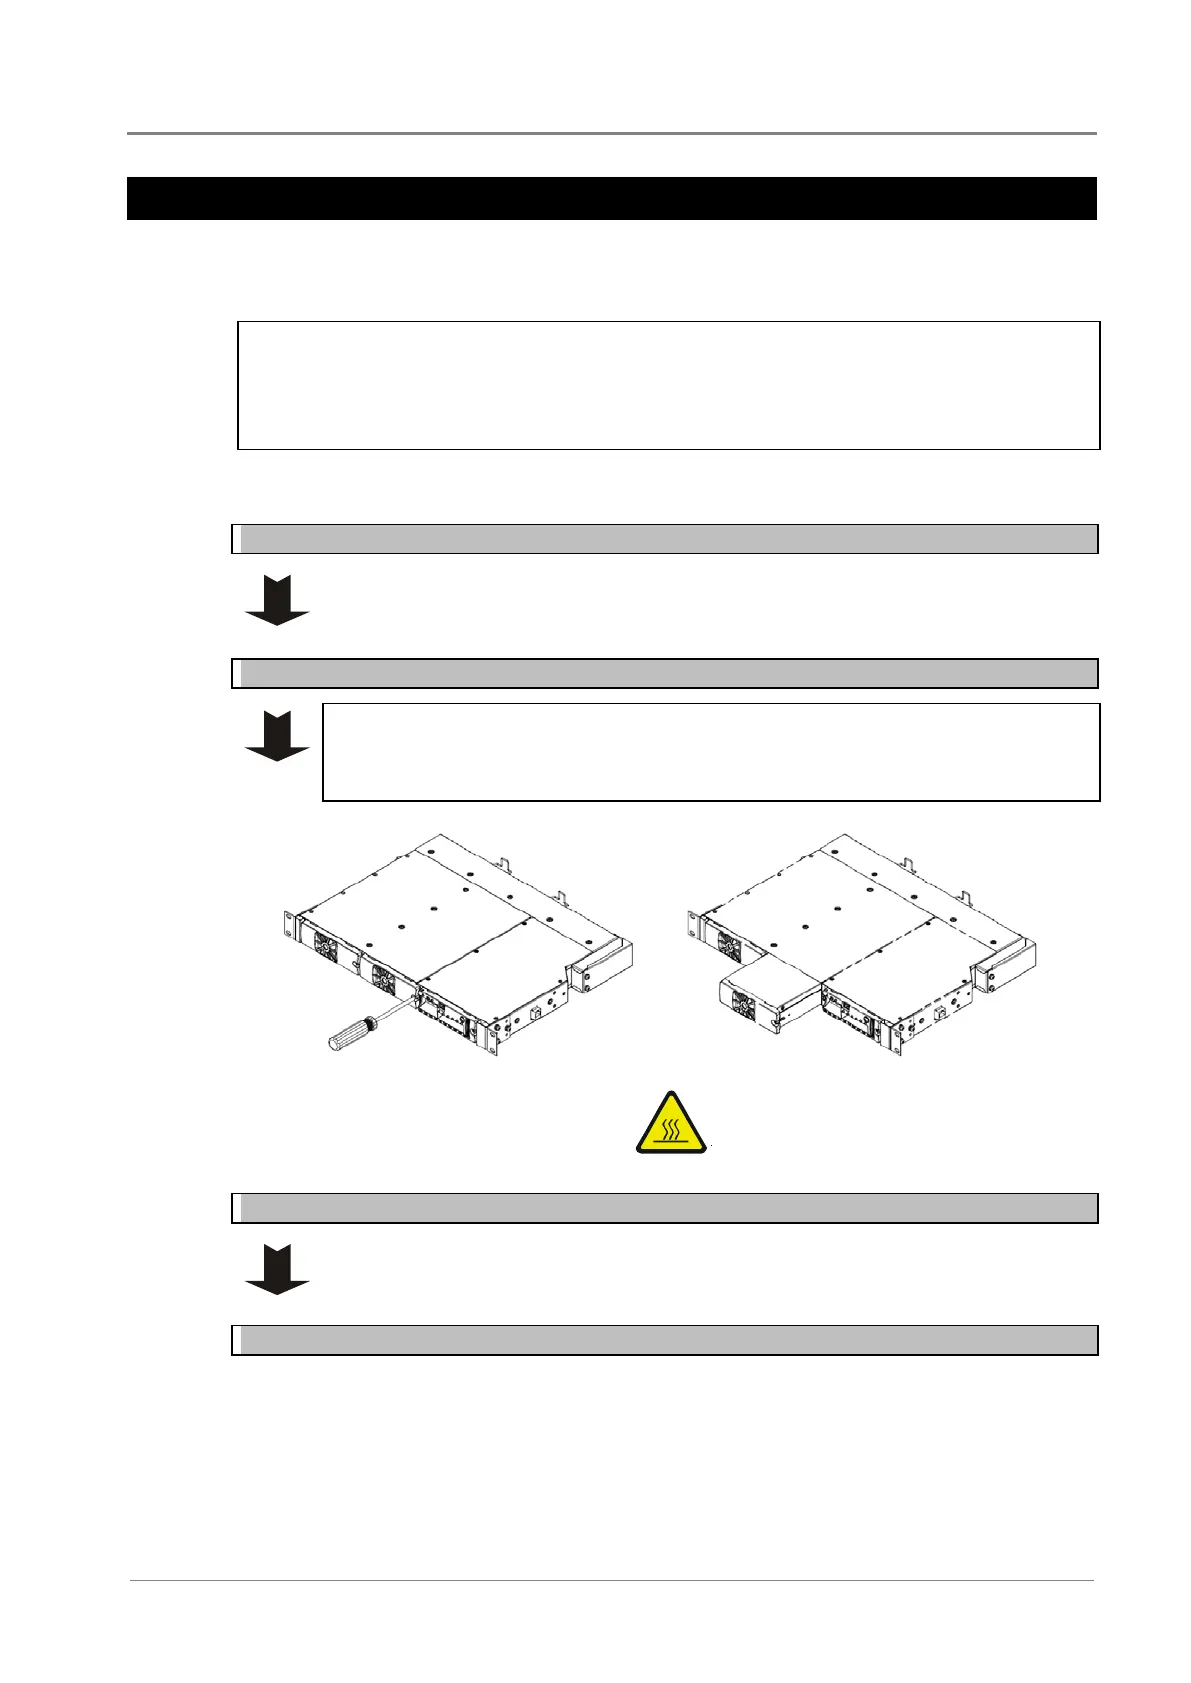
Removing a Rectifier
Step 1 - Undo the rectifier retaining screw
This will release the rectifier from its rear connector.
Step 2 - Pull out the rectifier
• The rectifier may be hot, especially after prolonged operation. Use suitable
gloves.
• To avoid damage do not rest the rectifier on its connector.
Step 3 - Replace rectifier or fit blank panel
Insert a replacement rectifier into the empty slot (see details in following section), or
fit a blank panel.
Procedure complete
 Loading...