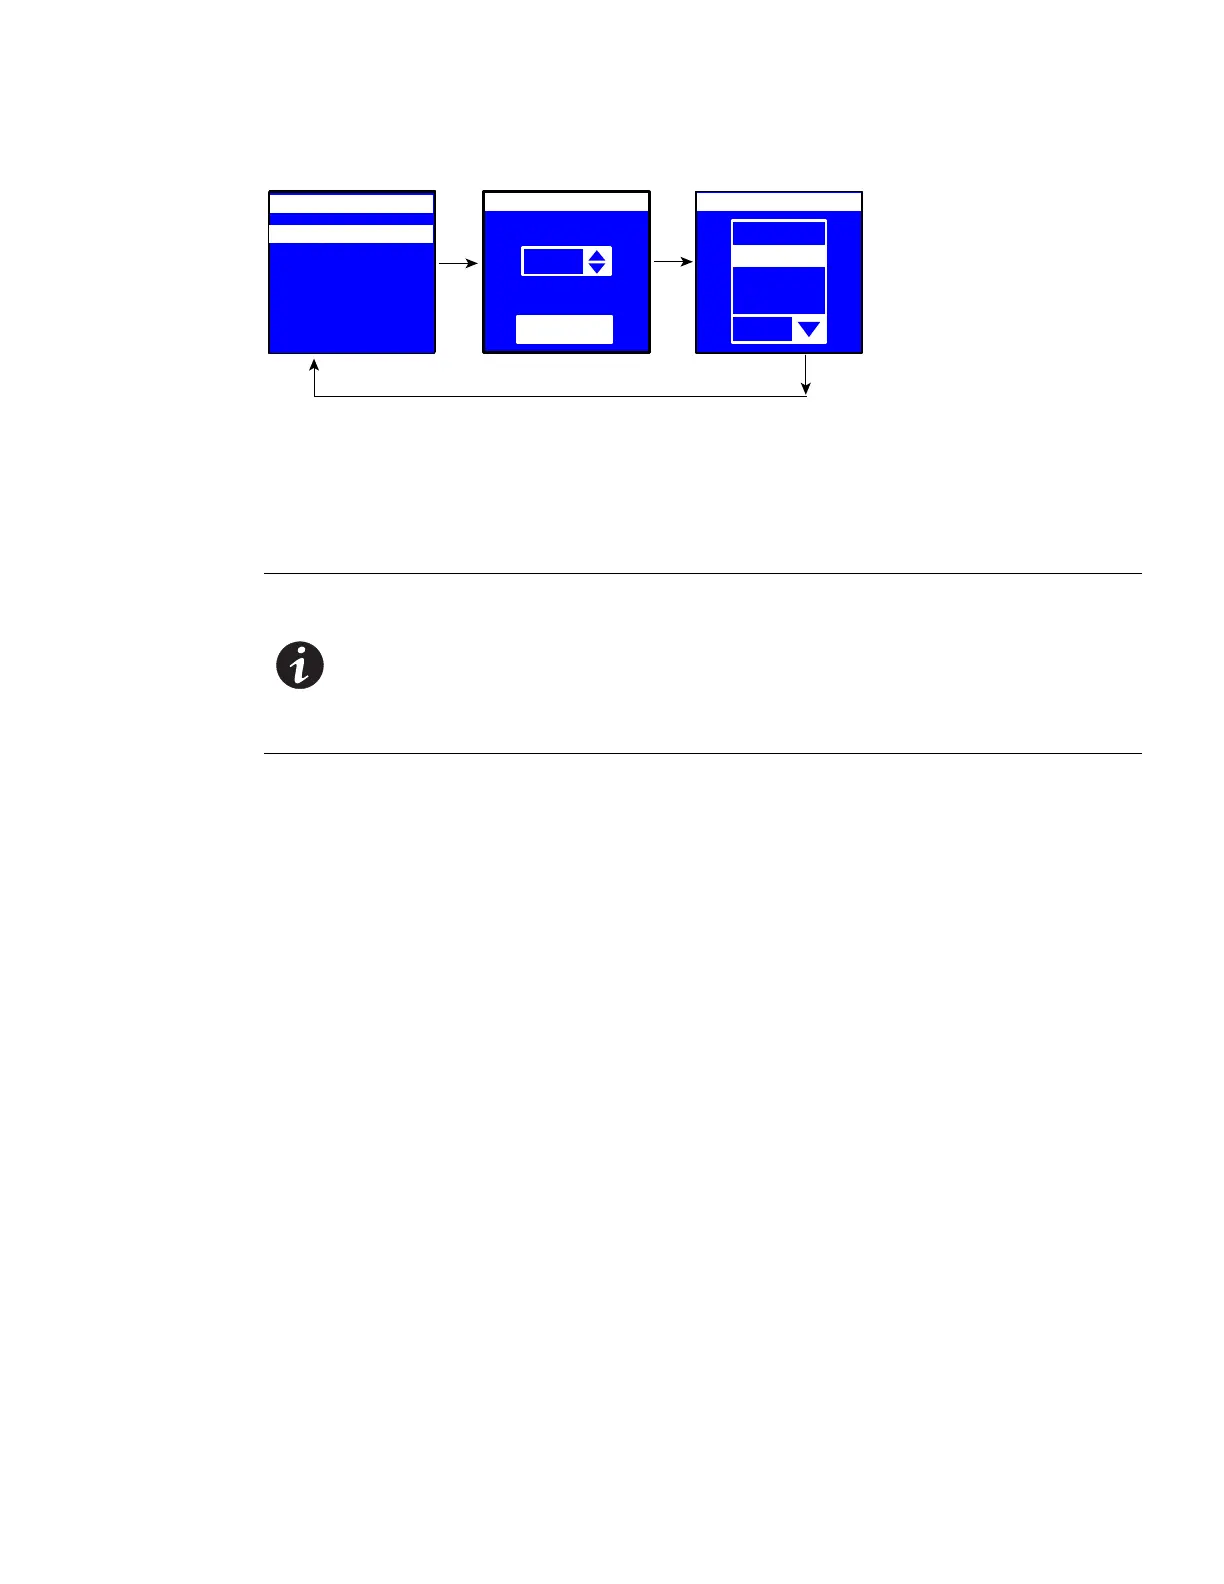
LCD
35
0 °
Contrast:
Orientation:
LCD
35
0°
90°
180°
- 90°
0 °
90°
ESC
Enter
Enter
Enter
Display
Daisy Chain
IPv4
Factory
Settings
Display
Language
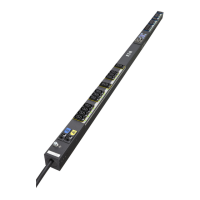
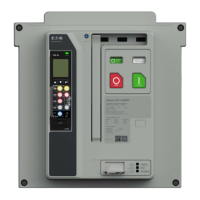
LCD Interface Operation
Eaton ePDU G3 Operation Manual P-164000277—Rev 1 www.eaton.com/ePDU 56
Figure 61. Example Display Submenu Displays
Daisy Chain Submenu
The Daisy Chain submenu allows you to configure two to four ePDUs to be monitored from a single Ethernet
connection on the Host ePDU. Use the Daisy Chain submenu options (Settings and Discovery) to configure the
ePDUs.
NOTE 1 To configure and monitor the ePDUs, they must be connected together through the
Daisy Chain connector on the front panel using an Ethernet cable.
NOTE 2 The Host ePDU must be connected to the network. There can only be one Host.
NOTE 3 All daisy-chained ePDUs should have the same Configuration number.
Daisy-chaining G3 ePDUs of different configuration numbers may lead to
unpredictable results.
Use the Settings option for the fi
rst two configuration steps:
1. Fr o m t h e ePDU (or ePDUs) designated as a Device ePDU, access the Daisy Chain Settings option and set
the Device values.
2. From the ePDU designated as the Host ePDU, access the Daisy Chain Settings option and set the Host
v
alues.
Use the Discovery option for the final configuration step:
3. From the Host ePDU, access the Daisy Chain Discovery option to st
art communication between the Host
and the Device ePDU (or ePDUs).
Daisy Chain Settings Options
The Daisy Chain Settings option allows you to specify the ePDU that will be the Host (the ePDU that has the
network connection) and the ePDU (or ePDUs) that will be a Device.
From the Device ePDU (or ePDUs), set the values as follows (see Figure 62):
1. On the Settings menu, scroll up or down to highlight Daisy Chain and press ENTER.
2. Scroll up or down to highlight Daisy Chain and press ENTER.
3. Select 1 (D
evice), 2 (Device), or 3 (Device), from the Id: selection drop-list. Press ENTER.
4. Select En
d or Middle from the Place: selection drop-list. Press ENTER.

 Loading...