Envoy Installation and Operation
2014 Enphase Energy Inc. 141-00011 Rev 05
Install the Envoy
To install the Envoy, perform the following steps.
BEST PRACTICE: When powered up and connected for the first time, the Envoy may retrieve
an automatic upgrade from Enphase. Because this upgrade may take up to 15 minutes, connect
the Envoy first at the site (connect to both AC power and the broadband router) so that it
performs the upgrade well before the solar module installation is complete.
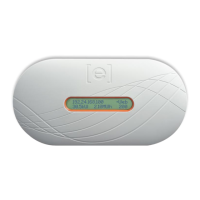
WARNING! Do not remove power from the Envoy if the LCD displays:
“Upgrading. . . Do Not Unplug.”
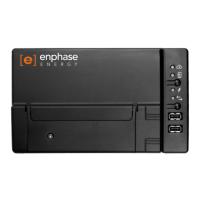
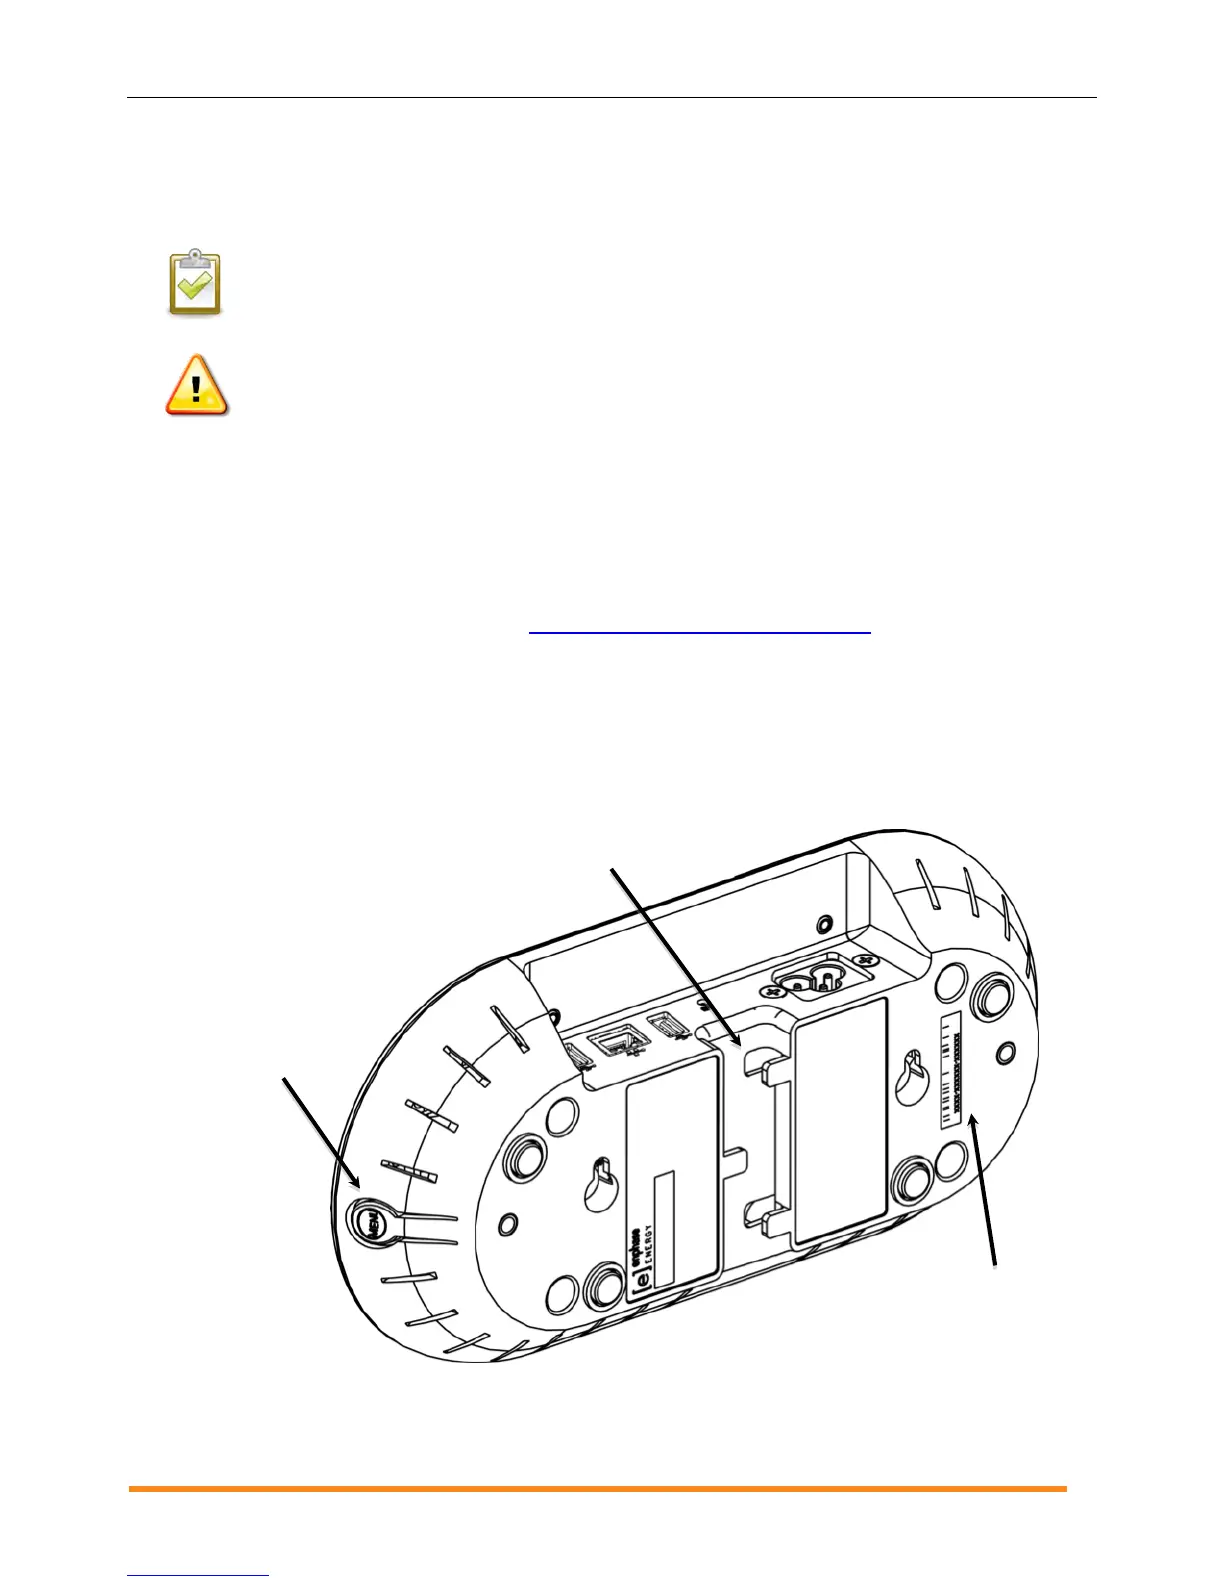
1. Find the Envoy Serial Number
The serial number label is on the back of the Envoy, near the left mounting bracket.
You can build the system map manually, by peeling the serial number label from the Envoy and placing the
label on the installation map, or you can use the ArrayGun feature from the Enphase Installer Toolkit to
easily build and configure a system. Refer to http://enphase.com/products/arraygun/ for more information.
To manually build the installation map:
a. Remove the Envoy’s removable serial number label.
b. Attach the serial number label to the microinverter installation map, or make note of it for registration in
the next step.
If needed, you can find an installation map at the back of the Enphase Microinverter manual.
DO NOT route the power
cable or the Ethernet cable
through the cable tray.
 Loading...