Envoy Installation and Operation
2014 Enphase Energy Inc. 141-00011 Rev 05
Initiating a Scan for New Microinverters
If you add additional microinverters to an existing system or replace a microinverter, you must run a scan to
detect the new devices. To initiate a scan after you add new microinverters to an existing Enphase system,
perform the following steps.
Alternatively, you can initiate a scan through the Administration page when connected to the Envoy local
interface with a computer or via Enlighten (refer to “Using Enlighten to Check Envoy Status” on page 28).
1. Press and hold the Envoy Menu button. After two seconds the Envoy menu appears.
2. Continue holding the Menu button. When the LCD screen displays “Enable Device Scan”,
release the Menu button.
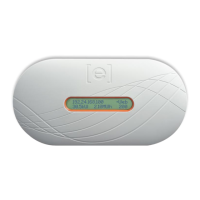
The LCD screen then reads:
The Envoy begins a 30-minute scan (if a longer scan is not already in progress) to identify all of
the microinverters deployed at the site.
3. Log into Enlighten to check for the new microinverter, and use Array Builder to add the new
microinverter to the virtual array.
4. After the microinverter is detected, it is best to disable the scan. To do this, press and hold the
Envoy Menu button for two seconds to view the Envoy menu. When the LCD screen displays:
“Disable Device Scan”, release the Menu button.
Performing a Communications Check
If you are unsure of where to place the Envoy for maximum performance, you can install the Envoy in
various locations and check signal strength at each location. Normally, a communications check starts
automatically after an Envoy restart. Alternatively, you can initiate a communications check with the Envoy
Menu button or through the Administration page when connected to the Envoy local interface with a
computer. You can also use Enlighten (see “Using Enlighten to Check Envoy Status” on page 28).
NOTE: Device scans and communications checks can only be done during daylight hours
when the microinverters are active (that is, powered by the PV modules).
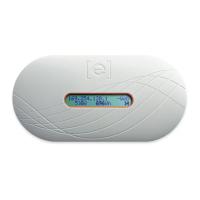
Device scan active
for 00d:00h:30m
 Loading...