Enterasys 800-Series Hardware Installation Guide 2-1
2
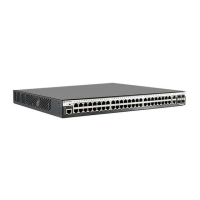
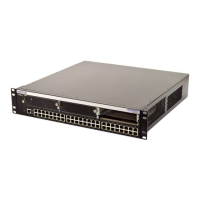
Installation
This chapter provides instructions to install the 800-Series. Unless otherwise noted, the
instructions apply to all 800-Series models. Follow the order of the sections listed below to
correctly install the switch.
Considerations Prior to Installation
When installing the switch, note the following:
• Before starting the installation procedure, notify the network administrator of the installation.
• Follow the installation procedures in the order as presented in this guide.
• Do not connect the switch to the network until you have established the correct IP address.
Electrical Hazard: Only qualified personnel should perform installation procedures.
Riesgo Electrico: Solamente personal calificado debe realizar procedimientos de instalacion.
Elektrischer Gefahrenhinweis: Installationen sollten nur durch ausgebildetes und qualifiziertes
Personal vorgenommen werden.
Important Notice
Read the Release Notes for the latest 800-Series firmware release for your 800-Series switch to check for
any exceptions to the supported features and operation documented in this guide.
For information about... Refer to page...
Considerations Prior to Installation 2-1
Required Tools 2-2
Unpacking the Switch 2-2
Installing the Switch on a Flat Surface 2-2
Mounting the 24 and 48 Port Switches 2-3
Mounting the 8 Port Switches 2-5
Connecting AC Power 2-21
Installing and Connecting a Redundant Power System 2-21
Connecting to the Console Port for Local Management 2-32
Connecting to the Web User Interface for Local Management 2-34
Connecting to the Network 2-36
Completing the Installation 2-41
 Loading...