Connecting to the Web User Interface for Local Management
2-34 Installation
When these parameters are set, the Startup screen will display. Proceed to “Connecting to the
Network” on page 2-36.
Connecting to the Web User Interface for Local Management
This section describes how to connect to the switch and access the Web User Interface for local
management.
What Is Needed
To connect to the Web UI, you’ll need a computer, an Ethernet network cable (RJ45), and a web
browser application installed on the computer. Compatible web browser applications are
Microsoft® Internet Explorer (version 6.0 and later), Mozilla Firefox (version 3.0 and later), Safari
(version 4.0 and later), Google Chrome (version 5.0 and later), Opera (version 9.0 and later), and
Netscape (version 7.0 and later).
The default IP address of this switch is 192.168.10.1 and the default user name is admin. By default
there is no password configured.
To access the Web UI follow the following steps:
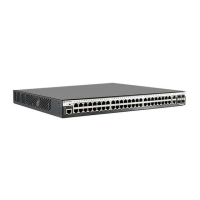
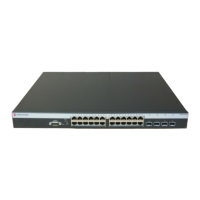
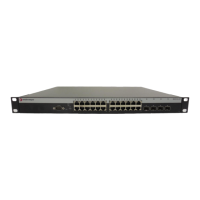
1. The simplest way to connect to the switch’s Web User Interface is to take the Ethernet network
cable (RJ45) and interconnect the management computer with one of the copper Ethernet
ports, located on the front panel of the switch. When the corresponding port status LED lights
up, a successful connection was made.
2. Be sure to configure the management computer’s IP address and subnet mask in the same
network range as the IP address of the switch. For example, if the IP of the switch is
192.168.10.1 and the subnet mask is 255.255.255.0, then the management computer should
have an IP address of 192.168.10.2 (and above) with a subnet mask of 255.255.255.0.
3. On the management computer, open a web browser and enter the IP address of the switch
into the address bar of the web browser. Press ENTER to connnect to the login page of the
Web User Interface as shown in Figure 2-29.
Parameter Setting
Mode 7 Bit Control
Transmit Transmit=9600
Bits Parity 8 Bits, No Parity
Stop Bit 1 Stop Bit
 Loading...

