QX50/QX200/QX2000; (SW Version 6.0.x) 20
QX50/QX200/QX2000 Manual I: Installation Guide
Step 2.1: Logging in to QX IP PBX
• Start a browser (MS Internet Explorer, Google Chrome, Opera, Mozilla Firefox,
etc.) on a PC connected to the QX IP PBX via the LAN or WAN interface.
• Since Firewall is disabled on the QX IP PBX by default, you may connect the Web
GUI either from WAN or LAN side of the QX IP PBX. To connect the QX IP PBX’s
Web GUI from the WAN side, enter http://Quadro_WAN_IP (IP address assigned
by the company’s DHCP server) in the address field of your browser. If the PC is
connected to the QX IP PBX’s LAN side, enter
http://172.30.0.1 for QX50/QX200
(QX50/QX200’s default IP address) and
http://192.168.0.200 for QX2000
(QX2000’s default IP address) in the address field of your browser.
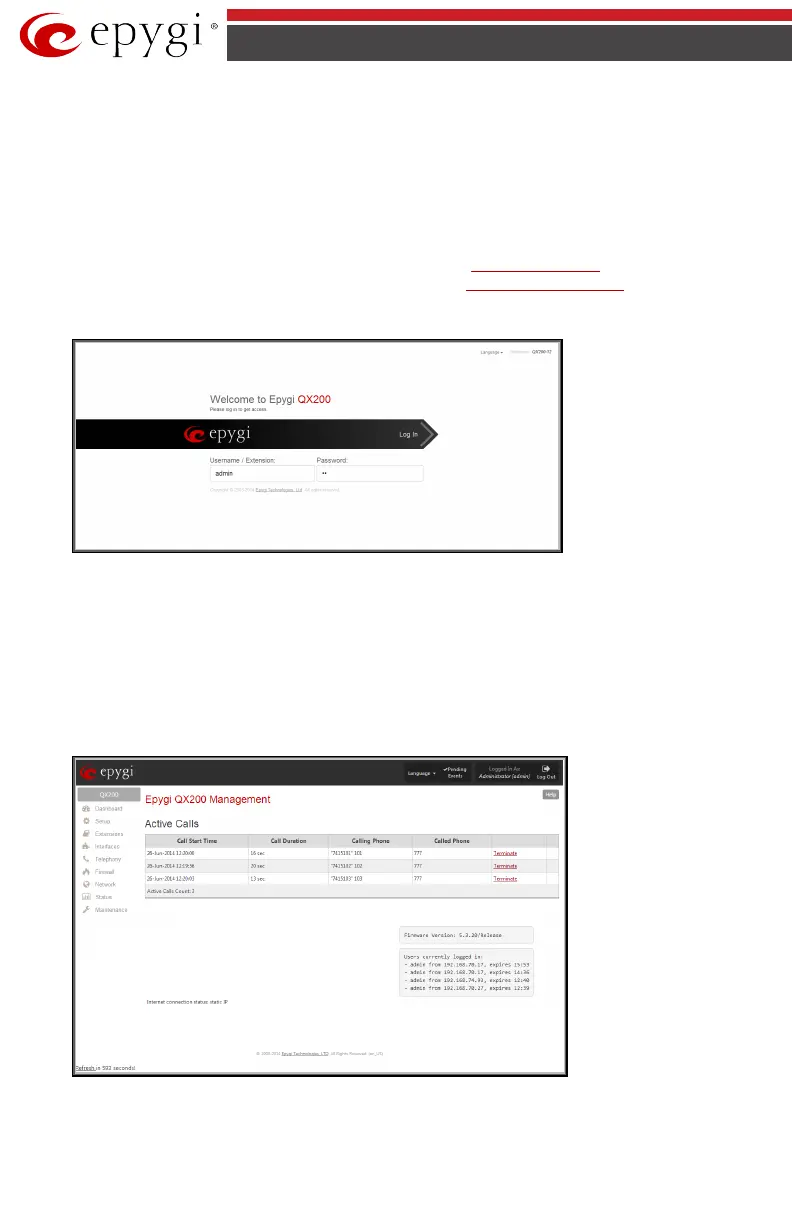
• The Login page of the QX IP PBX will be displayed (see Fig.I- 8).
Fig.I- 8: Login page
Enter admin as the Username and 19 as the password to log in as the administrator. Once you
log in, you will enter into the QX IP PBX Management Menu.
Please Note: If you consecutively enter a wrong password and/or username for five times the
device will be unavailable for login for five minutes.
After log in, the Epygi QX Management page will be displayed.
Fig.I- 9: Epygi QX Management page