QX50/QX200/QX2000; (SW Version 6.0.x) 32
QX50/QX200/QX2000 Manual I: Installation Guide
Step 2-A: Using IP Lines
Before starting the IP Lines specific configuration, the appropriate IP Phone (the list of SIP
phones supported by QX IP PBX is presented
below) should be connected to the QX IP PBX
either through its LAN or WAN port. If the phones are placed on the QX IP PBX LAN, please
ensure that the Configure IP phones from LAN side option is enabled on the IP Line Settings
page (see Fig.I- 25).
The QX IP PBX provides two options for configuring IP phones:
• Plug-and-Play: This option does not require any specific configuration except that
the Enable PnP for IP lines checkbox should be enabled on the Interfaces – IP
Lines – IP Line Settings page (see Fig.I- 25).
• Auto-Configuration: This option requires specifying some basic parameters on the
QX IP PBX and restarting the phone (see Fig.I- 27).
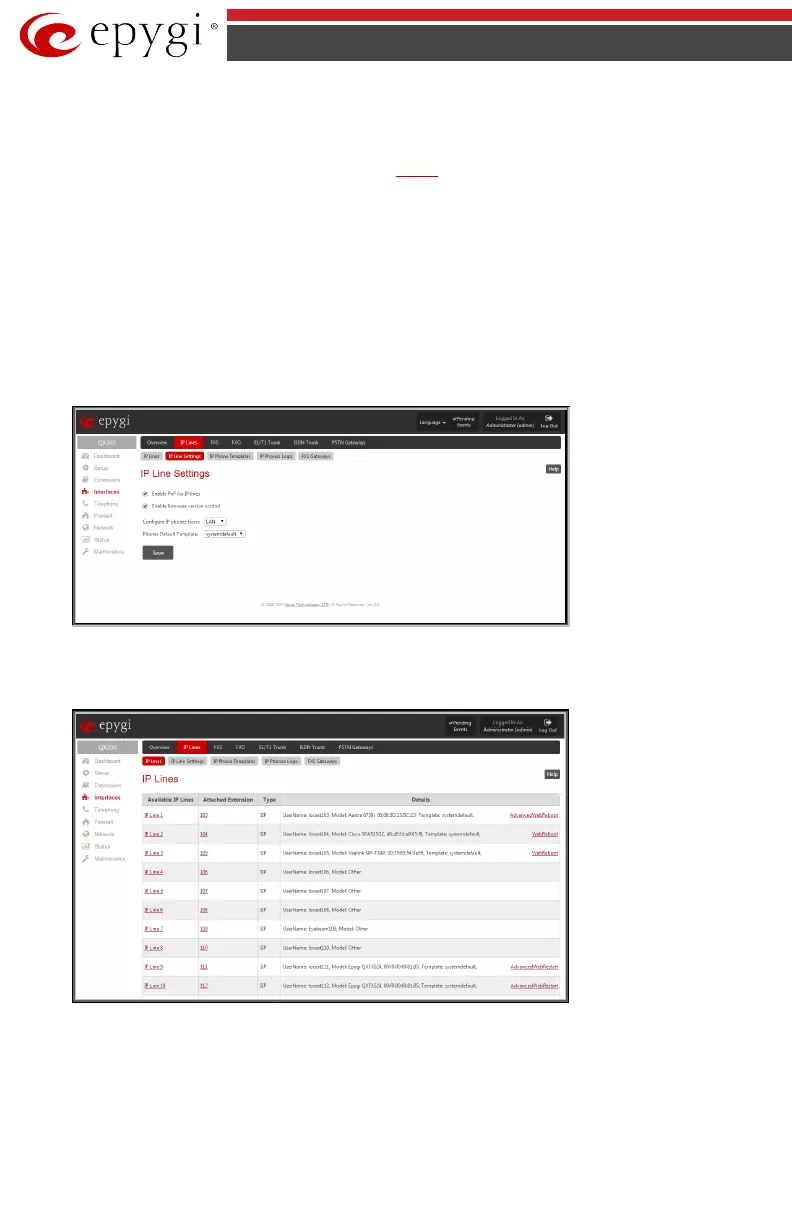
Fig.I- 25: IP Line settings page
Each IP line should be configured individually from the Interfaces – IP Lines – IP Line # page.
Fig.I- 26: IP Lines page
Click on the IP Line number to enter the IP Line Settings – IP Line# page.