QX50/QX200/QX2000; (SW Version 6.0.x) 28
QX50/QX200/QX2000 Manual I: Installation Guide
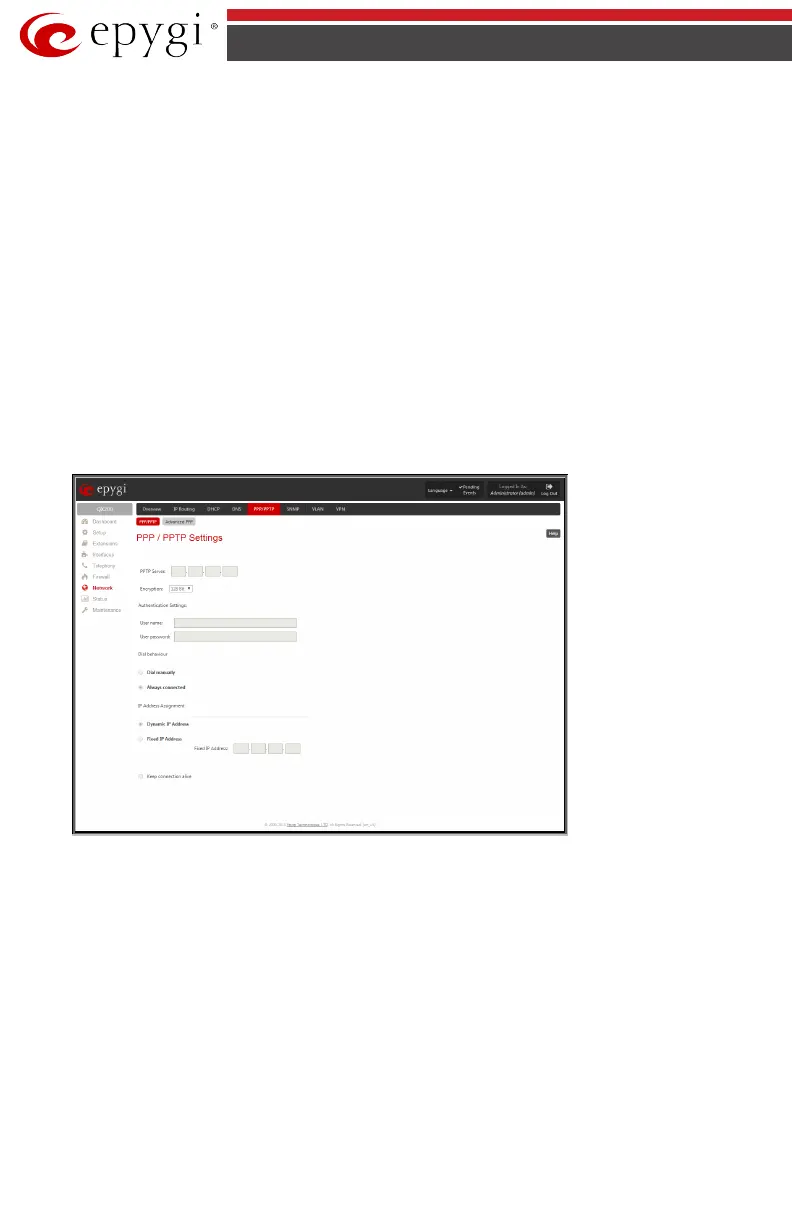
PPP/PPTP Configuration
Enter the IP address of the PPTP server into the PPTP Server text field.
Choose the encryption for the traffic over the PPTP interface from the Encryption drop down
list.
Please Note: PPP/PPTP Settings are not available for QX2000.
Authentication Settings require the Username and the Password used for the authentication
on the ISP server.
Dial Behavior radio buttons:
• Dial Manually - if this radio button is activated, a button will be displayed in the main
management window that serves to switch the Internet connection on/off. When access-
ing the Internet, every station of the connected LAN has to connect to QX IP PBX first.
• Always connected - QX IP PBX stays in the always connected mode. This will allow QX IP
PBX always remain online in the network.
The IP Address Assignment field is used to specify the external IP address given to the QX IP
PBX. Usually it is a dynamic address but in some cases you may be given a static IP address.
Fig.I- 20: PPP/PPTP Configuration page
If your ISP assigns a dynamic IP address, activate the Dynamic IP Address radio button, oth-
erwise activate the Fixed IP Address radio button and enter the IP address you were assigned
by your ISP.
Keep Connection alive checkbox enables keeping the connection alive by sending control
packets dedicated for the link state verification.