 Loading...
Do you have a question about the FAAC E124 and is the answer not in the manual?
| Model | E124 |
|---|---|
| Category | Control Unit |
| Maximum Motor Current | 5 A |
| Operating Temperature | -20°C to +55°C |
| Operating Voltage | 230V AC |
| Protection Degree | IP55 |
| Power Supply | 230V AC (+6% -10%) 50 (60) Hz |
Explains symbols used in the manual for warnings and information.
Details mandatory personal protective equipment for safe use.
Covers packaging, tools, and safety signs for safe installation.
Specific work conditions and precautions for installation personnel.
Guidelines for storing the product safely to maintain its condition.
Instructions for disposing of the product and its components responsibly.
Specifies purpose, restrictions, and prohibited uses of the E124 board.
Lists prohibited uses and explains product identification methods.
Details obstacle detection sensitivity and encoder use for monitoring.
Covers integrated radio, accessory modules, and cloud connectivity.
Details electrical installation standards, wiring, and safety measures.
Provides the physical dimensions of the enclosure for installation planning.
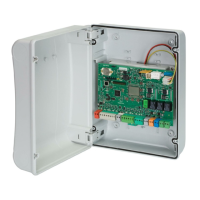
Step-by-step guide for installing the enclosure and preparing cable entries.
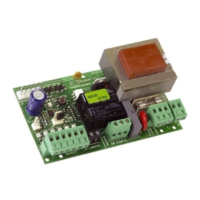
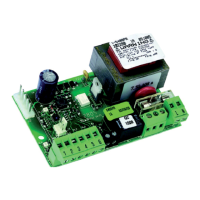
Details the function and voltage setting of the switching power supply.
Connects BUS 2easy devices and control inputs like buttons and limit switches.
Guides connection of motors, electric locks, and indicator lights.
Details configuration and connection of BUS 2easy control devices.
Explains DIP switch configuration and connection for photocells and sensitive edges.
Guides the connection of BUS 2easy encoders to the board.
Procedures for registering or removing BUS 2easy devices from the system.
Details the connection and functional test for relay photocells.
Explains how to perform a fail-safe test on safety devices.
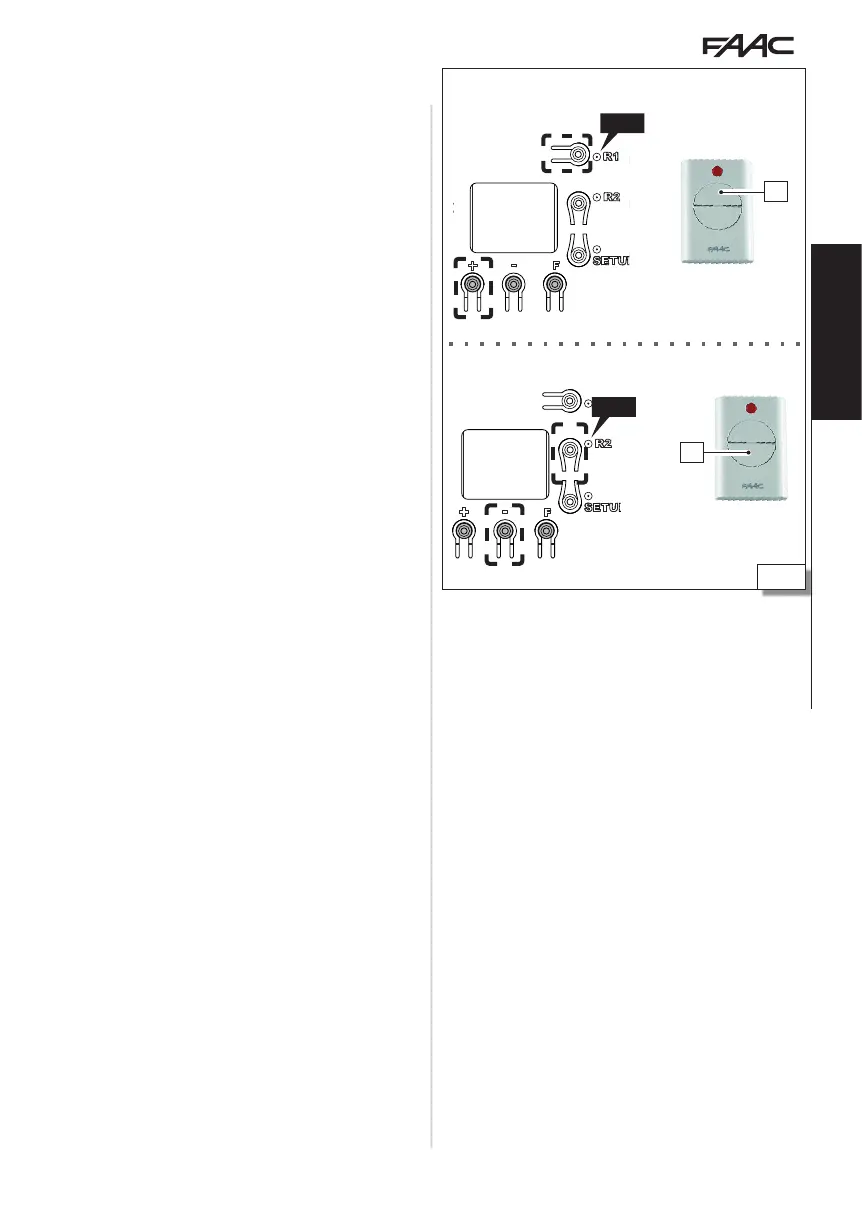
Guides memorizing master and adding SLH/SLHLR radio controls.
Details programming RC/LC radio controls and adding new ones.
Guides memorizing DS radio controls on the board.
Procedure to delete all programmed radio controls from the system.
Instructions for inserting and configuring the Simply Connect module.
Steps for installing and connecting emergency batteries for backup power.
Details connecting an external stabilized power supply as an alternative.
Step-by-step guide to configure the automation system after installation.
Instructions for applying power to the board and initial display status.
Explains how to enter and navigate Basic and Advanced programming menus.
Configures Simply Connect and selects the automation type.
Defines automation logic and sets pause durations.
Adjusts motor power levels and movement speed.
Configures encoders, opening/closing limit switches, and closing delay.
Registers BUS 2easy devices connected to the board.
Defines motor hold-to-run mode and procedures for exiting programming.
Adjusts initial thrust force, closing thrust, and reverse stroke for safety.
Configures opening delay, reverse on obstacle, and deceleration for safety.
Configures pre-flashing indicators and behavior of closing photocells.
Configures ADMAP function, anti-crushing sensitivity, and ultra-sensitive obstacle detection.
Defines stop search space and soft touch leaf reversal for safety.
Defines the functions and timing for programmable outputs OUT1 and OUT2.
Enables maintenance alerts and manages the cycle counter.
Procedures for saving or discarding programming changes.
Ensures correct settings and connections before starting the setup procedure.
Details the sequence of movements and actions during the setup process.
Configures pause times, motor count, limit switches, and closing delay.
Sets initial thrust time and leaf opening delay for advanced control.
Critical safety adjustments to prevent crushing incidents using basic/advanced settings.
Verifies automation functionality and adherence to force limitation standards.
Final step to secure the enclosure after installation.
Explains LEDs, automation status codes, BUS 2easy status, and output warnings.
Lists and explains error codes, alarms, and provides troubleshooting steps.
Displays firmware version and guides movement functionality checks.
Details specific maintenance tasks and their recommended monthly frequency.
Explains commands, battery backup, and how safety devices affect automation.
Details accessory operations and describes various logic modes defining automation behavior.