3. Click the [OK] button to close the ScanSnap setup window.
ATTENTION
l The scanned image is output at the center of the page in the size specified in the [Paper size] drop-
down list of the [Carrier Sheet Settings] window.
l If [Automatic detection] is specified for [Paper size] in the [Carrier Sheet Settings] window, an
optimal size will be selected automatically from the available standard sizes (A3, B4 or 11 × 17 in.)
from the same drop-down list. Note that the size of the image may become smaller than the original
document depending on the document scanned, or part of the image may appear missing.
Example:
When an A5 size image is printed in the center of an A4 size document
a The scanned image is output in A5 size.
To output the scanned image in its original size, specify the document size in the [Paper size] drop-
down list.
HINT
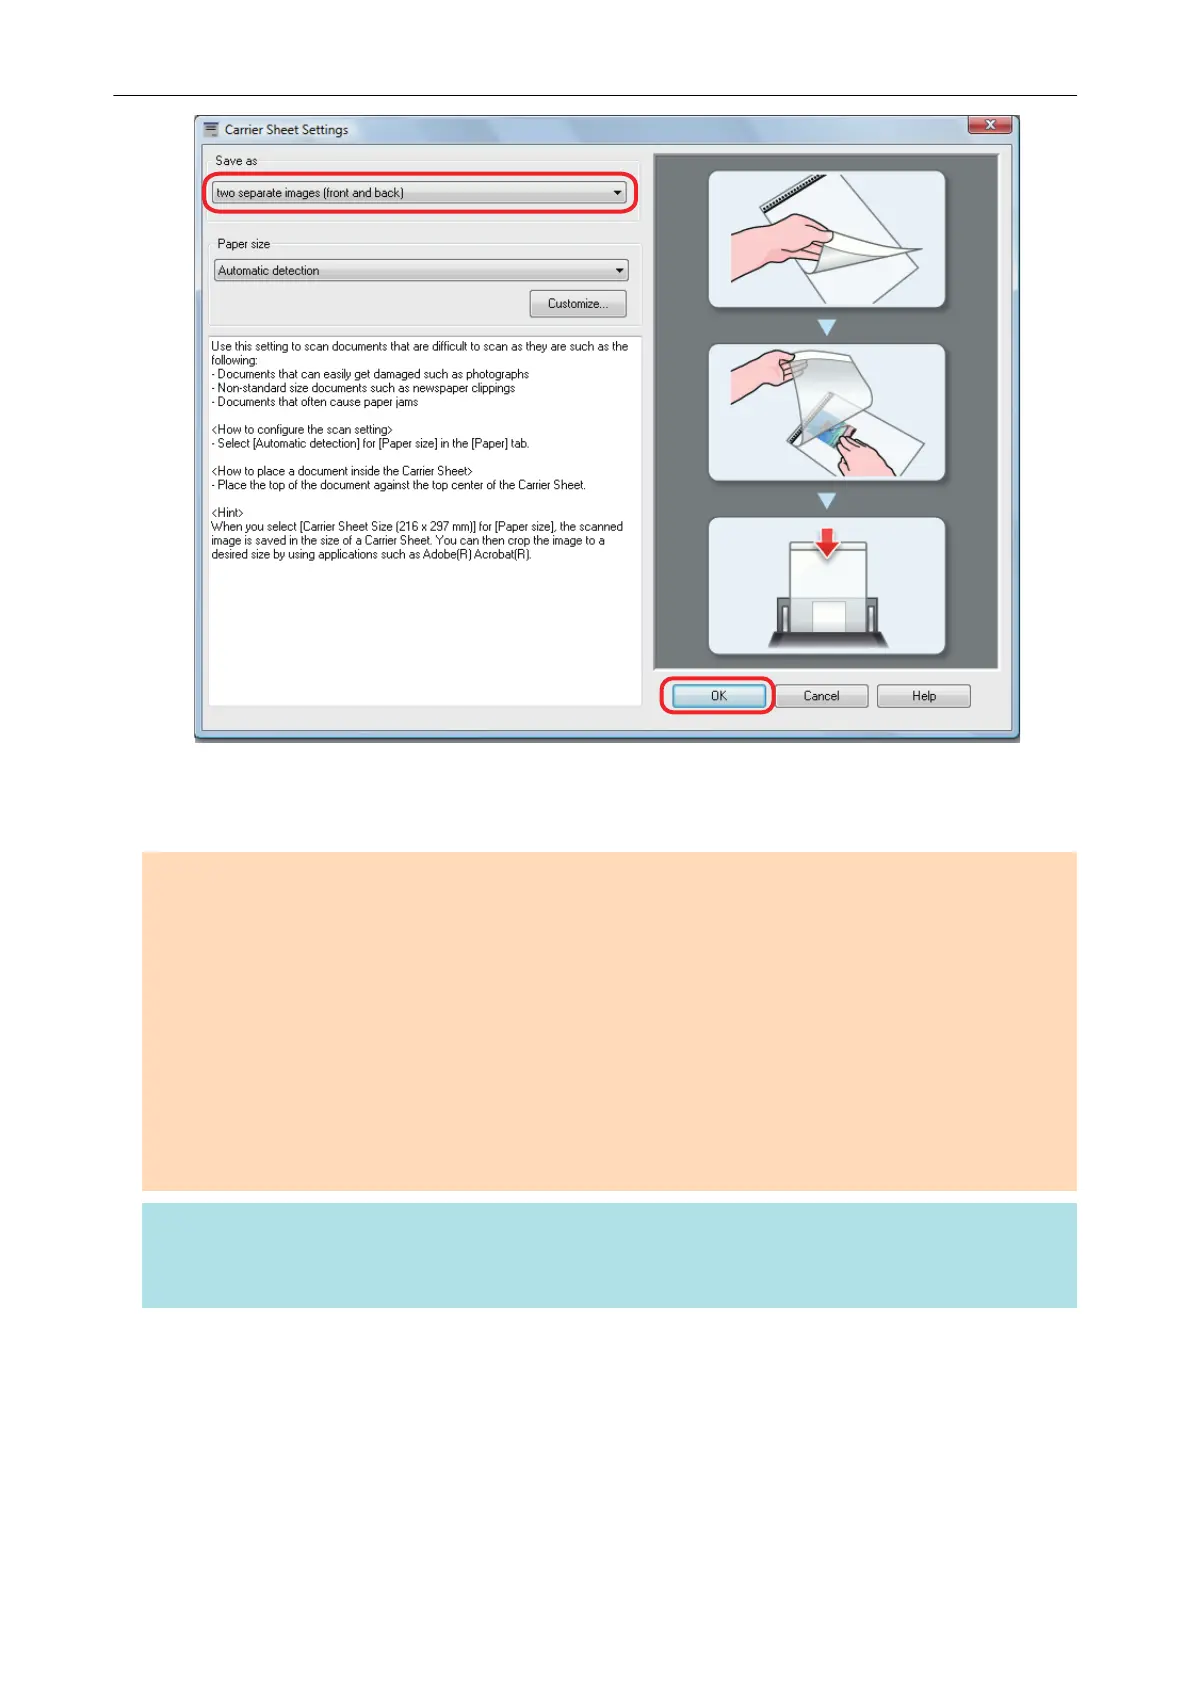
For details about how to place documents into the Carrier Sheet and on the ScanSnap, refer to the
ScanSnap Manager Help.
Scanning Documents Such as Photographs and Clippings (For iX500, S1500, S1500M, S1100, or S510)
108
 Loading...