3-1
3. ADJUSTMENTS
Note: After completing the settings and adjustments, copy the setting data to a SD-
card (SD card slot is at the back of the processor unit), referring to section 1.51 in the
Operator's Manual. This will allow easy restoration of setting data after the SPU Board
is replaced, etc.
At the first power up after installation, open the protected menus to adjust the radar.
Follow the procedures in this chapter, in the order shown, to complete the adjustment.
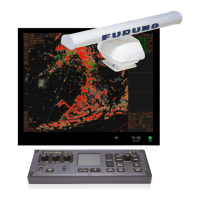
Below are the controls on the control unit that are used to make the adjustments.
3.1 How to Open the Radar Installation Menu
The [RADAR INSTALLATION] menu has the items for adjustment of the radar. Do the
following to access this menu.
1. Open the cover of the power switch and press the switch to turn on the radar.
2. Press the MENU key five times while pressing the HL OFF key to open the [RA-
DAR INSTALLATION] menu.
Power key
Left button Right button
Touch pad Setting knob
Power lamp
[RADAR INSTALLATION]
(1/2)
1 BACK
2 [ECHO ADJUST]
3 [OWN SHIP INFO]
4 [SCANNER]
5 [INSTALLATION]
6 [TT PRESET]
7 [BAUD RATE]
8 [ALERT I/F]
9 [INPUT PORT]
0 [NEXT]
[RADAR INSTALLATION]
(2/2)
1 BACK
2 [OTHERS]
Page 2
Page 1

 Loading...