1. MOUNTING, WIRING
5
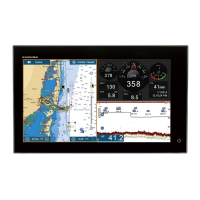
7. Set the cutouts of the hood (23) assembly to
the knobs on the hood fixing plates (front).
8. Press the top of the hood (23) assembly to set the knobs in the cut-
outs.
9. Set the hood (23) assembly with the knobs tightly (4 pcs.).
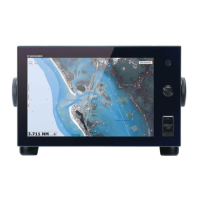
1.4 Flush Mount, Fixed at Rear
The flush mount, fixed at rear method requires the flush mount kit OP26-17 (option, see page vii).
1. Use the flush mounting template (supplied) to make a cutout in the mounting location.
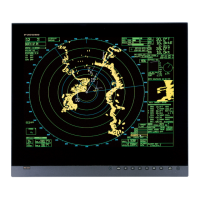
2. Attach the flush mounting sponges H
and packings to the back of the
monitor unit in the order shown in the
figure at right.
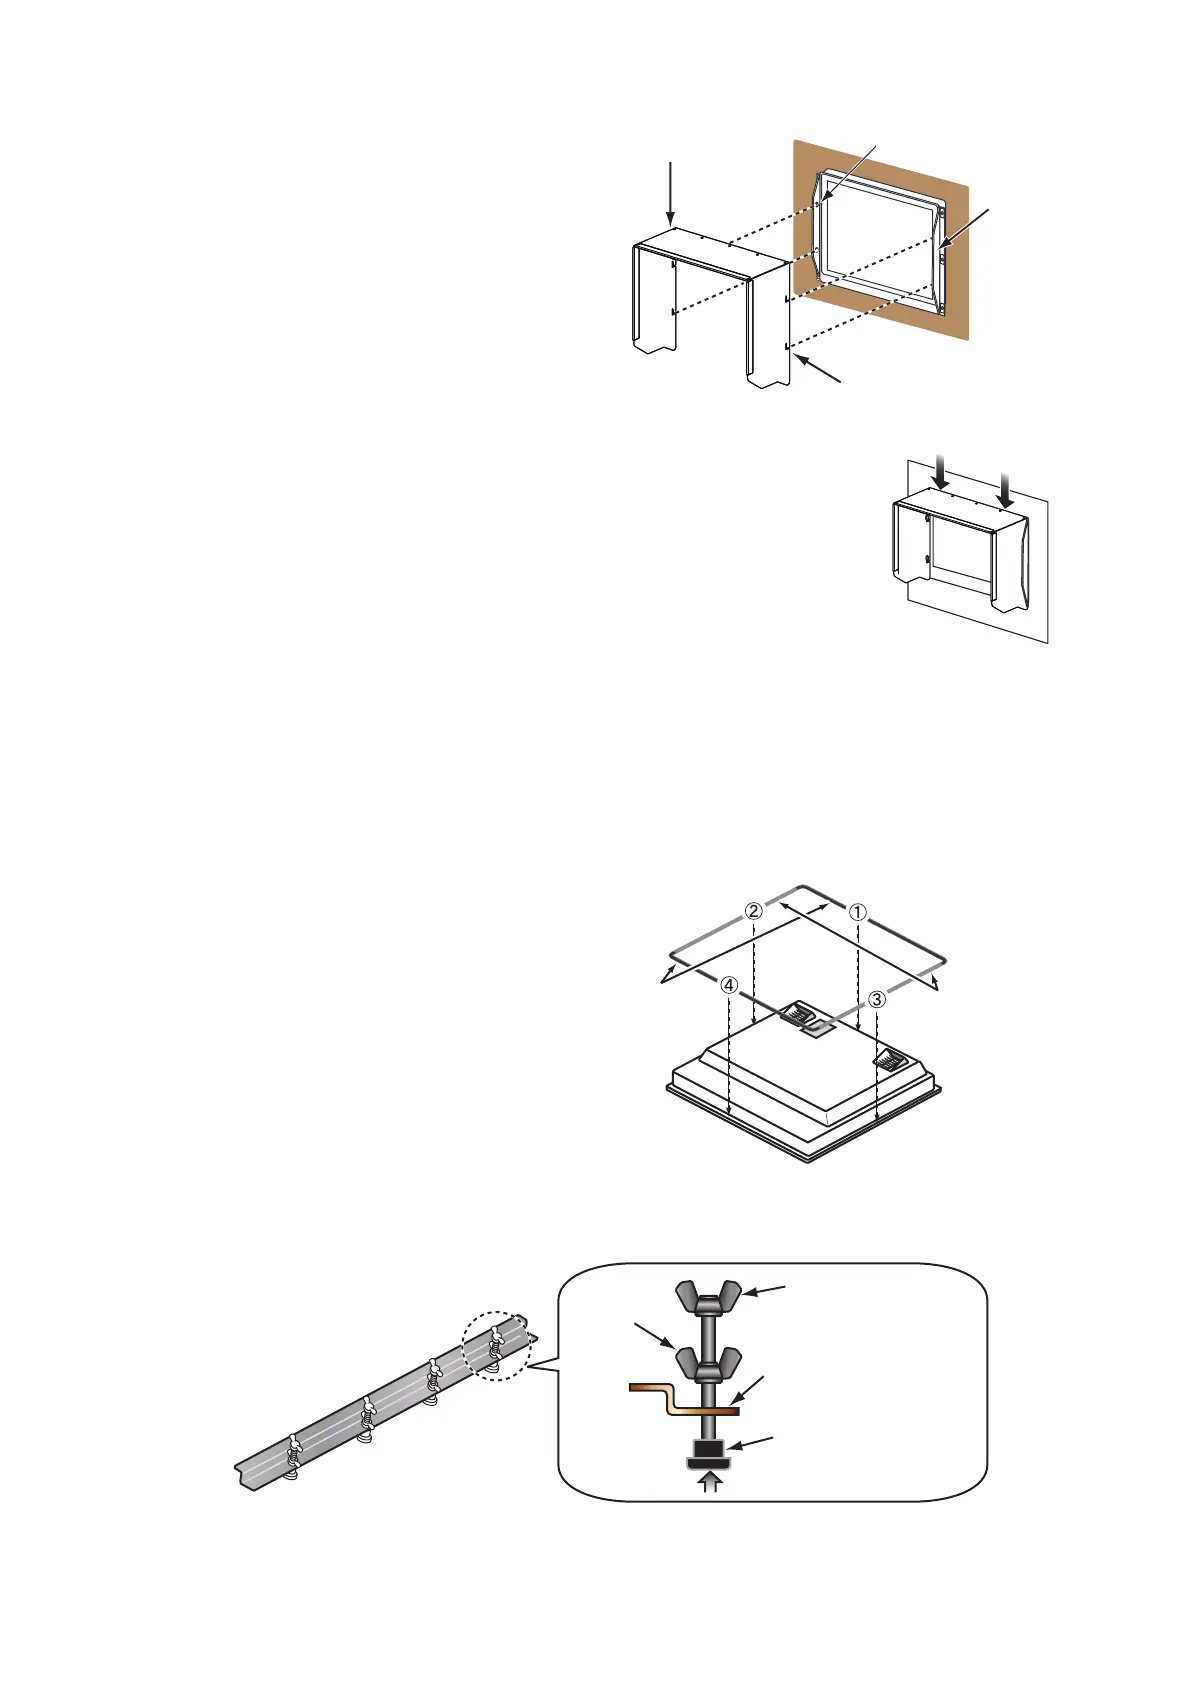
3. Screw the wing bolts and the wing nuts of the flush mount fixture so that the protector for
screw moves to the fixing plate.
4. Connect all cables at the back of the monitor unit. See section 1.8.
5. Set the monitor unit to the cutout.
Hood (23)
Assembly
Cutout (4 places)
Hood
Fixing
Plate
(Front)
Knob M4 (4 pcs.)
Packing for top
and bottom
Flush Mounting
Sponge H for left
and right
Flush Mount Fixture 23
Wing Bolt
Protector for
Screw
Move to the fixing plate.
Wing Nut
Fixing Plate
 Loading...