DIRECTION 5750007-1EN, REV. 1 LOGIQ E10 BASIC SERVICE MANUAL
8 - 230 Section 8-10 - Casters and Brakes replacement
Rear Caster(s) removal
Table 8-250 Rear Caster(s) removal
Steps Corresponding Graphic
1.
Turn Front Casters so they are pointing forward.
Activate the Direction Lock.
Using a torque wrench and 10 mm driver, break the bolt loose.
2.
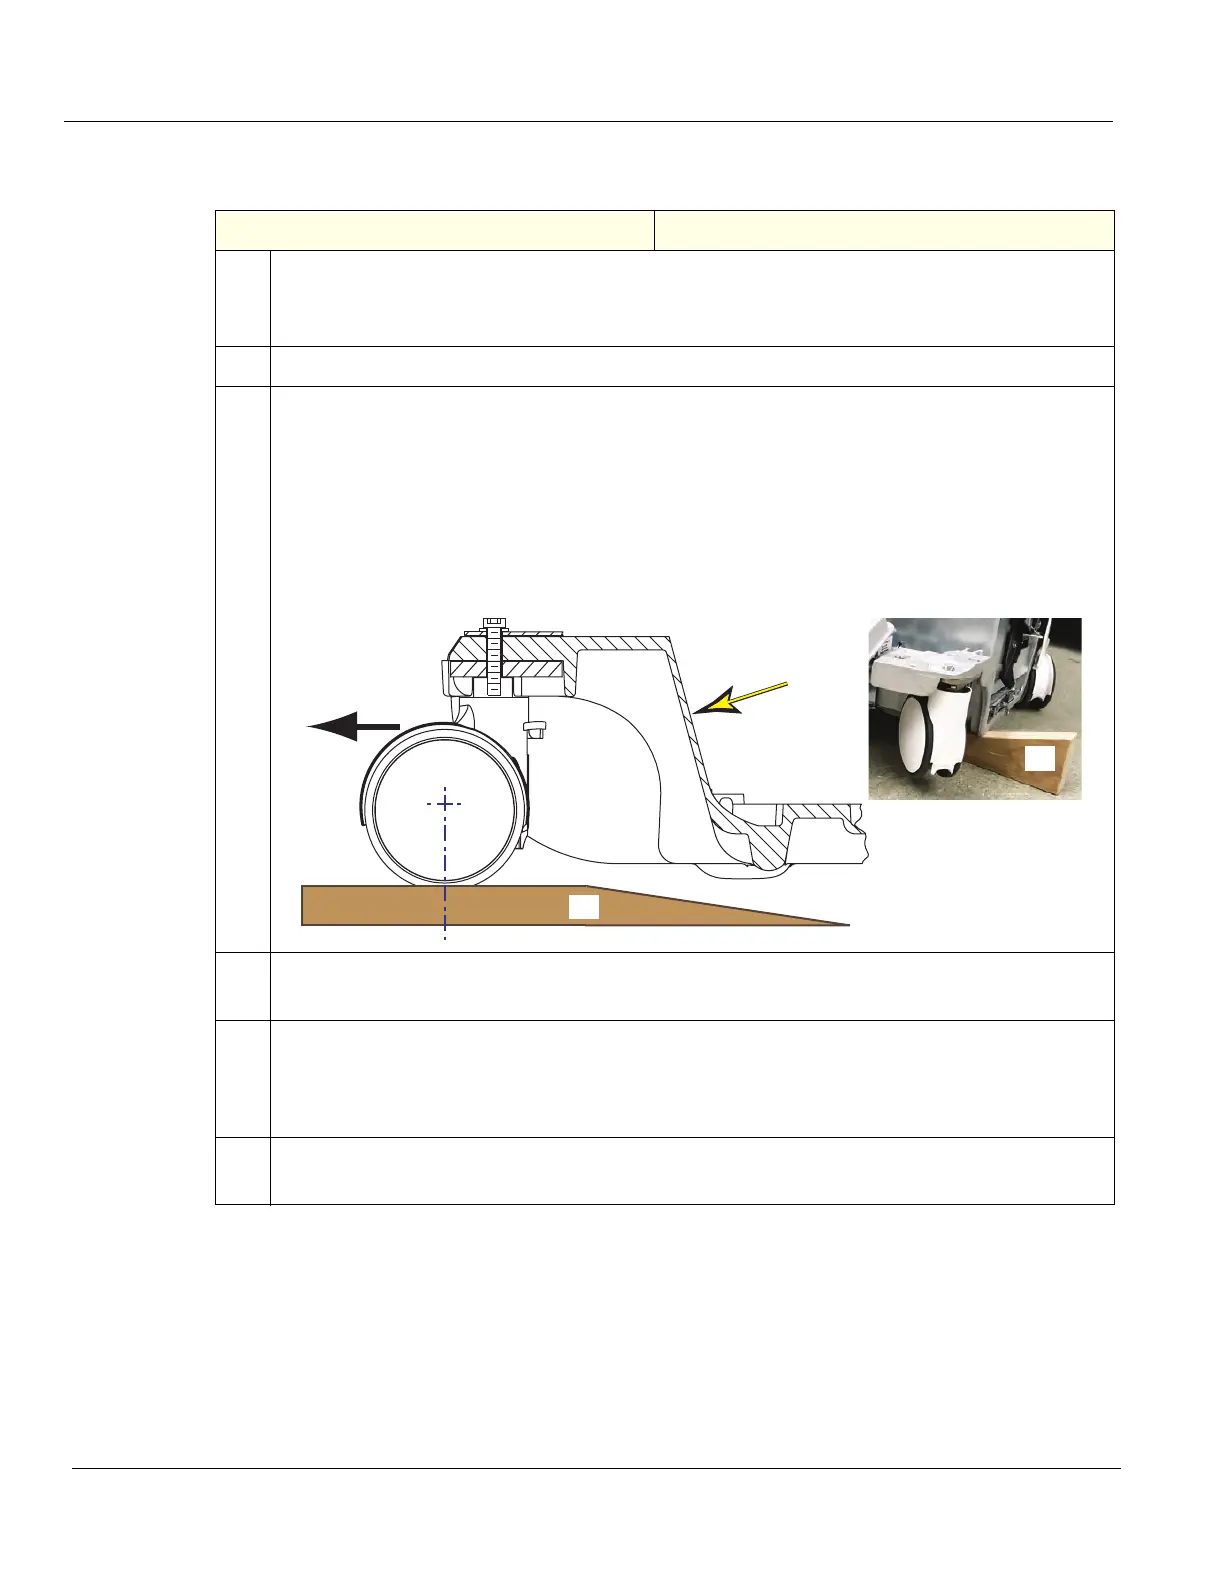
Put the Bevel Edged Board (A) of the Wheel Change Kit (A+B) on the floor.
3.
NOTE: Prior to elevating LOGIQ E10, verify the Operator Panel is locked in its lowest, parked
position.
The Caster not being replaced; pull the Ultrasound System backwards on that Caster, onto the
Bevel Edged Board (A). This will lift the other Rear Caster off the floor.
Turn the Rear Caster on the Bevel Edged Board in the direction as shown (away {C} from the
Base Casting (D).
Wedge the Wedge (B) from the side of the Base Casting (D), on the side in which the Caster is
being replaced, to keep the LOGIQ E10 solidly supported.
4.
Activate the brakes.
The Ultrasound System is now nearly balanced between one Rear and both Front Casters.
5.
MAKE SURE the LOGIQ E10 is at rest, on both Front Casters.
Lift the Rear Caster and put the Wooden Wedge (B), upright as shown, under the Base Casting
to stabilize the LOGIQ E10 with one Rear Caster off the floor. This Rear Caster can now be
removed.
6.
Remove the fixing bolt. DO NOT discard the bolt.
Remove the Rear Caster.
C
L
C
L
D
C
A
B

 Loading...


