Revision B3-12
Maintenance: Disassembly Guidelines
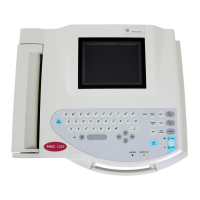
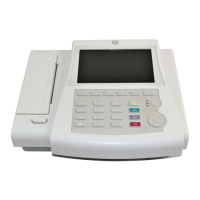
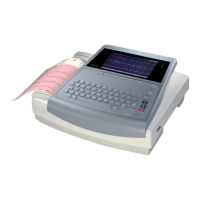
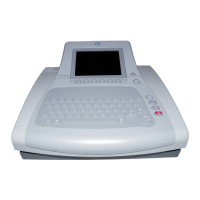
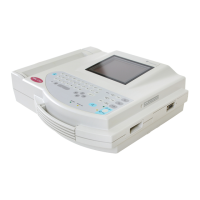
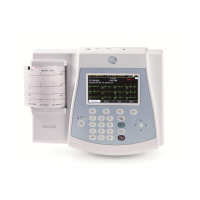
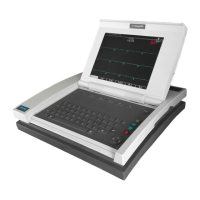
MAC 5000 resting ECG analysis system
2000657-002
4. replace the top cover and power up the unit.
5. Go to the Setup menu and enter the new printhead resistance
value.
6. Do a Writer Daignostics test (See 4-19).
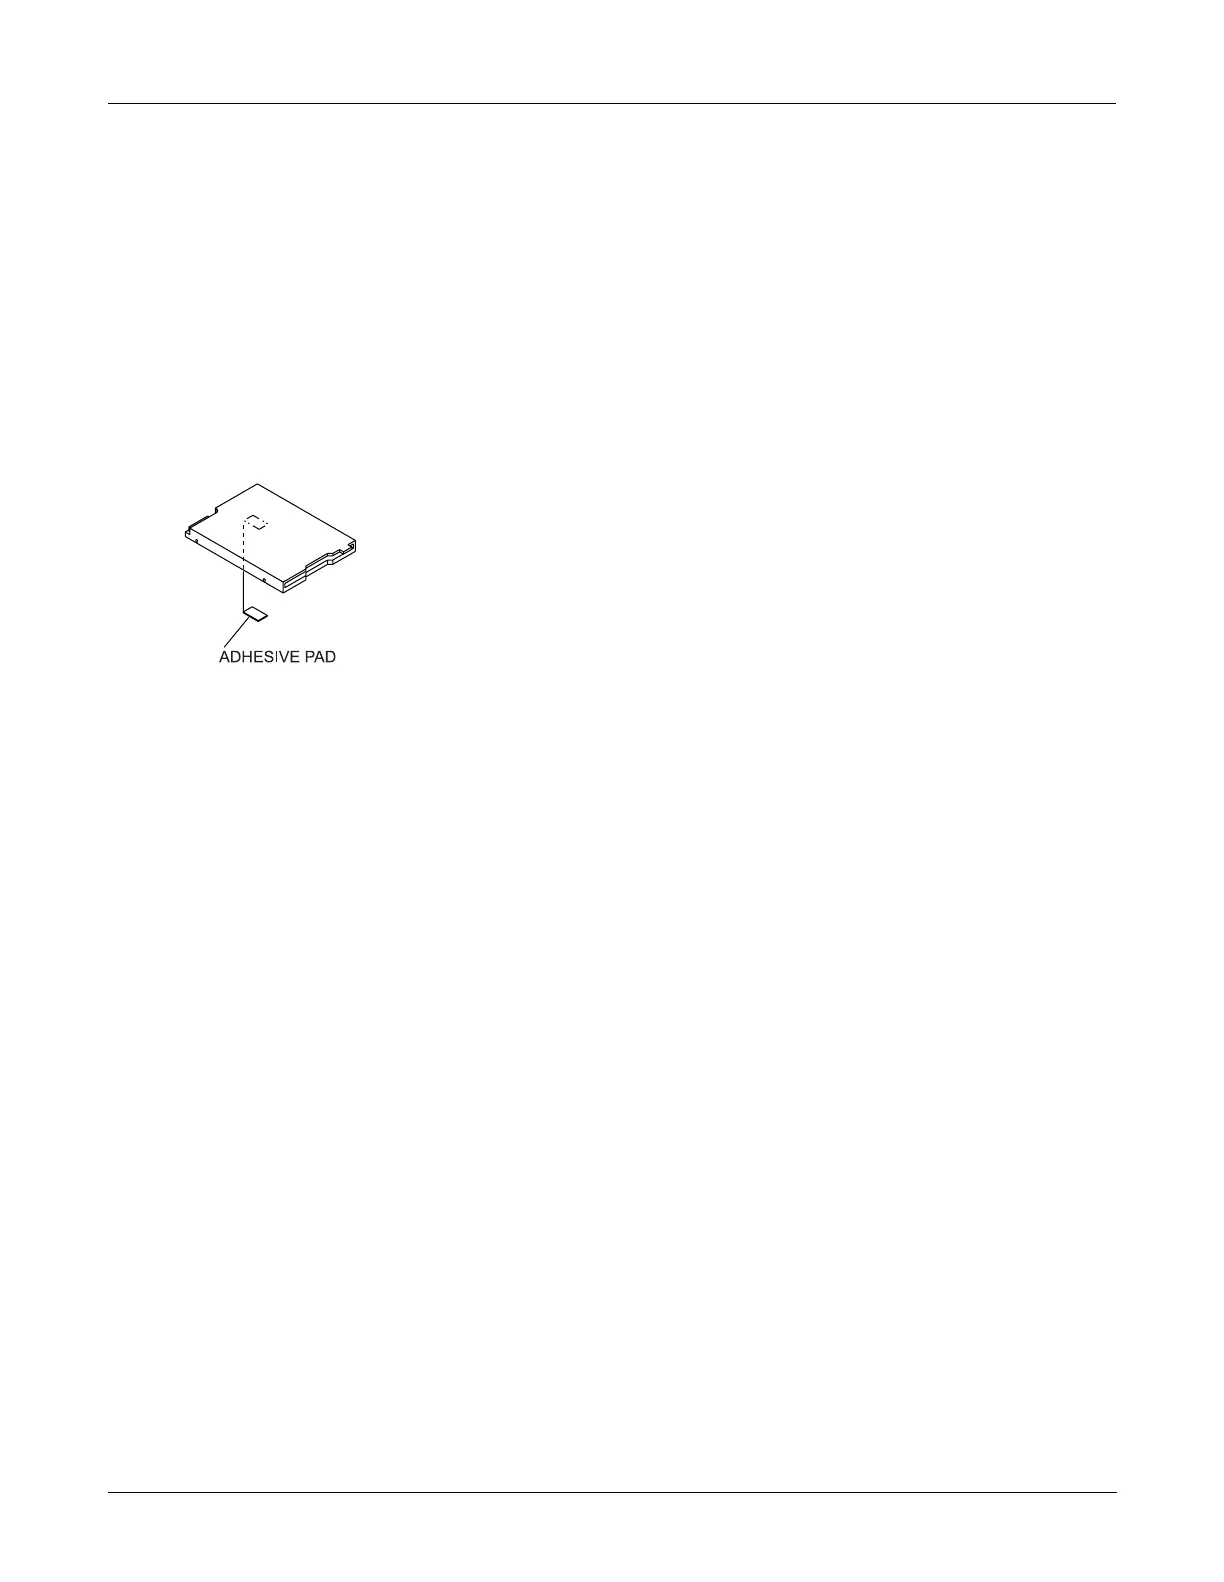
Diskette Drive Removal/
Replacement
1. Remove the top cover and display/keyboard assembly following
the procedures above.
2. Remove the cable from the diskette drive to the main PCB.
3. Remove two screws holding the diskette drive in place. Loosen,
but do not remove two TORX mounting screws holding the
mounting bracket.
4. Detach the diskette drive and lift from the unit.
5. Apply the adhesive pad to the replacement diskette drive and
position the drive in the unit. Insert and loosely attach the two
screws.
6. The mounting screws MUST be tightened in the following order:
◆ Tighten the two TORX mounting screws,
◆ then tighten the two screws holding the drive to the
mounting bracket.
7. Connect cable to the main PCB.
8. Replace the display/keyboard assembly and the top cover
following procedures above.
Writer Roller/Carriage
Assembly
Removal
1. Remove the power supply assembly following procedures
above.
2. Inside the power supply compartment, disconnect the cable
that connects to the writer assembly.
3. Open the unit to access the paper compartment. Move the
paper size bracket to the A4 position to expose one of the writer
assembly mounting screws.
4. Remove the screw and return the paper size bracket to the
8.5 x 11 position.
5. Close the unit and turn it over so the bottom side is up.
6. Remove the four screws located on the underside of the writer
roller/carriage assembly and lift the writer from the bottom of
the unit.
Reassembly
Reassemble the writer roller/carriage assembly by reversing the above
procedures.
 Loading...