4. Measuring Thickness
DMS 2 Operating Manual Page 91
4.1 Working in the Test Mode
If you’ve been reading this manual in sequential order, you
may have noticed that most of the material up to this point
has dealt with configuring the DMS 2 to measure thickness
according to specific material, operator, and application
requirements. This chapter will explain how to measure
thicknesses and store those measurements in a data file
that’s already created. If you wish to store the measurement
data that you’re about to take and haven’t yet created a data
file, you should create one now by following the step-by-step
instructions in Section 3.4.
4.1.1 Activating the Test Mode
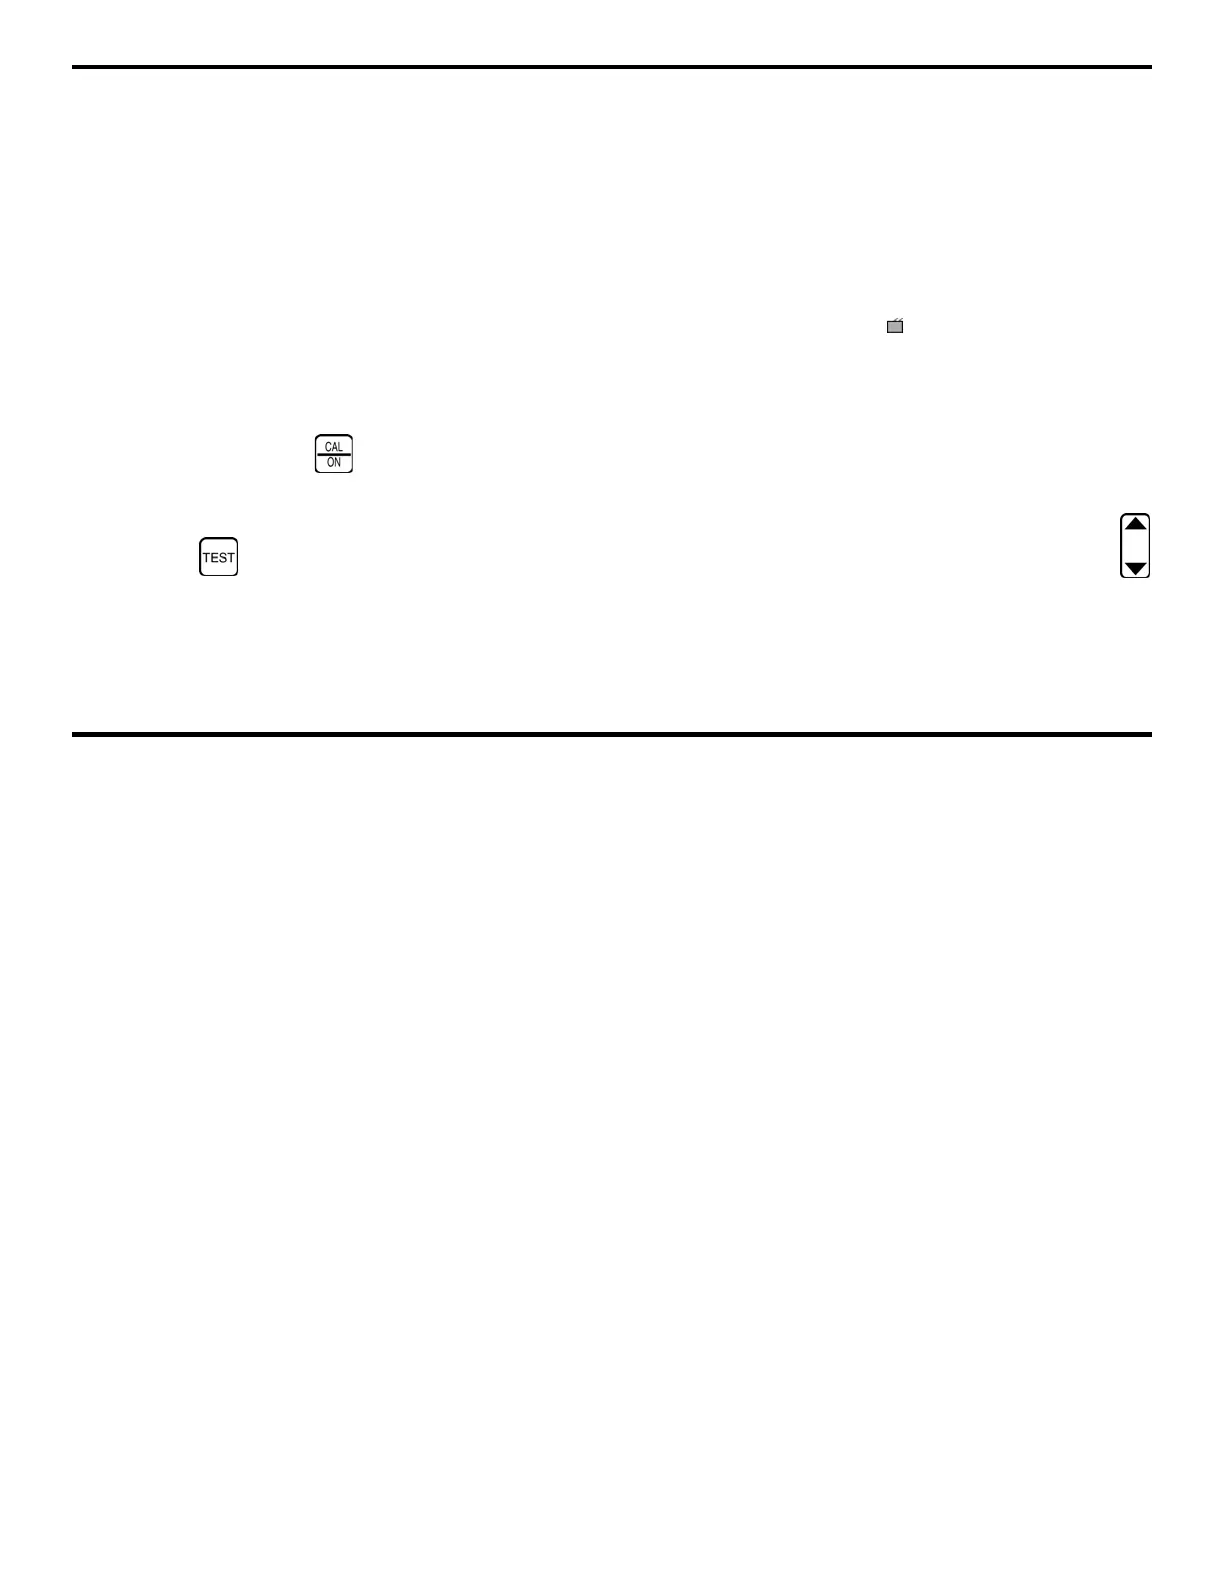
Step 1:
With a probe connected, turn on your DMS 2 by
pressing and briefly holding
(this also turns the instru-
ment off). If manual probe zeroing is selected, zero the probe
now.
Step 2
: Press to activate the Test mode. Apply liquid
couplant to the material being tested. Then, carefully (but
firmly) place the probe’s contact surface onto the couplant-
covered material. It’s recommended that the least amount of
couplant necessary to obtain quick, stable thickness
readings be applied.
Step 3:
The instrument’s display screen should look some-
thing like the screen that’s shown in Figure 4-1A, provided
you’ve already opened a data file. If you haven’t opened a
data file, your display will look like the one in Figure 4-1B.
Take a few minutes to review the information contained in the
figures, particularly the location and name of each icon. You
can also refer to Section 2.3 for a complete description of
each feature shown on a Test Mode display screen.
Step 4:
With the probe applied to the material being tested,
locate the probe-coupled icon on your display screen
(Figure 4-1). Once you know where the icon will appear,
remove and reapply (couple) the probe several times. This
should cause the Probe Coupled icon to disappear from the
display each time the probe is removed, and reappear each
time the probe is coupled.
Step 5:
When the probe is coupled, an A-scan and solid
thickness reading should appear on the display screen. If
they do not, hold the probe firmly in place while pressing
below the GAIN selection. This will increase the height of the
A-scan until it crosses the A-gate and indicates a measured
thickness and the coupled icon appears. This icon is an
 Loading...