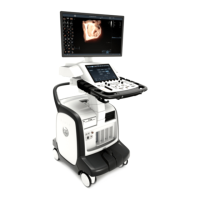
Replacement Procedures
8-40 Vivid E80/E90/E95 – Service Manual
GC091052
Rev. 3
Preparations
1. Power down the Ultrasound system.
2. Disconnect the Mains Power Cable from the wall outlet.
3. Disconnect all probes and external I/O cabling.
4. Remove the Rotary knobs below the Touch Panel and the
Volume button.
5. Remove Operating Panel, Upper.
Remove the Operating Panel, Lower
Follow these steps to remove the Operating Panel:
1. Pull the Alphanumeric keyboard to its extended position to
get access to the screws in the next step.
2. The screws are available from the underside of the
Operating Panel tray. Unscrew and remove the four screws
used for fixing the Operating Panel assembly to the
Operating Panel tray.
3. Loosen the screws for the cables grounding on the
Bulkhead Bracket and move the OP Cables away from the
bracket.
4. On the Bulkhead Bracket, loosen the ESD wire from the
Lower Panel.
5. Pull and lift the Operating Panel assembly up and away. Be
careful to not destroy the fingers on each side of the
Operating Panel, Lower.
6. Store it on an ESD safe place.
Install the Operating Panel, Lower
Follow these steps to install the Operating Panel, Lower:
1. Carefully, slide in the Operating Panel. Lower.
Be careful with the fingers which have to be placed under
the side walls of the UI Frame, Upper.
2. On the Bulkhead Bracket, fasten the ESD wire from the
Lower Panel.
3. Attach the cables to the cable grounding brackets/points, as
illustrated below. Since this feature is for the EMI
compatibility the braid have to be exposed under the bracket
and the cables have to be well locked by the bracket.
4. Install the four fixing screws that fix the Operating Panel
assembly to the Operating Panel tray (2 pc. M4x25 nearest

 Loading...