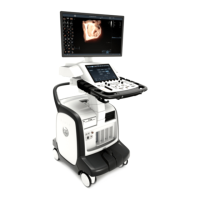
LCD Monitor and LCD Arm parts replacement
Vivid E80/E90/E95 – Service Manual 8-31
GC091052 Rev. 3
Verification
Perform the following steps to verify that the product is
functioning as intended after this LCD Monitor replacement:
1. Verify that all screws that you removed earlier have been
installed.
2. If finished, connect the cables and probes you removed
earlier.
3. Power up the Ultrasound system to verify that it operates as
intended.
Replacing the LCD Arm assembly
Read and follow
Preparations
When preparing for the replacement, you must perform the
following steps:
1. Power down the Ultrasound system.
2. Disconnect the Mains Power Cable from the wall outlet.
3. Disconnect all probes and external I/O cabling.
4. Remove the LCD Monitor assembly.
5. Remove the Bulkhead cover.
Energy Control and Power Lockout for Vivid E80/E90/E95.
When servicing parts of the Ultrasound system where there is
exposure to voltage greater than 30 volts:
1. Follow LOCK OUT/TAG OUT procedures.
2. Turn off the breaker.
3. Unplug the Ultrasound system.
4. Maintain control of the Ultrasound system power plug.
5. Wait at least 30 seconds for capacitors to discharge as
there are no test points to verify isolation.
Ultrasound System components may be energized.

 Loading...