Hikvision USA, Inc. – Series DS-7300 User Manual
do so. It is important to note that formatting will delete ALL data from the storage device.
6. If the available space on the storage device is adequate, select the Backup button to begin backup of the
selected clips.
7. After clips have been backed up, you may click the Playback button to return to the Playback Interface or
the Done button to return to the previous menu.
Note: Formatting a storage device will permanently delete all the files on that device. There is also NO
WARNING MESSAGE after clicking the Format button to format the storage device. Please proceed with caution
and backup all critical data from the storage device before formatting.
Backing Up Recorded Files
Not only can video clips be backed up, full recorded files can also be backed up to a storage medium.
To back up recorded files:
1. Search for recorded files using the File Management menu (See Searching for Recorded Files on page 59).
2. Select the files you would like to backup by checking the box next to the file. You may also check the All File
box to backup all files. The total required space will be shown next to Total Size.
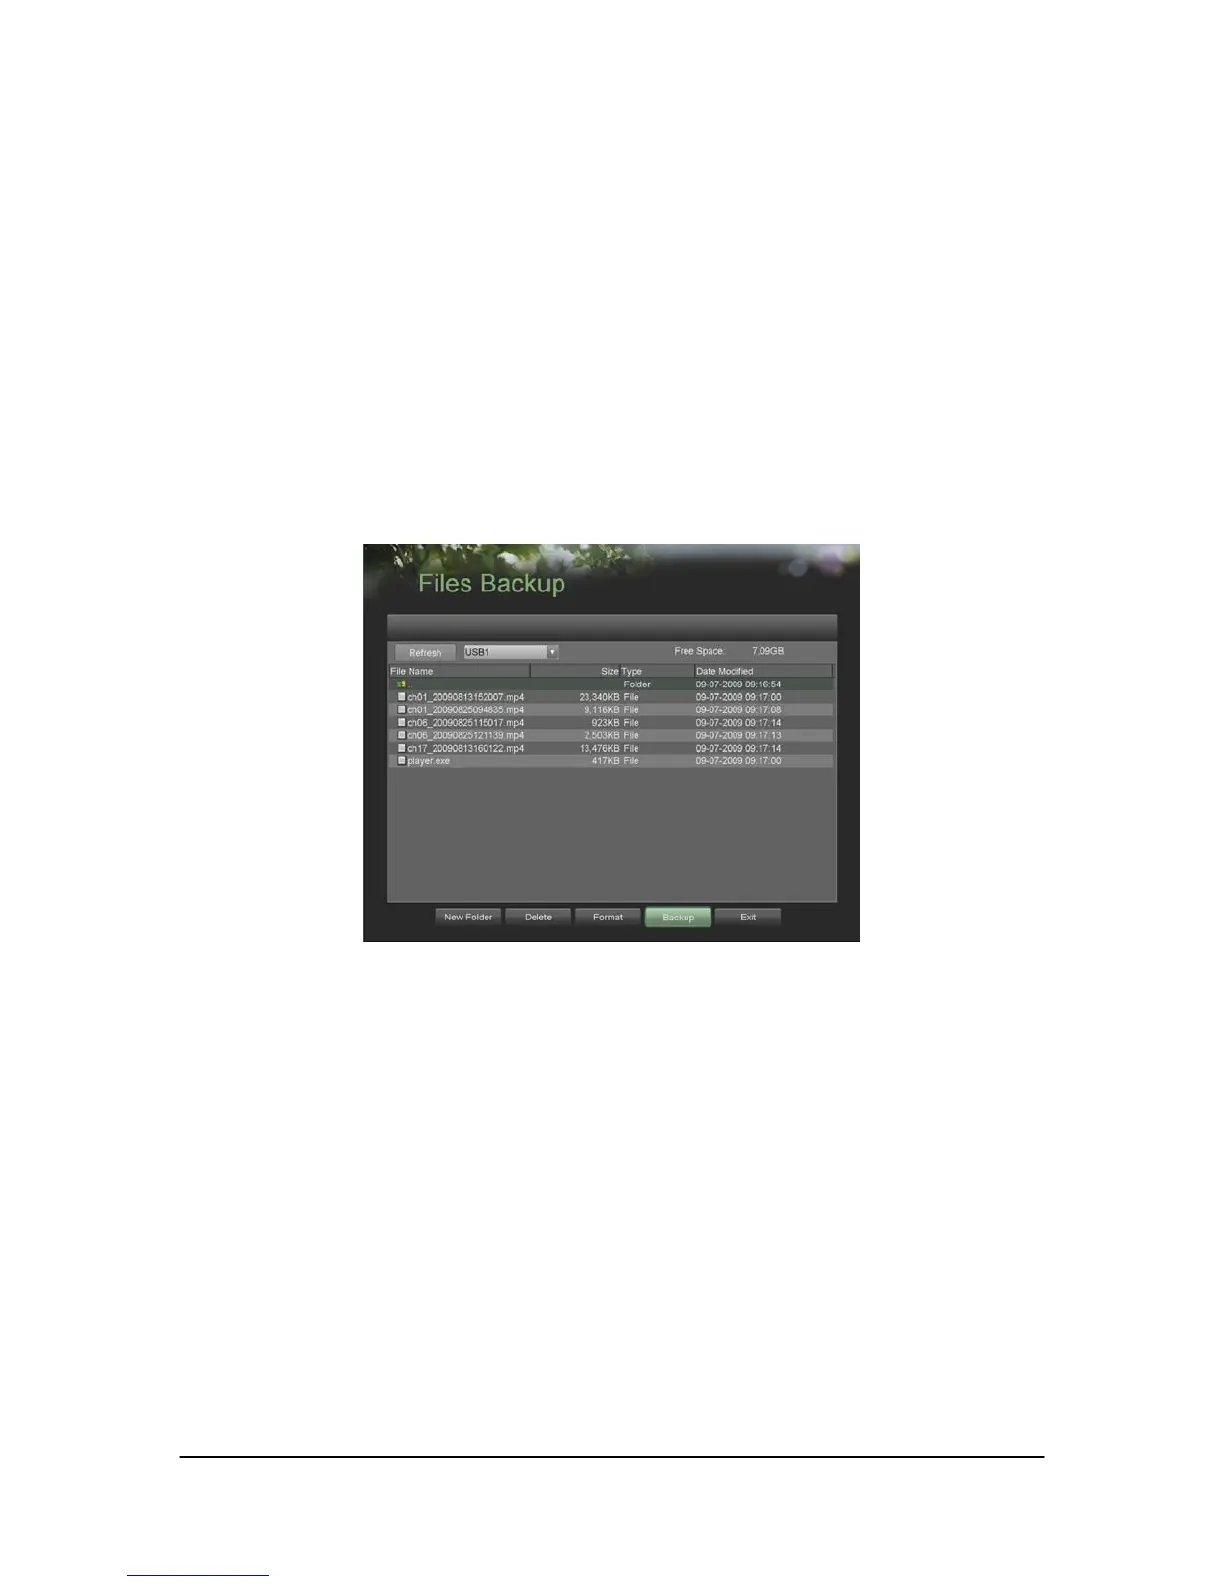
3. Click the Files Backup button, this will take you to the Files Backup menu, as shown in Figure 35.
Figure 35. Files Backup Menu
4. In the Files Backup menu, connect a USB storage device and click the Refresh button. If the device is
detected, a list of its file contents as well as the available free space will be shown.
5. You may delete files on the USB storage device to free up additional storage space by clicking the Delete
button on the selected file. You may also format the device by clicking the Format button. Formatting will
remove ALL files from the device.
6. When there is sufficient storage space for backup, click the Backup button. A backup progress bar will be
shown.
7. Click the OK button once backup has completed.
8. Click the Exit button to return to the File Management menu.
 Loading...