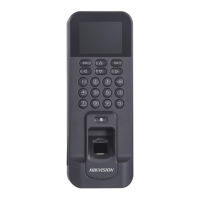
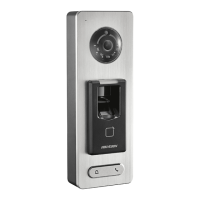
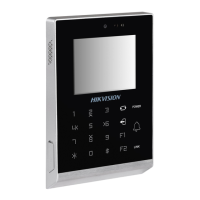
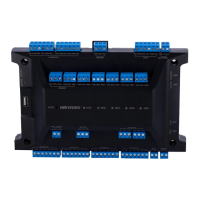
Fingerprint Access Control Terminal·User Manual
101
2. Input the name of week schedule and click OK button to add the week schedule.
3. Select the added week schedule in the schedule list and you can view its property on the right.
You can edit the week schedule name and input the remark information.
4. On the week schedule, click and drag on a day to draw on the schedule, which means in that
period of time, the configured permission is activated.
Note: Up to 8 time periods can be set for each day in the schedule.
5. When the cursor turns to , you can move the selected time bar you just edited. You can also
edit the displayed time point to set the accurate time period.
When the cursor turns to , you can lengthen or shorten the selected time bar.
6. Optionally, you can select the schedule time bar,
and then click Delete Duration to delete the selected time bar,
or click Clear to delete all the time bars,
or click Copy to Week to copy the time bar settings to the whole week.
7. Click Save to save the settings.
5.7.2 Holiday Group
Click Holiday Group tab to enter the Holiday Group Management interface.

 Loading...
