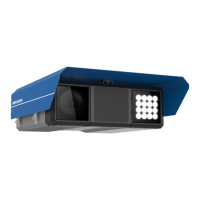
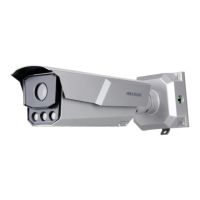
Network Traffic Camera • User Manual
56
two frames besides processing the noise in one frame. The noise will be much less and the
video will be clearer.
1) If you select Normal Mode, adjust 3D DNR Level from 0 to 100.
2) If you select Expert Mode, adjust Spatial Intensity and Time Intensity from 0 to 100.
Step 8 (Optional) Check 2D DNR, and adjust 2D DNR Level from 0 to 100.
Step 9 (Optional) Click Capture Test to test the effects.
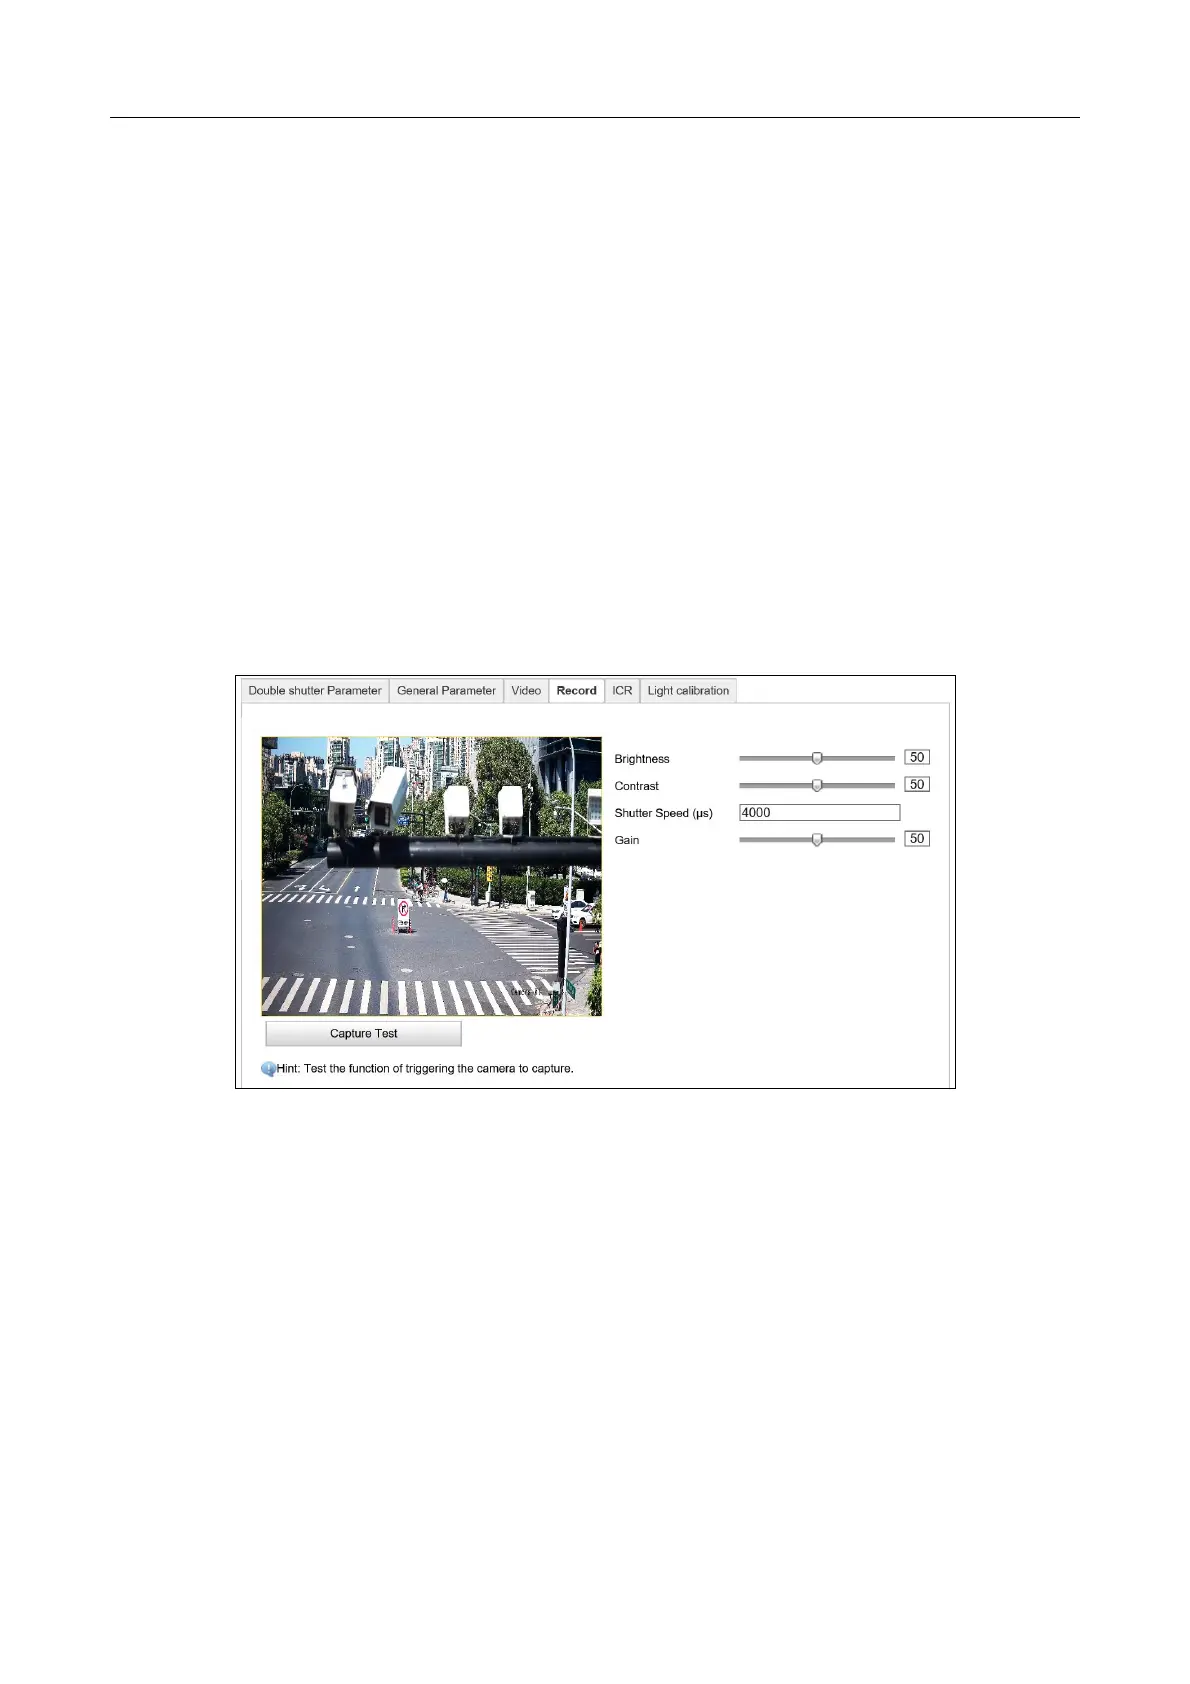
10.4 Configure Record
Purpose:
The camera supports dual-shutter. One shutter for video previewing and the other one for video
recording. You can configure shutter parameters for captured image.
Step 1 Go to Configuration > Device Configuration > Image Parameters > Record.
Figure 10-4 Record Configuration
Step 2 Captured Image Configuration
1) Adjust Brightness [0 to 100]. Default value is recommended.
2) Adjust Contrast [0 to 100]. It refers to the color contrast between the brightest part
and darkest part. Default value is recommended.
3) Enter Shutter Speed [120 to 40000 μs]. It refers to the length of time that a camera's
shutter remains open. Shutter speed as 2000 is recommended.
4) Adjust Gain [0 to 100]. It refers to the ratio the output signal and input signal. Default
value is recommended.
Step 3 (Optional) Click Capture Test to test the effects.
 Loading...